
How to Add User Permissions in BigCommerce?

To manage your online business, a user account is a necessity, preventing your store from illegal access from strangers who want to manipulate the control panel.
Luckily, BigCommerce allows us to create and manage user permission when approaching certain areas of your website. This is really a great feature as we often need more people to manage our BigCommerce store. Being an eCommerce website development agency, we essentially should know it at the beginning of the project, which lets it be the first thing you ask for your clients.
As a result, in this article, we will guide you How to add user permissions in BigCommerce, and a detailed explanation of user roles as well as each function of permissions.
User roles
A user is someone who can be given access to your BigCommerce store admin and the control panel. Additionally, individual users may work in multiple BigCommerce stores in different roles. They are prompted to choose which store they want to enter as signing in.
User accounts are typically used to grant specific permissions to the staff so that they can perform jobs related to their roles without having the ability to perform their respective jobs assigned to their role without affecting the other areas of the web store. It is called “user role” - a built-in collection of user authorization to a particular task.
Having a separate user account reflecting each team member’s unique responsibility optimizes efficient workflow and prevents the risks of human errors. That only enables you by delegating responsibilities to certain users at a time; users are able to access individual apps to work as well.
Business owners create some “core” users for their marketing teams, design teams, and sales teams, etc. Here is how they can work with each different role:
-
Sales Staff — permissions generally assigned to the person(s) responsible for the sales and/or marketing of your store
-
Sales Manager — permissions generally assigned to the staff member(s) responsible for processing orders
-
System Admin — administrator role with all permissions enabled
-
Store Owner — the person financially responsible for the account; this role has exclusive access to various account-related features
-
Custom — use this option to create your own combination of permissions. You can also opt to customize one of the other roles
Types of permissions
When you add a new user to the store’s control panel, you can assign preset groups of permission (user roles) for assigned tasks in the store, which are usually done by certain staff members. These permissions are selected individually as needed to craft a custom user role for staff who need a variety of store acceptance of their job duties.
There are 3 basic reasons for having user access:
-
Help you install your widget
-
Fix compatibility issues
-
Customize your widget
Creating their own account is necessary for each user to assist with the day-to-day functions of managing a store, with permission limited to only their responsible areas.

The available permissions are a huge bunch associated with the correlative roles (system admin, sales manager, and sales staff). BigCommerce platform recently announced that they would add several permissions for managing storefront channels, making it easier to allow staff to create and edit the web from the control panel. The list of permission is too much to call all out, so if you want to learn more, you can click on this term User Roles and Permission.
How to add user permissions
The process to create a new user, assigning their role, and giving them access to specific areas is very easy. A quick tutorial will help you know it.
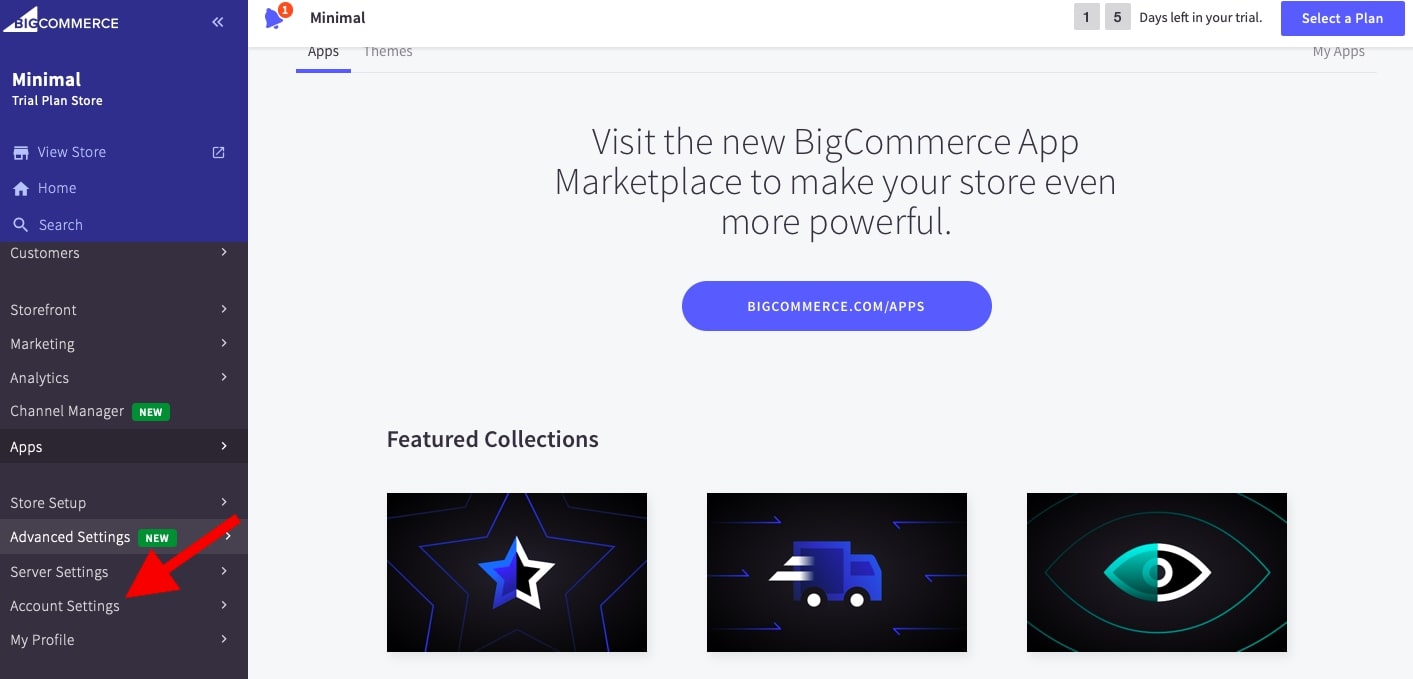
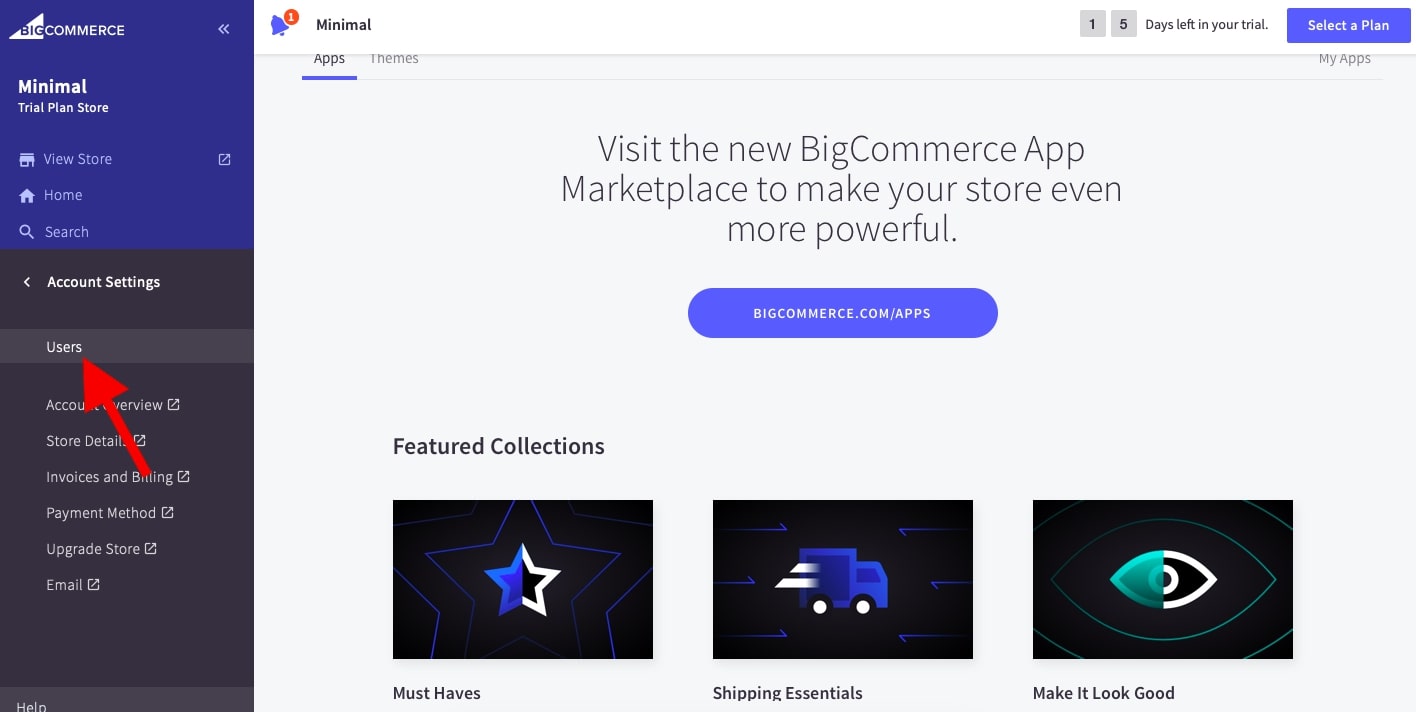
Step 1: After logging in, choose “Account Settings” and then select Users
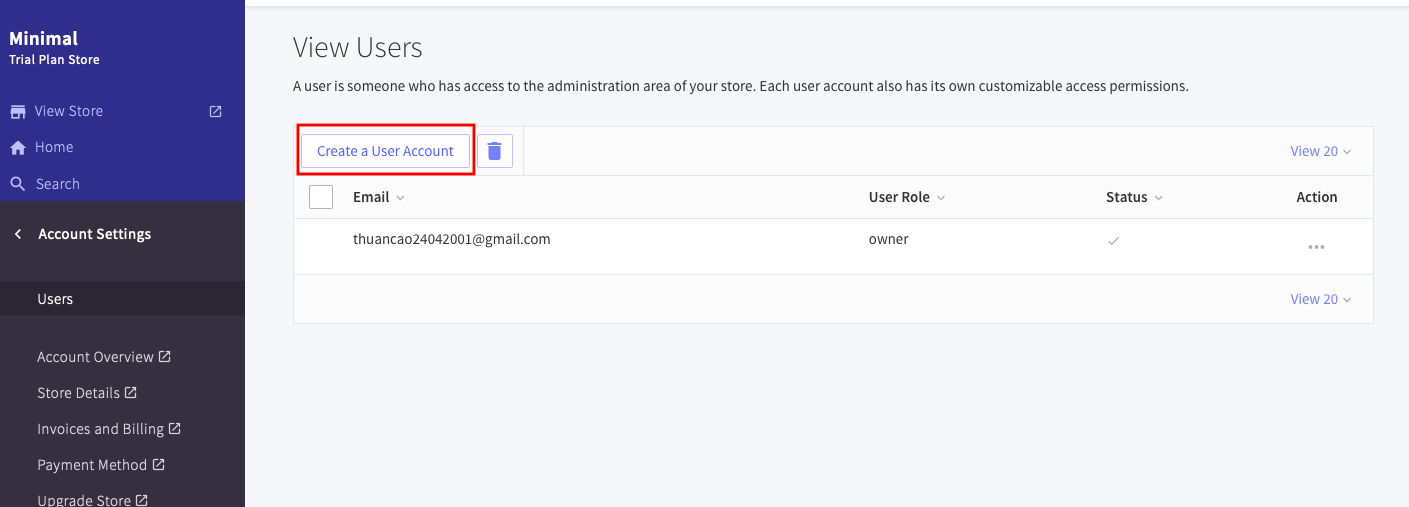
Step 2: Click on “Create an account”, now fill in user information
The basic information about the user is in “User Details”.
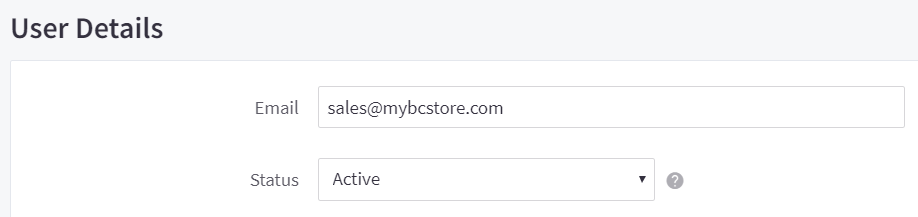
Enter the new user’s email address, set their status, and select their preferred control panel language or select the default language depending in the user’s browser.
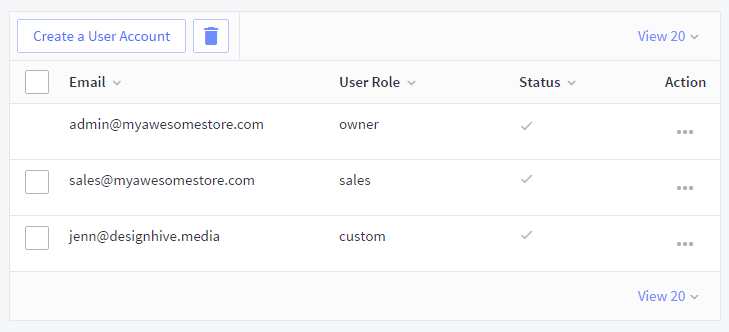
Select a User Role for the user, you can see in the list of the section like below:
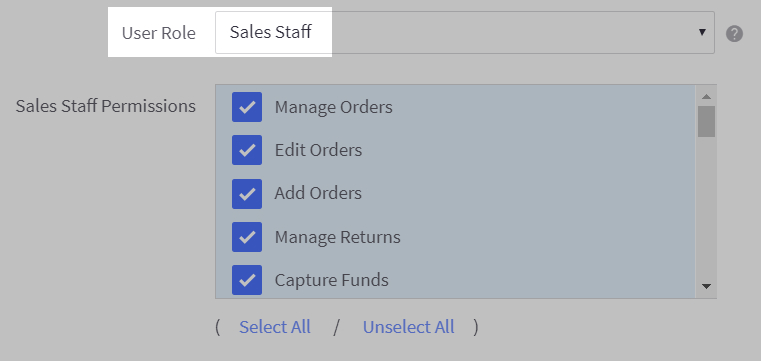
Step 3: Choose the segments of the permissions being in the creating user
Within minutes of creating the account, the new user will be sent an email message asking them to verify their address and create a password afterward. The subject line of this email confirmation is “Confirm your BigCommerce account”.
If the message is not in their inbox, the user might need to check their spam or junk folders. In case the issue persists, you may need to use an alternative email address for the user account.
If the email address is being used on a user account on another BigCommerce store, a new email is sent to notify them that they’ve been added to this store.
To enable user permissions, navigate to Account Settings, then Users, and select the user you want to edit by clicking on the symbol of the “Action”. Check the box next to the permissions you’d like to enable, then save your changes.

Furthermore, to minimize any potential disruption for staff users, existing users with the Manage Products permission enabled will have Manage Channels, Create Channels, and Edit Channels enabled automatically.
Keep in mind that users won’t be able to create new storefront channels or edit any existing channels unless these permissions are enabled.
Step 4: If you want to unlock an account
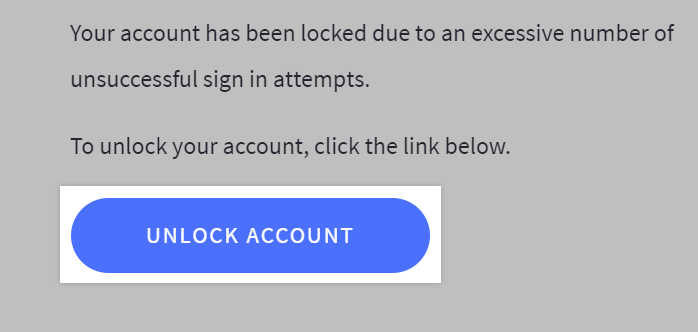
After several unsuccessful login attempts, this may happen after adding a new user account or their existing accounts cannot sign in to your store. The user account associated with your email address will be automatically locked, and they will receive an email with instructions (that often take more than 10 minutes to arrive) on how to unlock their accounts.
Then, the email with the subject line Instructions for unlocking your BigCommerce account will be in your Gmail (check your spam or junk folder if the email doesn’t appear in the “All Inboxes” section). Follow the instructions and click the Unlock Account button in the email.
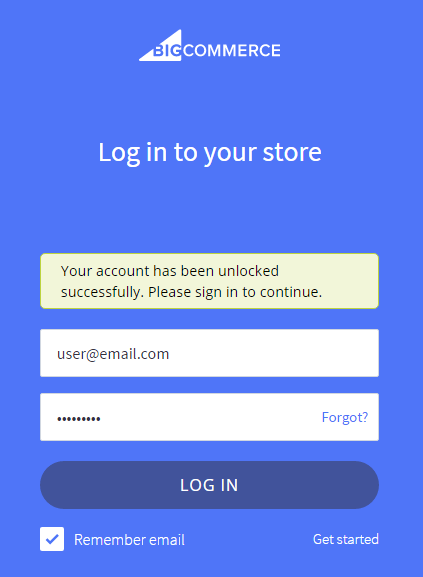
After clicking, you will be taken back to the BigCommerce login screen, this time with a message indicating that your account has been unblocked.
Step 5: Reset the user account
If you were blocked because you forgot your password, you could reset it. Note that resetting your password will not unlock a locked user account. These steps keep guiding you only after you have completed the steps in the Unlocking Your Account section or if you did not have enough failed login attempts to get locked out.
Click the “Forgot Password?” link below the Login button.
Now, go back to your email address and click “Email me reset link”. Remember that the password reset email will only be sent if the email address you enter is an address associated with a user account in your store.
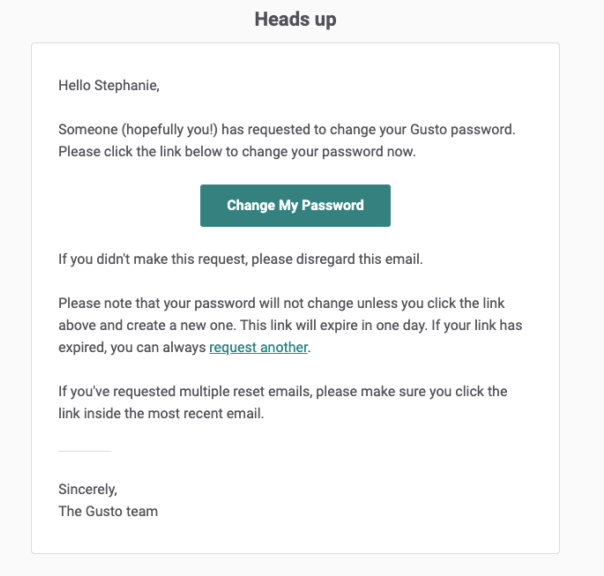
Check your inbox for an email with the subject line: “Instructions for resetting your BigCommerce account password”. Maybe you do not see the email in your inbox within 10 minutes, so don’t forget to check your spam or junk folder.
In the sent email, click the “Change password button” in the email. You will be taken to the Reset password page. From here, you will be walked through the resetting your password process. Here is an example for you to easily imagine:
Your valid new password requirement is a minimum of 8 characters, containing an uppercase letter, a lowercase letter, a number, and a unique mark or symbol. Lastly, it cannot be a previously used password for the user.
Conclusion
When more and more BigCommerce stores are expanding into multiple channels, the staff of a business plays a vital role in managing and navigating based on the assigned work for each team.
As a business owner, knowing How to add user permission in BigCommerce is a must to control your human resource effectively. Individual user accounts are a great asset for your business because they bring an additional layer of security to your store’s backend and control panel areas your employees have access to, giving you peace of mind.


