
How to add pictures to variants on Shopify
By Sam Nguyen

How to add a picture to a new variant
The image variants feature of Shopify can help you display a product that comes in different sizes, shapes, or styles easily on the same product page. Based on customers’ different options from the product’s drop-down menu, the image will change with the different styles accordingly. However, the first thing you have to do is set up your product variants, and then you can add variant images for each of them.
You can easily add product variants while adding a new product. In the product’s inventory and variants section, each of your product variants will appear in a list after you have created them. The product variants will now be live in your Shopify store.
In the instruction below, we will guide you to add an image to a new variant in the Shopify store with ease.
Here are the steps that you can use to add an image to a new variant in Shopify:
Step 1: View product list from Shopify Admin
Go to Products from your Shopify admin
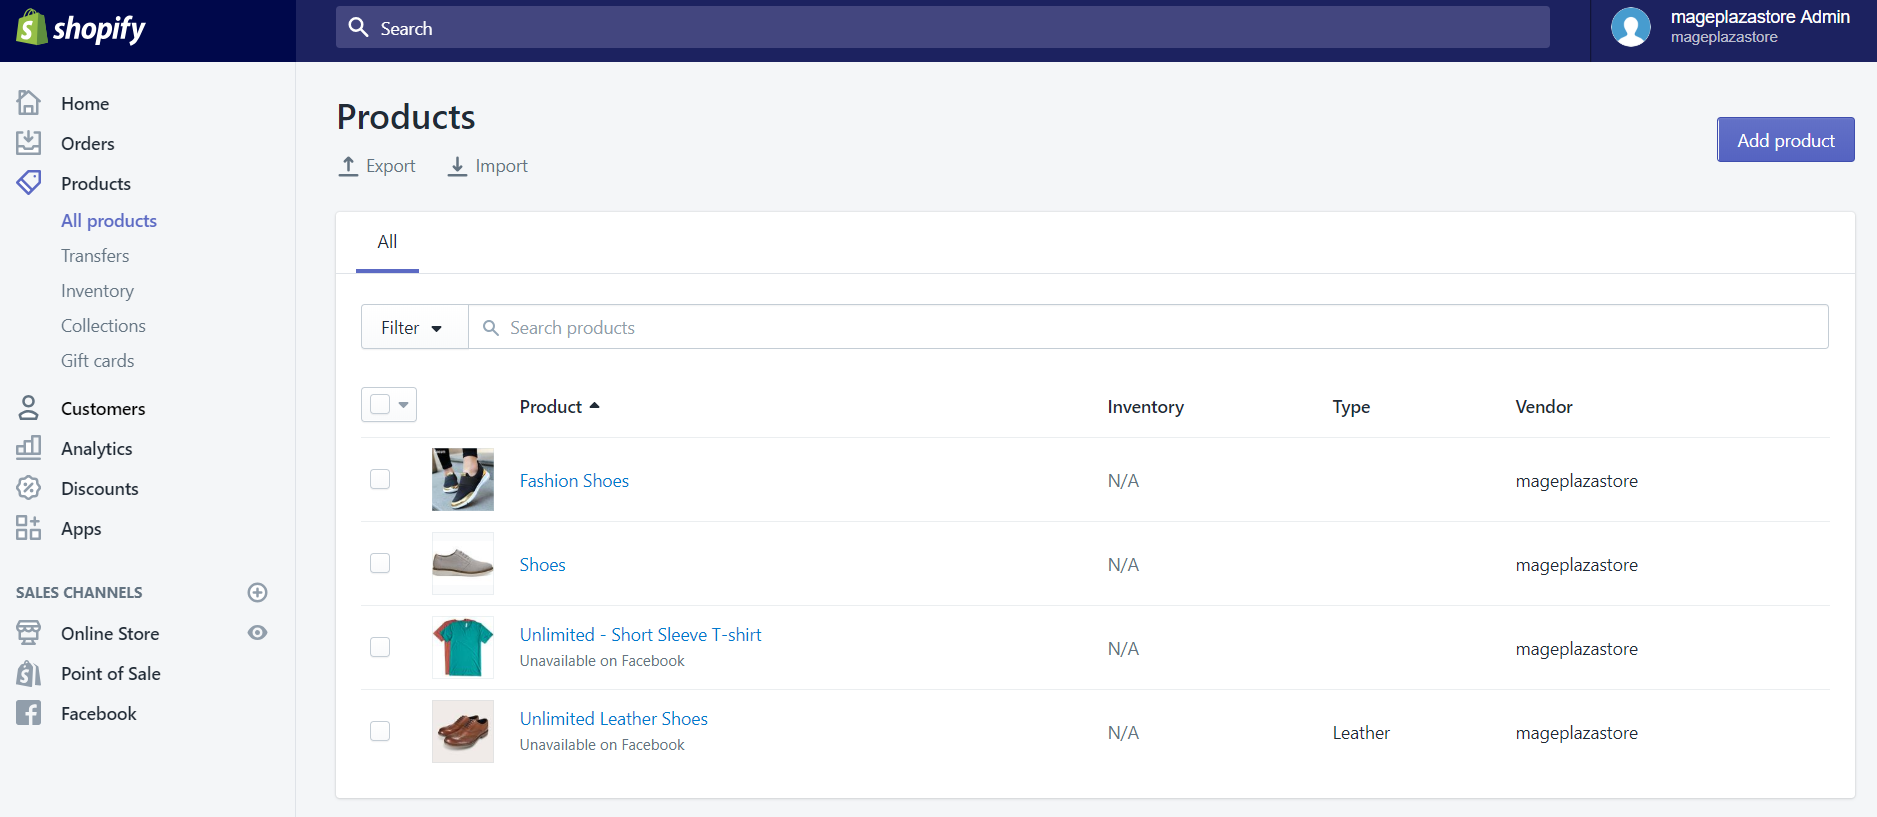
Step 2: Select product that you need to edit
Select the name of the product that you want to edit
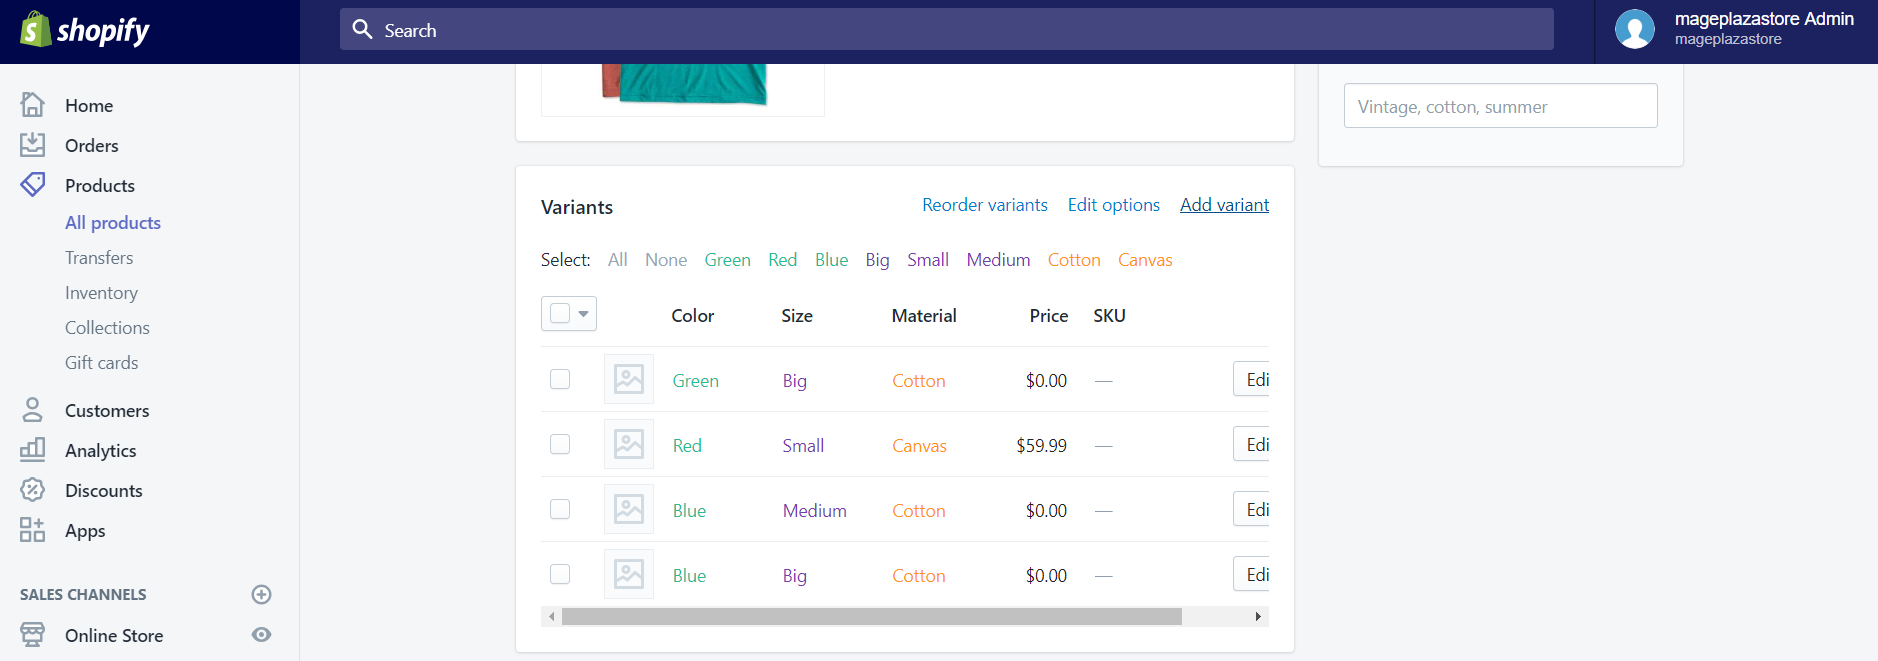
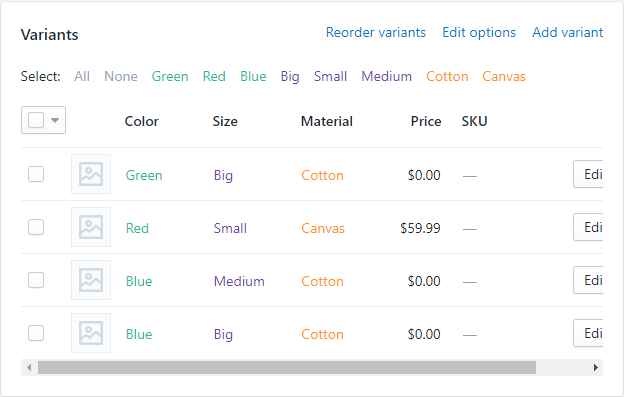
Step 3: Click Add variant in the Variant section
Click Add variant in the Variants section
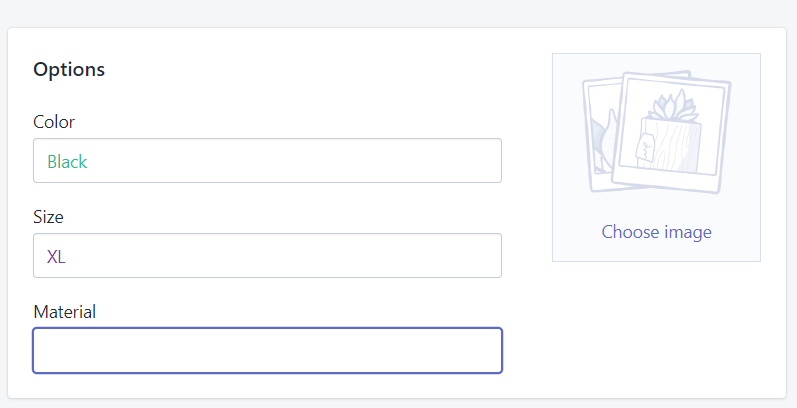
Step 4: Choose image to add
Click Choose image on the variant details page while setting up the variant
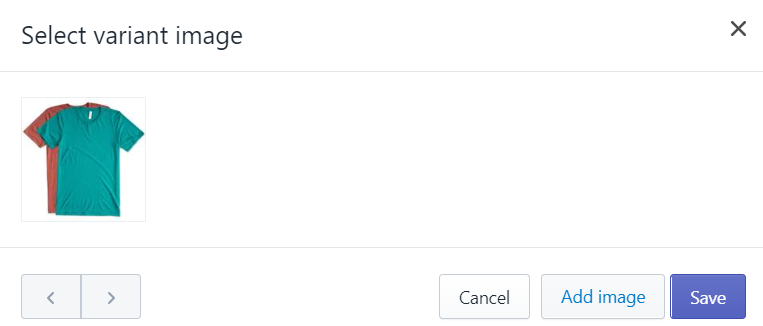
Step 5: Add the new image by clicking add image
Click Add image to add a new image or choose a product image
Step 6: Click Save
How to add pictures to existing variants on Shopify
If your product variants have already been set up and you just need to add variant images for these existing variants, you can skip to the adding variant images section.
Simply, all that you have to do now is upload each image and associate them with the product variants they belong to. Notably, if there already has an image paired with your product variant, you need to click on the image instead of the camera to change the image. The camera or image thumbnail is the place where you can upload a new image or select an image from your own existing images.
Moreover, you can add many variants which require the same image at the same time by selecting multiple variants on the product page. Then you use the Update images link and the Select variant images dialog box will display. At this time, changing the images for the selected product variants are available for you.
Below are 5 steps that you can do to add images to your existing variants on Shopify:
Step 1: Go to Products from Shopify Admin
Go to Products from your Shopify admin
Step 2: Choose the product you want to change
Choose the name of the product that you want to edit.
Step 3: In the Variant section, assign an image to a variant
Click the image icon to assign an image to that variant in the Variants section {#click-image-icon}
Step 4: Upload a new image that you want to add
Click Add image to upload a new image or choose a product image {#click-add-image-upload-new-image}
Step 5: Save image
Click Save


