
How to Update WooCommerce Database Without Breaking
By Sam Nguyen

Updates to WooCommerce are a typical occurrence. When you upgrade WooCommerce, it is believed that it will be better than the previous version and will have more features. If you run a WooCommerce store, you should be aware of all recent upgrades. It’s possible that a plugin or theme has become unresponsive as a result of the recent WooCommerce update. That means you will have to update them as well.
However, in certain situations, an upgrade may cause your website to malfunction. Customers may suddenly complain about purchase completion, denial during payment processing, and other issues. To avoid any such unwelcome situation, you’ll need an emergency backup solution that will serve as a standby while you solve the problem produced by the latest update.
In this article, I will show you How to update WooCommerce database without breaking to complete your online store.
The right tools to update WooCommerce database
1. Staging site
This is a must. Do not update your live site after a new WooCommerce upgrade. Staging sites provide a testing environment in which you are free to break things and learn from your mistakes (usually without repercussions).
On this page, you can upgrade WooCommerce and test new versions of the plugin before updating your actual website.
2. Visual Comparison Tools
Tracking down subtle changes in formatting or even widgets that have stopped appearing might take longer if you manage a large site with dozens of pages.
You may take a picture of your site, hit “update,” and then take a second snapshot to rapidly examine what’s changed with a visual comparison tool like WP Boom, which we’ll use for this tutorial:
It is crucial to note that a visual change doesn’t always signify that something on your site is broken; it just means that it could be broken.
3. End-to-End Testing Tools
However, while end-to-end testing tools can help you quickly discover changes in your site’s formatting and design, visual comparison tools can go even further. In addition, they test the site’s actual operation, so they can tell you for sure when something isn’t working.
Testing your site by adding an item to the cart and checking out takes time, as does clicking around. When you’ve tested WooCommerce upgrades a hundred times, these chores might become tedious. It’s possible to automate this process with the help of end-to-end testing tools.
4. Backup Tools
Your website should be backed up on a regular basis. We propose WP Migrate DB Pro or simply utilizing WP-CLI to execute rapid exports if you’re interested in database backups.
How to update WooCommerce database without breaking
1. WooCommerce Auto-Update is off
As a result, the first thing you should do is seek for WooCommerce’s development log. In the latest version, there are a few minor modifications that you can overlook.
This clearly relates to the environment in which you choose to update your WooCommerce store first. It’s not a good idea to update the live site first. So, if you learn of a recent WooCommerce upgrade, don’t immediately update WooCommerce on your live site. Installing the update on a test environment will take some time, but it will save you a lot of money in the long run.
2. Putting Test Environment to Work
If you are genuinely curious about even small WooCommerce changes, you can select and test the update in a test environment. Make sure the test environment is identical to your live store in every way.
As a result, the test site can be considered a good choice for testing because it will include all of the same information and contents as the live site. You should be extremely cautious with previously tested versions of the theme, plugins, and other extensions in the test environment. The higher the similarity of data, the greater the performance.
In other words, if the test environment isn’t identical to your live website in every way, you shouldn’t expect the same results when you deploy the latest update to the live site.
3. The Test Environment is Being Staged
- Sample staging subdomain: A test environment can be quickly created/staged. This is how a subdirectory is made. If you select the second one as the address, a subdirectory will be created and a copy of your site will be saved in the live store. If you used learnwoo.com/staging as the test environment address by accident, the following issues are very likely to occur.
- Any issue on the test site will cause the live site to crash.
- Because of the copied/duplicate material on the same website, there is a significant amount of unneeded memory usage.
- Using Hosting cPanel: With your hosting services, creating a subdomain is a lot easier. By going to Subdomains in your hosting control panel, you can create a subdomain.
After clicking on subdomain, give it a name by typing “staging” in the subdomain section and clicking create. Your live website must now be copied to the subdomain.

4. Creating a clone of a live website in a test environment
We will look at how to duplicate the full live website to the test environment in numerous methods. Any of the strategies listed above can be used to accomplish this.
- Using a staging plugin:
The top Staging plugins are available for free. Duplicator, WP staging, and WP Migrate DB are three popular and powerful plugins. These plugins allow you to copy or clone content from one site to another. You can quickly pull down the live website and build a clone in your localhost using any of these plugins. As a result, you may use any of these plugins to copy your live website to a staging area and vice versa.
- Manually:
Manual copying will still necessitate a backup of your website to ensure your safety. You can conduct the staging manually if you are proficient at basic site administration and believe you comprehend backing up or cloning your site data. This will, of course, take time and will be a test of your ability. The majority of operations can be performed directly from the hosting cPanel. So let’s get started replicating the website.
- Navigate to File Manager in cPanel.
- Locate the website’s root directory.
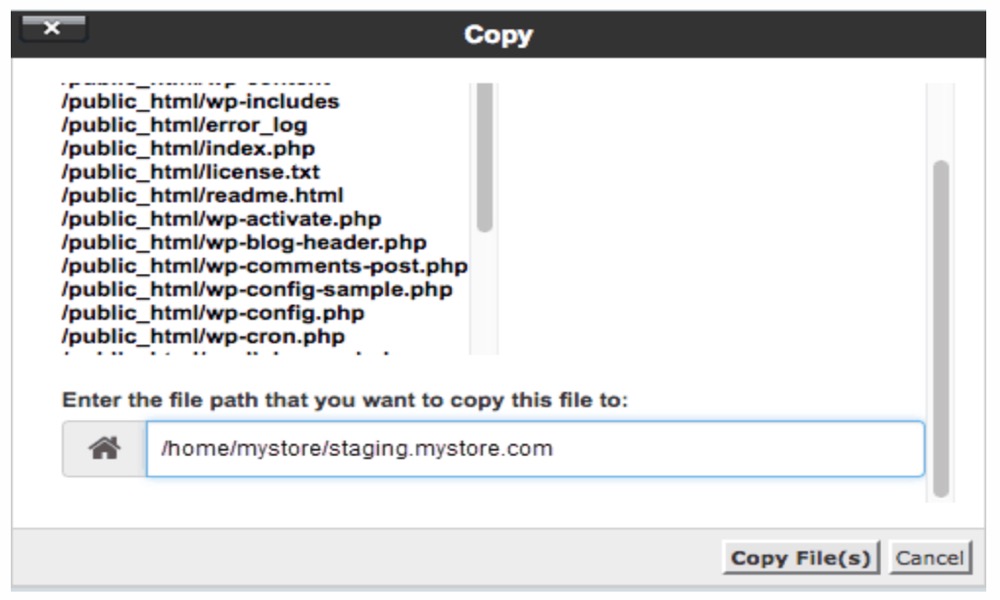
- Copy the contents of the root directory in their entirety.
- To save the copied files, assign the target staging subdomain in the prompt.
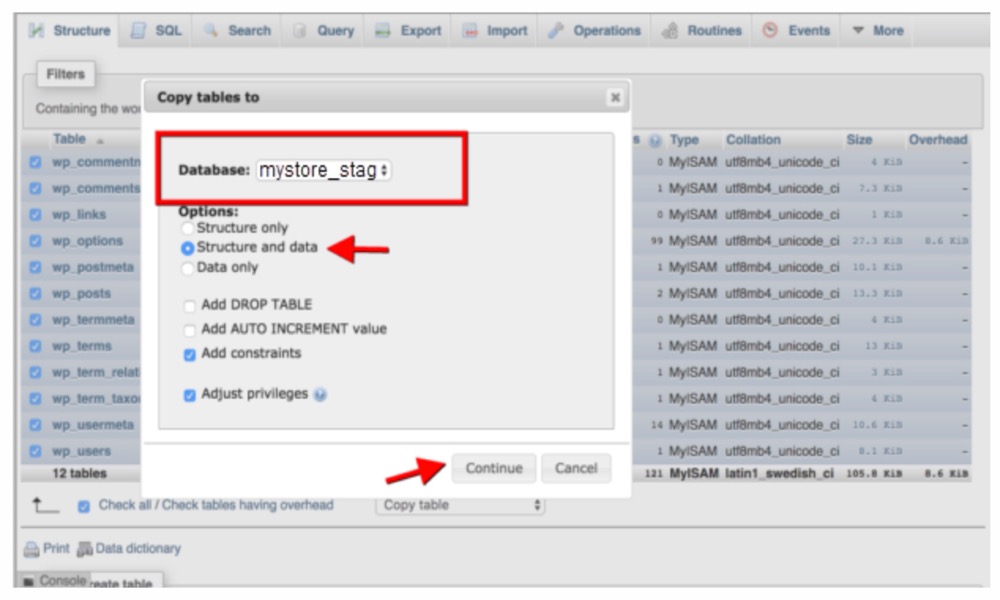
Now go to Hosting cPanel > MySQL Database Wizard and set up the databases there. Assign a name to the staging database, as well as users and passwords. Return to the hosting backend’s control panel and select phpMyAdmin once more.
This will lead you to the database of the live website. Now choose the live WordPress database and choose the Copy table from the drop-down menu. You will be asked to select the target folder once more. To copy the live database to the staging site, pick the database there.
- This necessitates altering the database details in your staging website’s wp-config.php file.
- Finally, update the database with your Site URL.
- Things to Keep in Mind:
- If you have any questions, contact the hosting service’s support team.
- Replace database with caution in the.sql file.
- Make sure you type in the proper website address. If you don’t have an SSL certificate, leave the ‘s’ out of https. If you have the certificate, don’t forget to replace https with https.
- If you have an SSL certificate for the live site, create one for the staging site.
Your staging site is now ready to utilize, thanks to all of these preparations and precautions. You can use your existing WordPress login to access the staging site.
- Approaching Service Providers for Staging Website:
As you can see, the first approach is less stable and lacks necessary support, while the second method is a difficult decision for inexperienced users. In that instance, you have the option of contacting a service provider who may build a staging website for your live website and relaunch it. On your behalf, these service providers establish staging sites on cloud hosting spaces. You will receive constant support as a result of all of this.
5. Changelog for WooCommerce
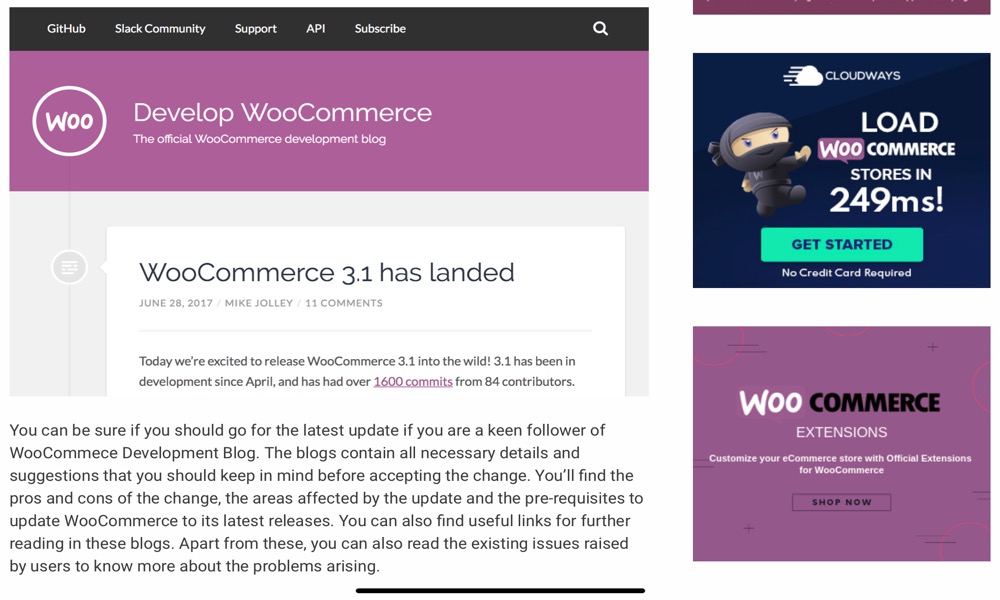
If you are a regular reader of the WooCommerce Development Blog, you’ll know whether or not you should upgrade to the current version. The blogs provide all of the required information and recommendations that you should consider before accepting the update. You’ll learn about the benefits and drawbacks of the change, as well as the areas that will be affected by the update and the prerequisites for updating WooCommerce to the most recent versions. These blogs also contain excellent links for further reading. Aside from that, you can read the existing complaints raised by people to learn more about the issues that have arisen. In addition to tracking software updates, learning how to make the best changelog can significantly enhance how you communicate changes both internally within your team and externally to your customers. Employing a detailed and clear changelog as part of your WooCommerce store’s update process can provide transparency and build trust with your user base.
6. Updates to WooCommerce
Make sure that all of your installed plugins are tested on the current WooCommerce release as soon as you receive notification of any significant WooCommerce update. If you don’t, the plugin might not work properly.
You wait till the plugins and theme are updated to work with the most recent WooCommerce release. Extension developers keep up to date with significant releases like these and begin working on improving their products’ performance and compatibility.
You should wait until all of your plugins and theme are up to date before installing the current update. Once you are certain that WooCommerce is compatible, you may go ahead and upgrade it. But first, make sure the theme and plugins are compatible on the Staging Website.
7. Functions to Test on a Staging Website
You must test various functionality under the latest WooCommerce version while still in the staging website. This is a crucial step in the process because it determines the outcome.
Enable WP DEBUG LOG to test the extensions. This allows you to capture all programming and basic errors, as well as their causes. The debug mode will also point you in the right direction for resolving the problems. Another thing to remember is that you should check responses in both the backend and the frontend.
In the frontend, you can search for sites, products pages, login and profile updates, purchases, transactions, and so on. Also, in WooCommerce’s backend, check for orders, products, and various settings.
If the test results meet your expectations, you can proceed to installing the most recent WooCommerce version on your real website. Alternately, focus on resolving issues during the test.
8. Fixing Problems During the Test
If you run into problems during testing, look over the debug messages and contact the developers and WooCommerce support to have the problem rectified. When you contact assistance in these situations, you will usually be asked for the debug messages. Because these debug messages include a lot of information. You must first resolve the issue before proceeding with the live upgrade.
9. Transferring to a Production Website
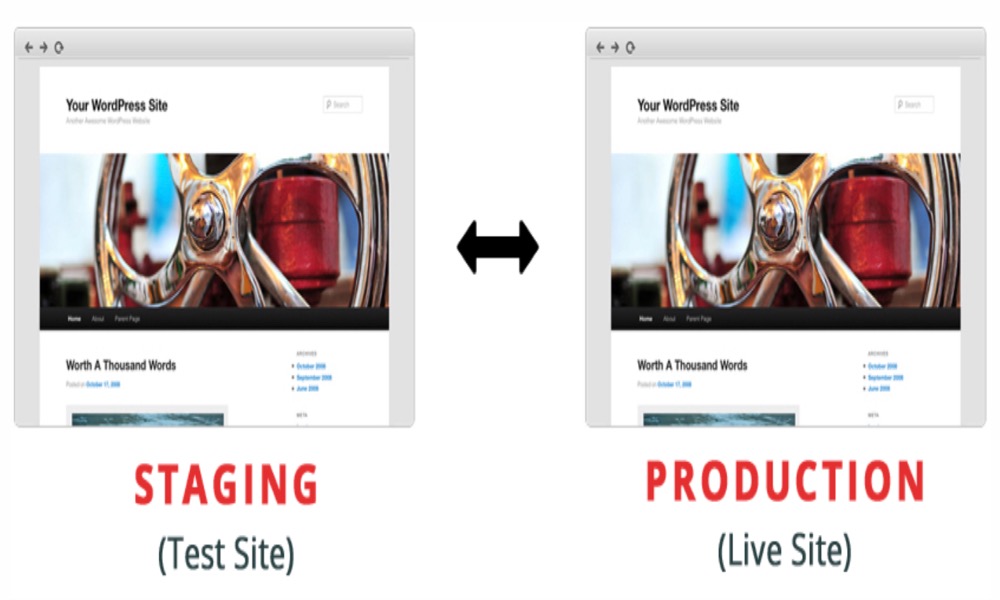
It is high time to deploy from staging to live once you’ve fixed all of the issues in your staging store. Before you decide to go for it, make a mental note of it. During the testing on the staging website, double-check the functionality. And you’ll be free of any problems. You have two choices indicated below:
- Manual:
This is a straightforward option. You’ll need to repeat the processes you used to create the staging website. In a nutshell, start with the manual updating procedure, then create a staging website and test the website’s functions. After a successful test on the staging website, repeat the process on your live website, i.e., perform a manual update and test the functions on the live website.
- Pushing:
This procedure is utilized when the staging website is complicated. When a big code and database change is required as a result of an update, a technical pushing process is required to transmit the changes to the live website. Because database changes in WooCommerce are still done manually, an automatic push of codes to a website is a bit dangerous. To alleviate yourself, you can make use of plugins.
3 Best Staging plugins for WooCommerce
1. Duplicator
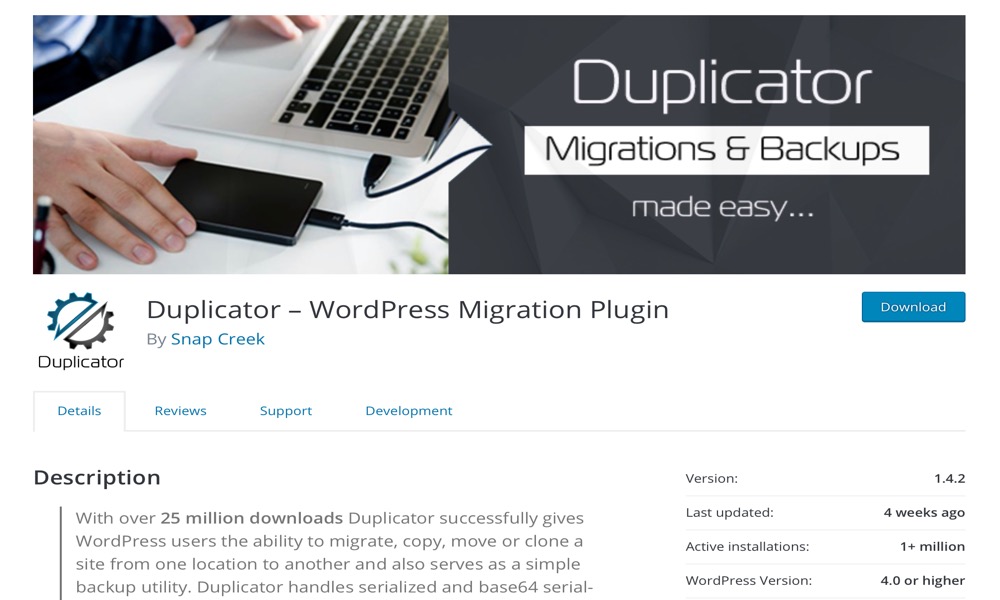
Duplicator successfully allows WordPress users to migrate, copy, move, or clone a site from one location to another, as well as utilize it as a backup tool. This plugin can effortlessly handle standard WordPress migrations and backups, as well as zero-downtime migrations.
Duplicator generates a package containing all of the site’s plugins, themes, content, database, and WordPress files in a single zip file. After that, you may use this software to simply migrate a WordPress site to any location you want. Move your WordPress site around on the same server, between servers, and pretty much anywhere else.
Features:
- Transferring a WordPress site from one host to another is a simple process.
- Back up a WordPress site or parts of a site manually.
- Copy a live site to a staging area or the other way around.
- Compose a WordPress site into a single package for easy repurposing or distribution.
- Without a hitch, complete a WordPress migration.
Rating: 4.9/5
2. WP staging
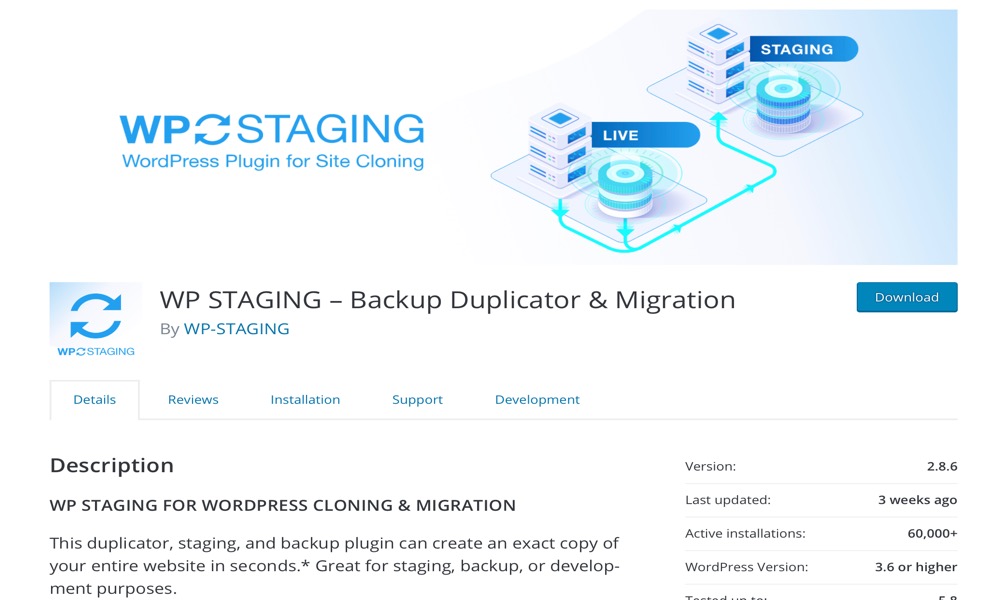
WP staging duplicator, staging, and backup plugin can duplicate your complete website in a matter of seconds. It’s ideal for staging, backup, and development. This clone plugin copies your website to a subdirectory or subdomain within your primary WordPress installation. A complete copy of your database is included in the clone.
All of the time-consuming database and file cloning is done in the background. The plugin also performs an automatic search and replacement of any serialized links and paths.
Features:
- On large websites or tiny hosting servers, there are no server timeouts.
- Fast speed depending on the size of the website and server I/O power, the migration, cloning, and backup procedure takes only a few seconds or minutes.
- As part of your backup strategy, use the clone.
- The cloned staging/backup website is only accessible to administrators.
- Due to a custom login prompt and the meta tag no-index, the staging/backup website is inaccessible to search engines.
Rating: 4.9/5
3. WP Migrate DB
WP Migrate DB is a WordPress migration plugin that simplifies the process of exporting and moving your database. WP Migrate DB fully supports serialized data and arrays and can discover and replace content within serialized arrays. It handles serialized data by deserializing it and going through it, recognizing strings and replacing them. It serializes the data and inserts it back into the database once it has gone through all of it.
Features:
- Priority email assistance.
- Databases can be pushed and pulled from one environment to another.
- Media libraries can be pushed and pulled from one site to another.
- Easily transfer theme and plugin files from one website to another.
- Pushing a subsite to a single site install is an advanced multisite function.
Rating: 4.6/5
Conclusion
Managing modifications with WooCommerce is unquestionably one of the platform’s weak points right now. Simply put, if you choose a different platform like Shopify, you won’t have to worry about many of the issues we’ve discussed in this book.
You will use this tutorial as a blueprint for how you manage WooCommerce upgrades if your WooCommerce store eventually grows to the point where it generates millions of dollars in revenue each year. If that doesn’t sound like fun, you’ll either need to hire someone to do it for you or start looking for a different eCommerce platform!
I hope you will find this article about How to update WooCommerce database without breaking necessary!


