
How to Use Descriptive Image Filenames on Shopify
By Sam Nguyen

There are a number of ways to optimize your page and make it easier for the search engine to find out your content. If you use Shopify store to sell your products, the basis has currently built-in search engine optimization that your page can be found easily by the searching tools. However, you can still improve the ranking level of your content in the search results by practicing some of these methods: upgrade your online store navigation, use descriptive filenames for your images or use internal links with descriptive link text. The topic may be too long for you to follow if I included all these three things then I will focus on how to use descriptive filenames on Shopify only in this writing.
A photo’s filename that brings meaning is better for search engine because it will show more about what your page is. In general, a picture is often saved with a line of numbers or letters which is hard to read. Hence, you can change its name into something which is more simple and close to your content.
Step 1: Rename the original file
Find the original file of the image that you will use for a product on your computer. Replace the old name with the new one which is more descriptive. Because you cannot change the filename in Shopify then you have to rename it on your laptop and re-upload it.
Step 2: Select Products
Log-in to your Shopify account and head to Products, which is the third option on the admin list. It has a symbol of something like a tag price and stays right below the Orders.
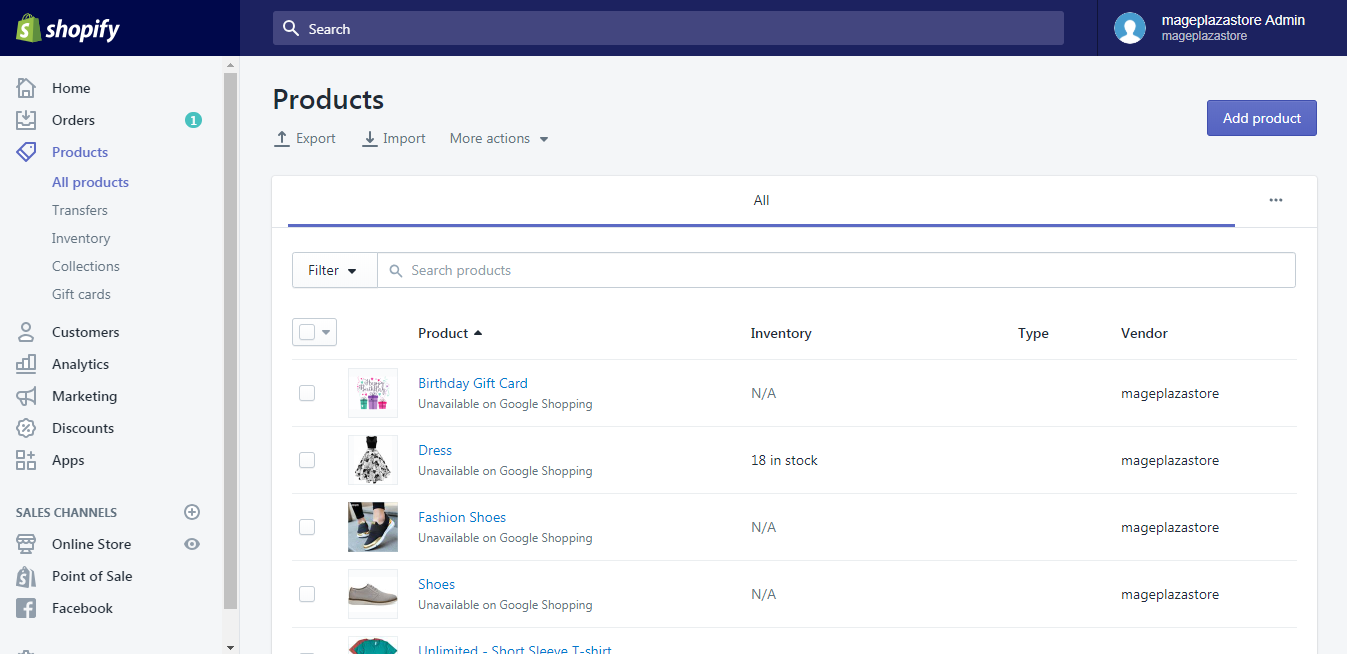
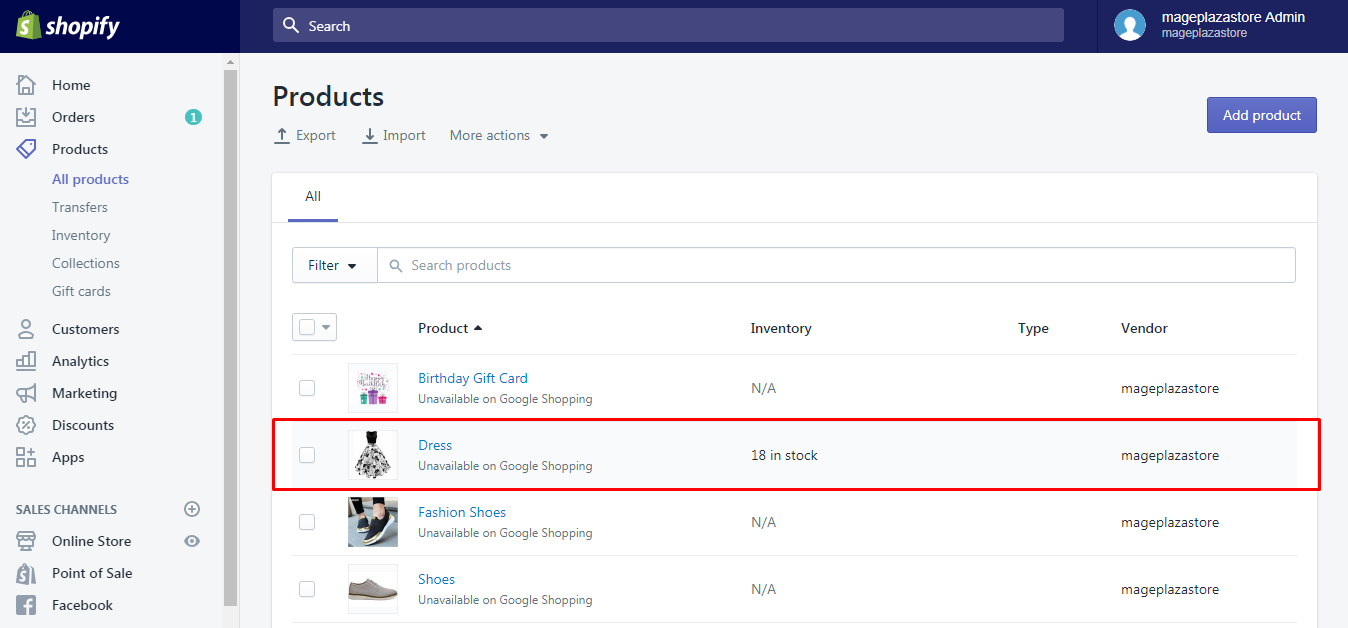
Step 3: Pick a product
The list of your all products will appear on your display that click on the one that you need to update image. For example, the picture below is my list of products and I want to change the image for the product called Dress. Therefore, I will press on its name.
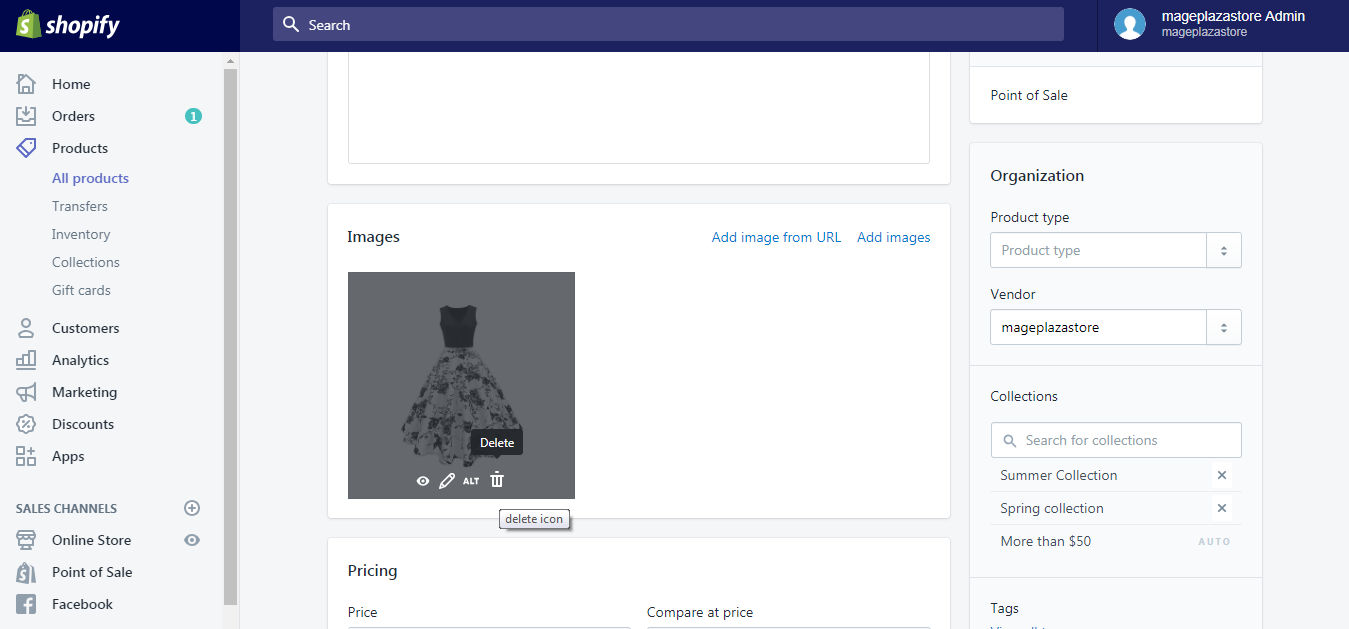
Step 4: Choose Delete
The detailed information of the selected product will appear that you have to scroll down until you see the Images section. There is a trash can icon in the image which means removing then press on that symbol.
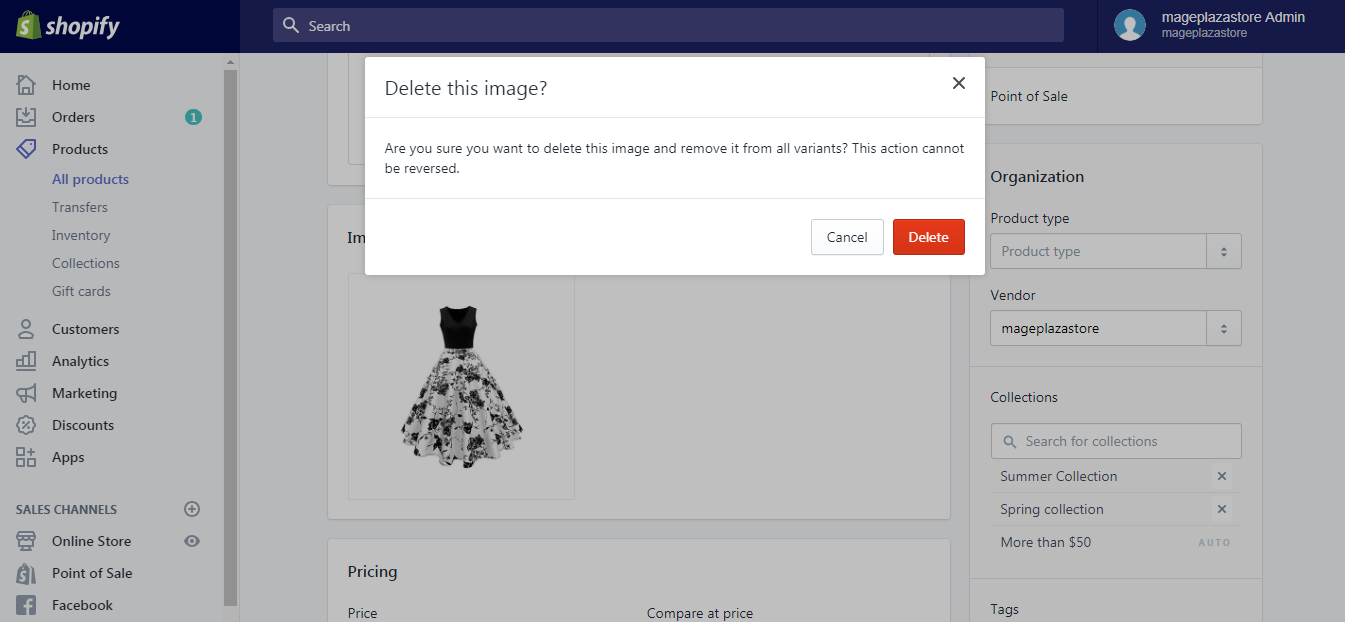
After choosing, another box will appear to ensure your selection then you have to select Delete to confirm it. Once you have deleted the picture, you cannot undo and the system will inform you when the image is removed.
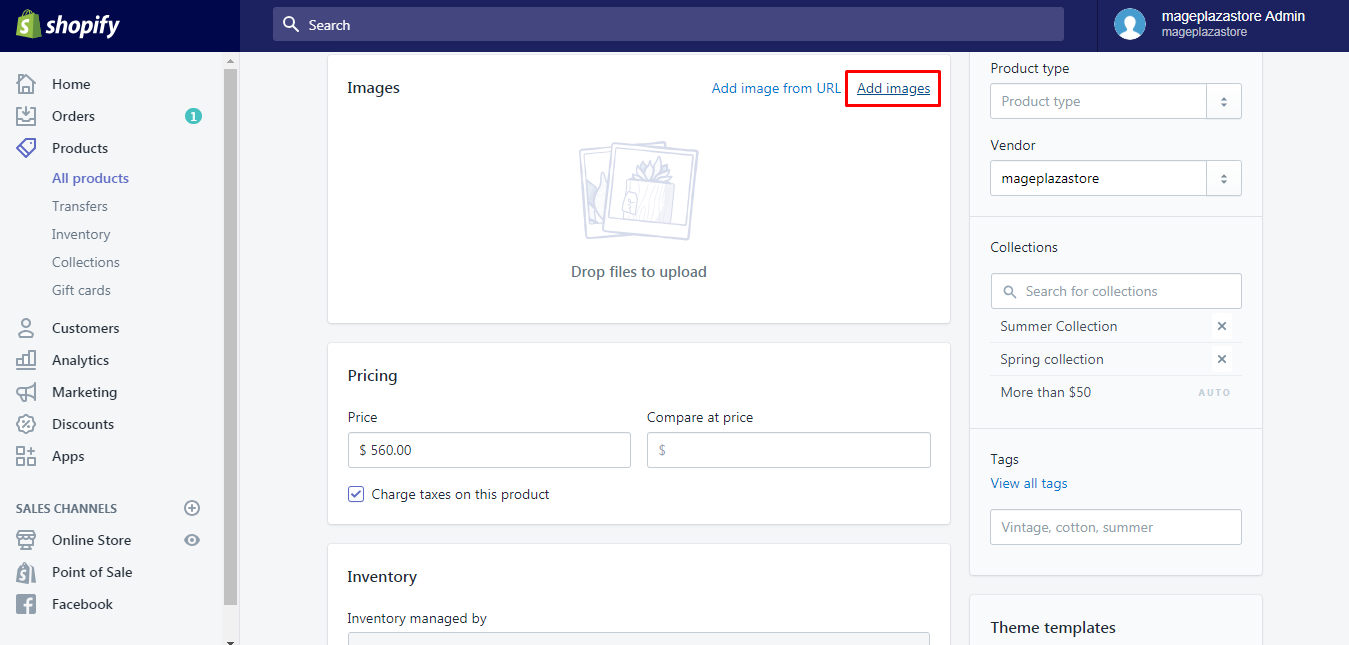
Step 5: Click Add image
Click on Add images and update your featured image with the newly renamed one. It will take a little time for the system to load for the new picture that You have to wait until you see your photo under the Images section.
Conclusion
In short, this writing has introduced to you the process of how to use descriptive image filenames on Shopify that can optimize your site structure for search engines. I also attach photos for almost all of the steps to help you imagine what it will look like in practice. With such effort, hope that it is informative and benefits you. For more posts like this, check out our Help Center.
Related Posts:


