
How to customize Shopify Notification Emails

Overview
-
Shopify default notification templates have their own limit as there is no built-in template editor to customize and personalize the content and email design right inside Shopify. AVADA comes up with an idea that allows you to flexibly customize your Shopify notification templates with an unique and attractive layout.
-
By customizing Shopify notification, online merchants can optimize communications with customers, which allows theme to add a personal touch at different points of the purchase journey. That results in better relationship with customer and then sales increase.
-
At the time of writing, AVADA supports you customize 3 types of Shopify notification: Order Confirmation, Shipping Confirmation and New Account Welcome
-
Please note that Shopify notification emails will still be delivered through Shopify, not AVADA. When your design for each template is completed, you just need to copy the code and paste the template code into Shopify.
Create and customize Shopify Notification Template
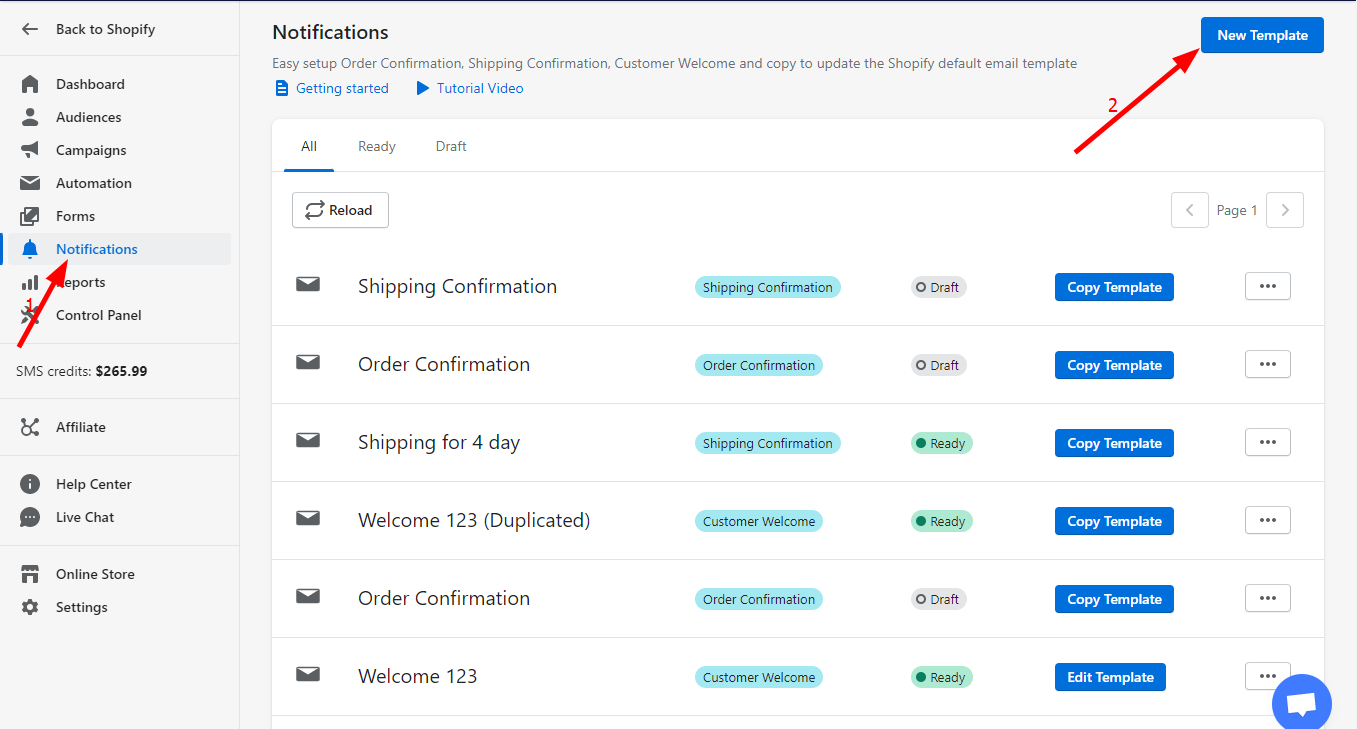
Step 1: Access the app > Notification > Click on New Template
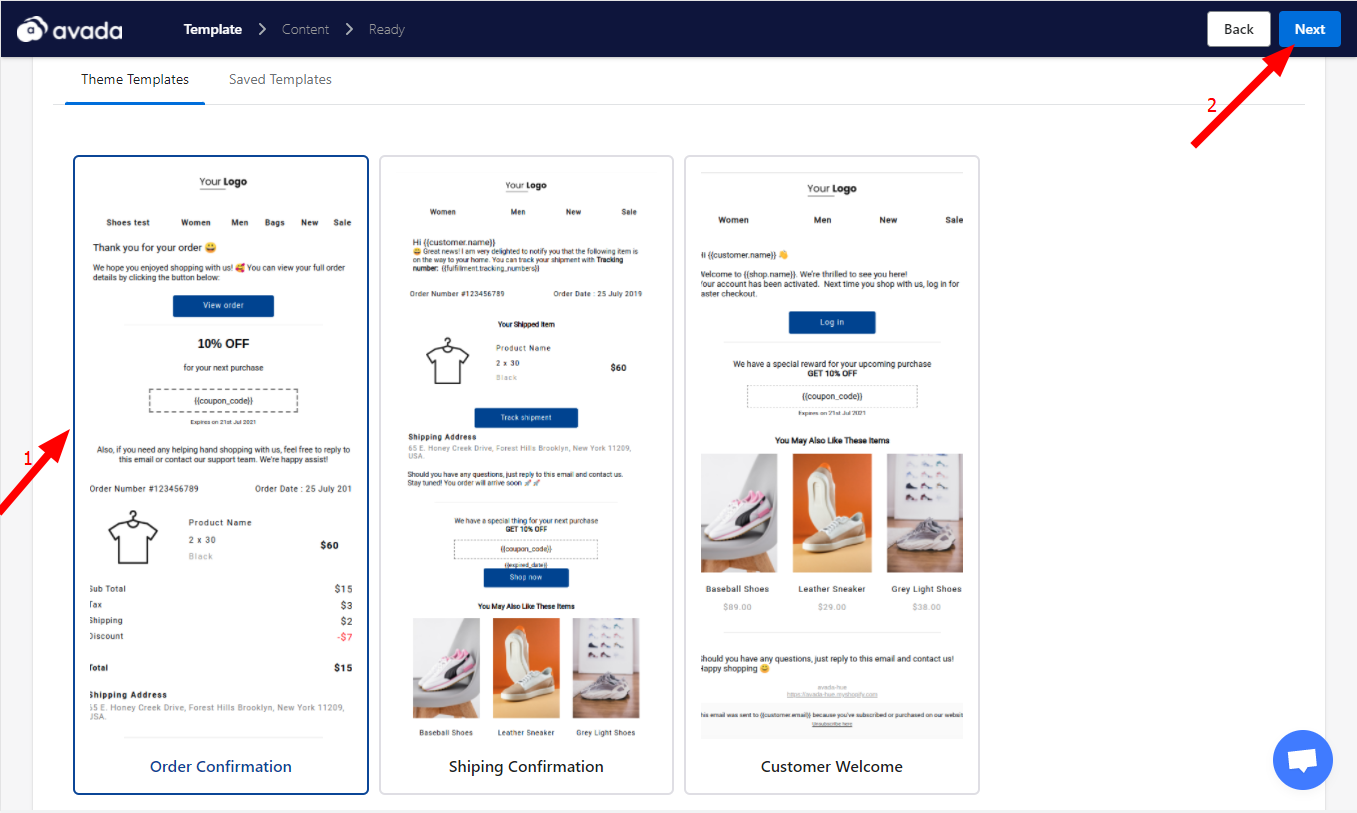
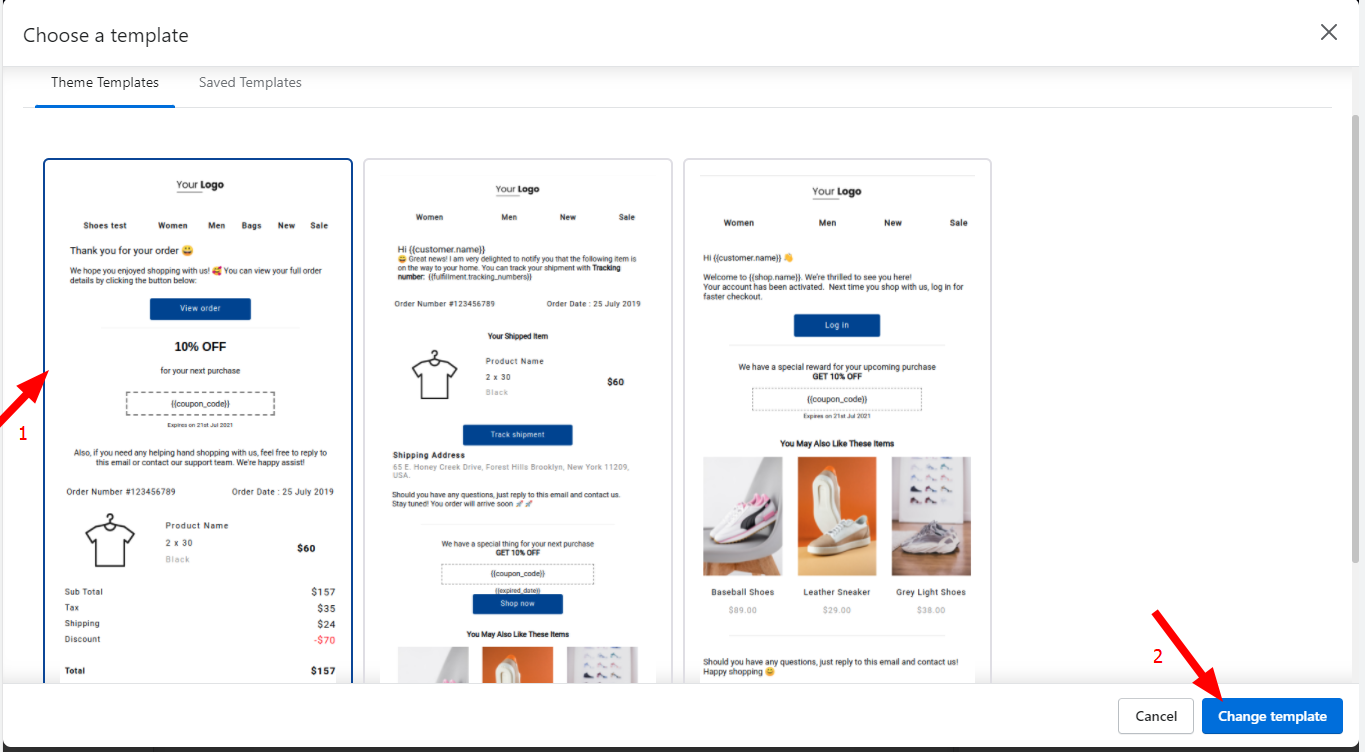
Step 2: Choose a template
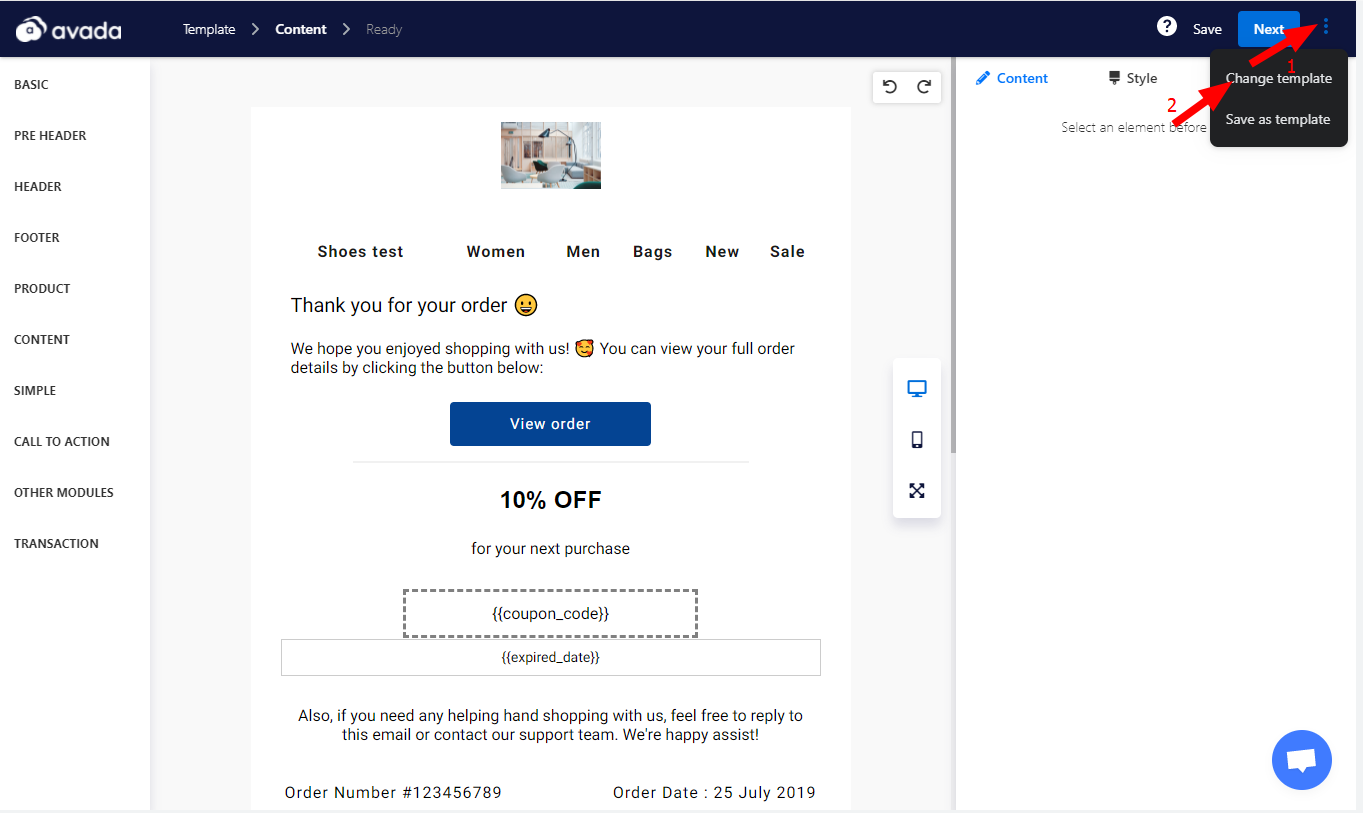
Step 3: Customize the template
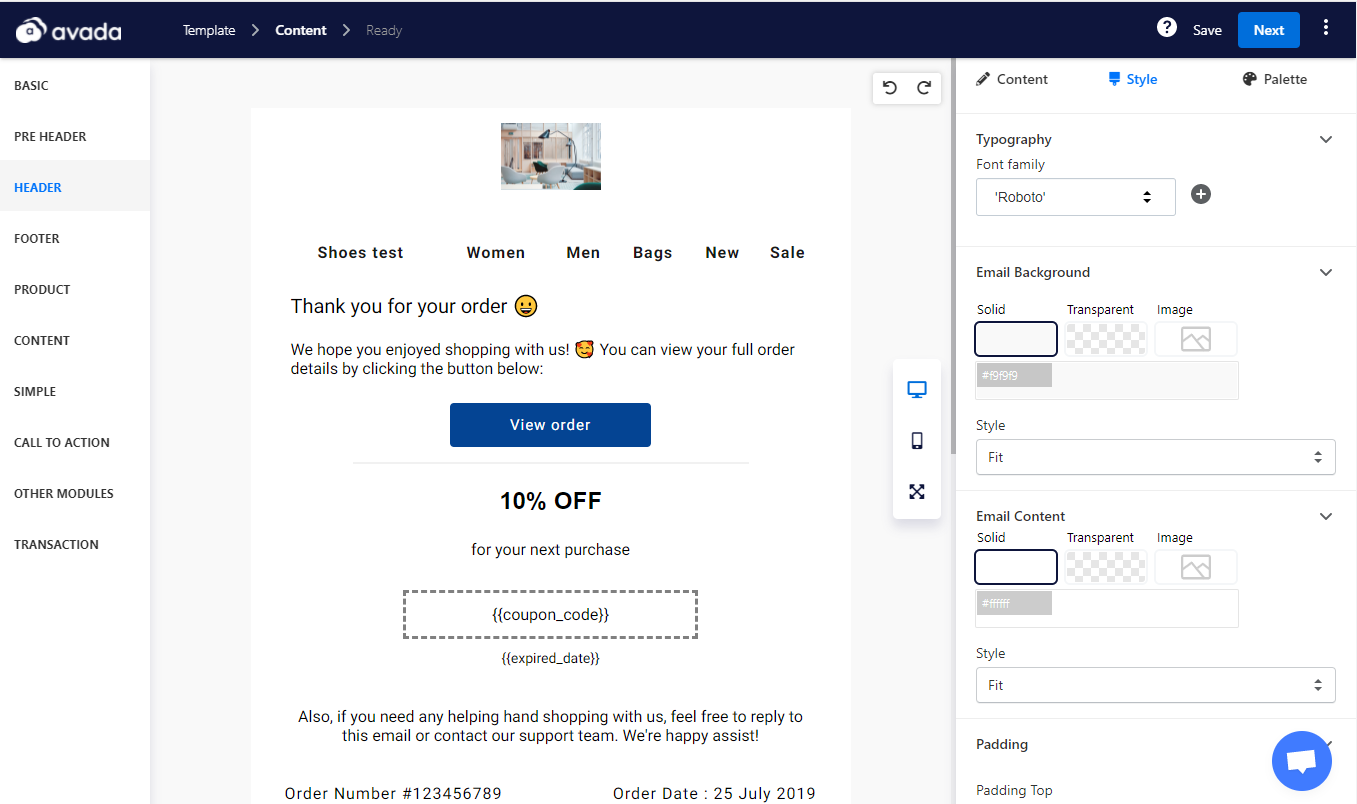
At this step, you can use AVADA email editor to style tailor your Shopify notification. It is quite easy to change the notification layout, add more blocks, modify the email content, etc. Now, let’s see what we can do to make your email notification look polished and works effectively
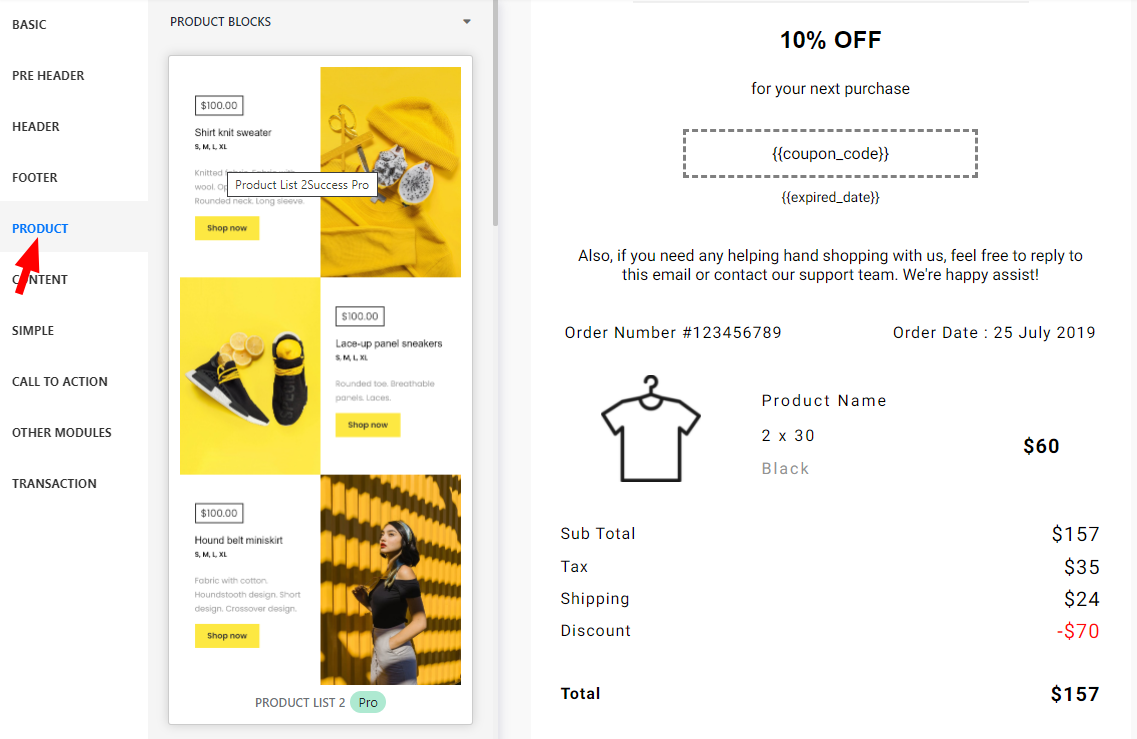
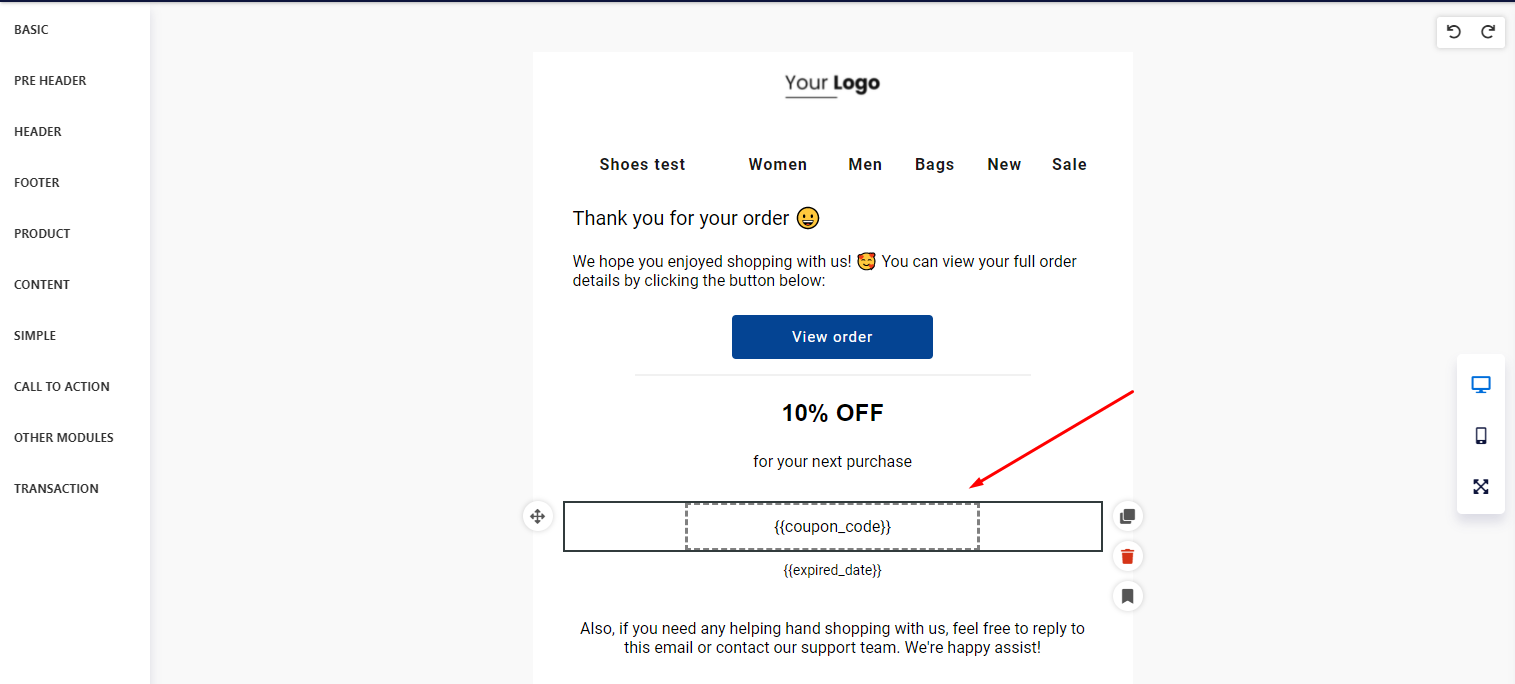
- Take advantage of our pre-built blocks
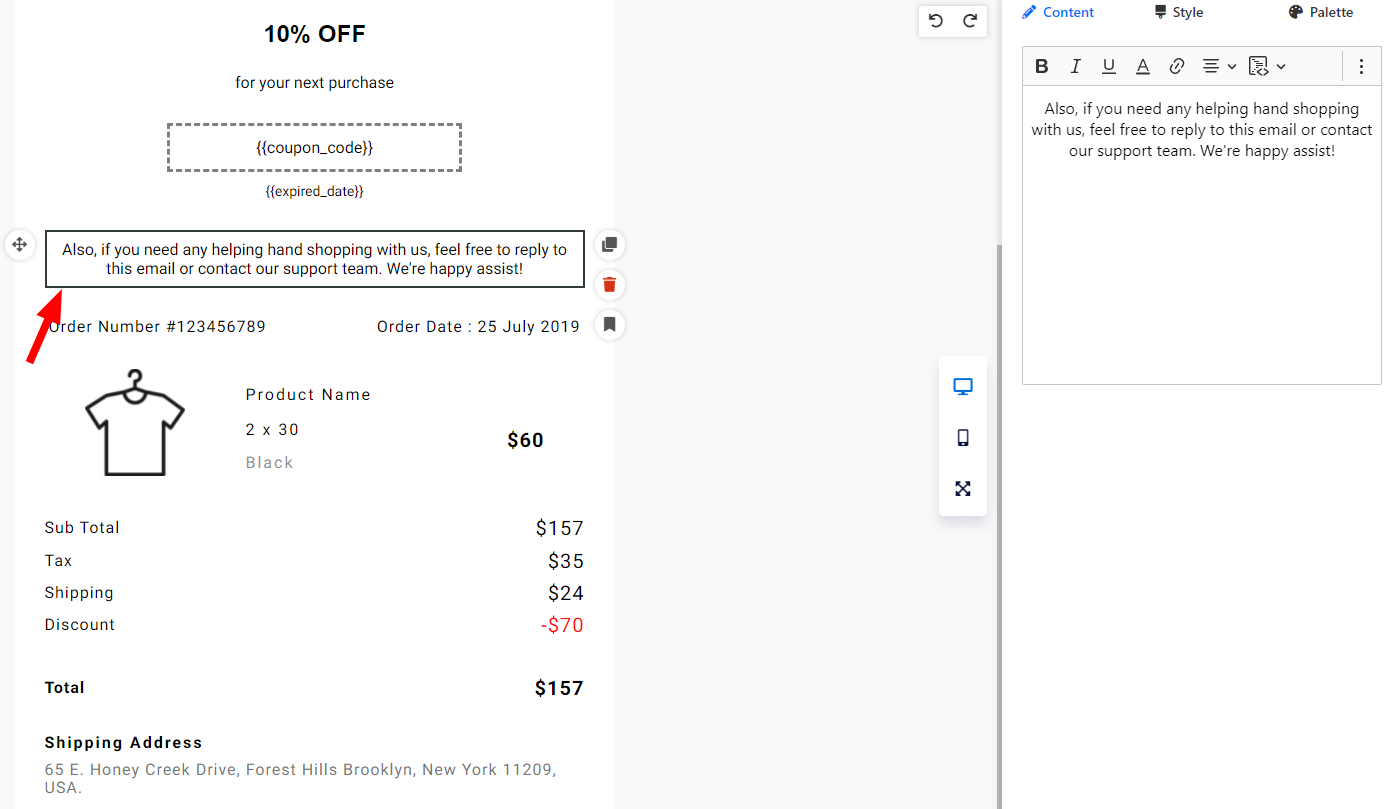
- Customize Content, Style, Palette
- If you would like to achieve a boost in sales number, you might want to add personalized discount to the email
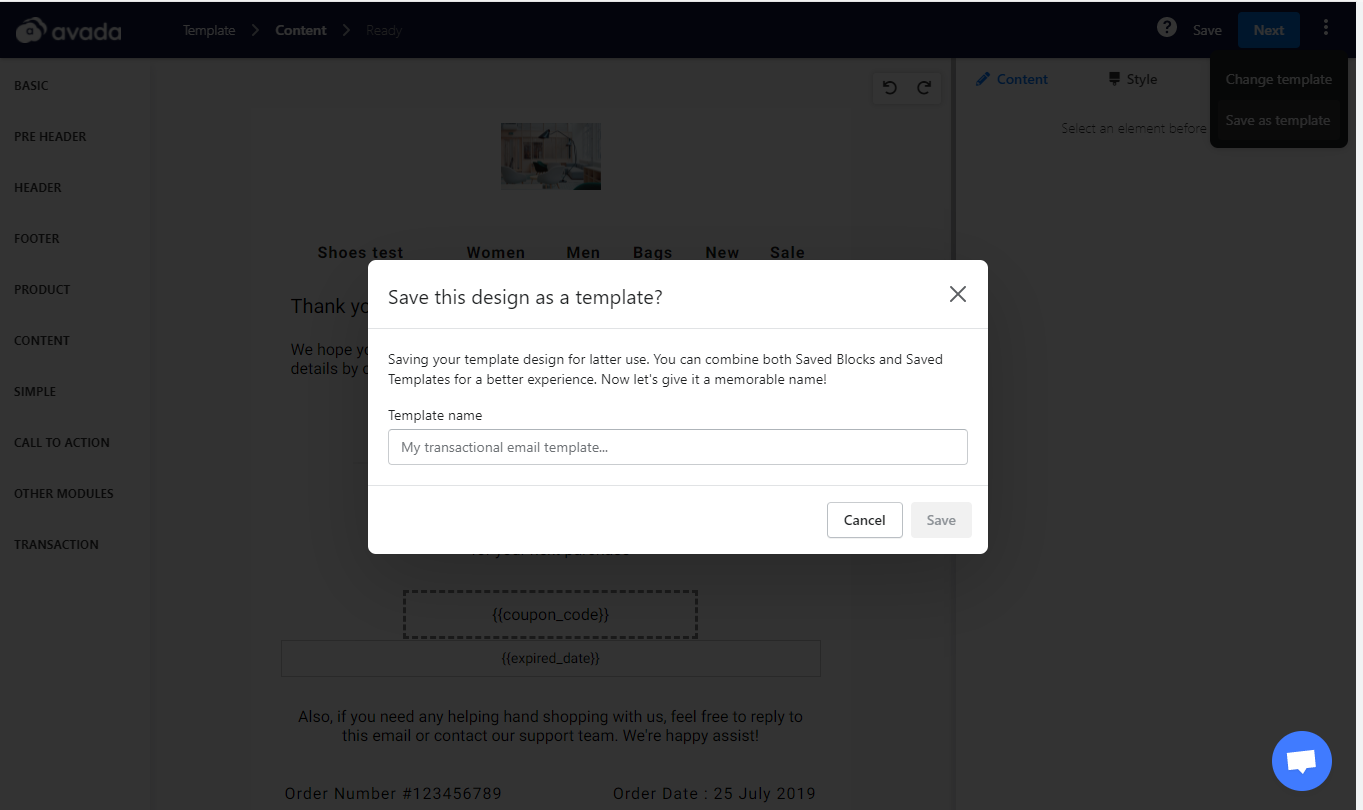
Step 4: Save the template
Once you modify the templates as you wish, please hit Save as template. By doing this, you can save your design for later use. Do not forget to give it a name so you can find it quickly next time.
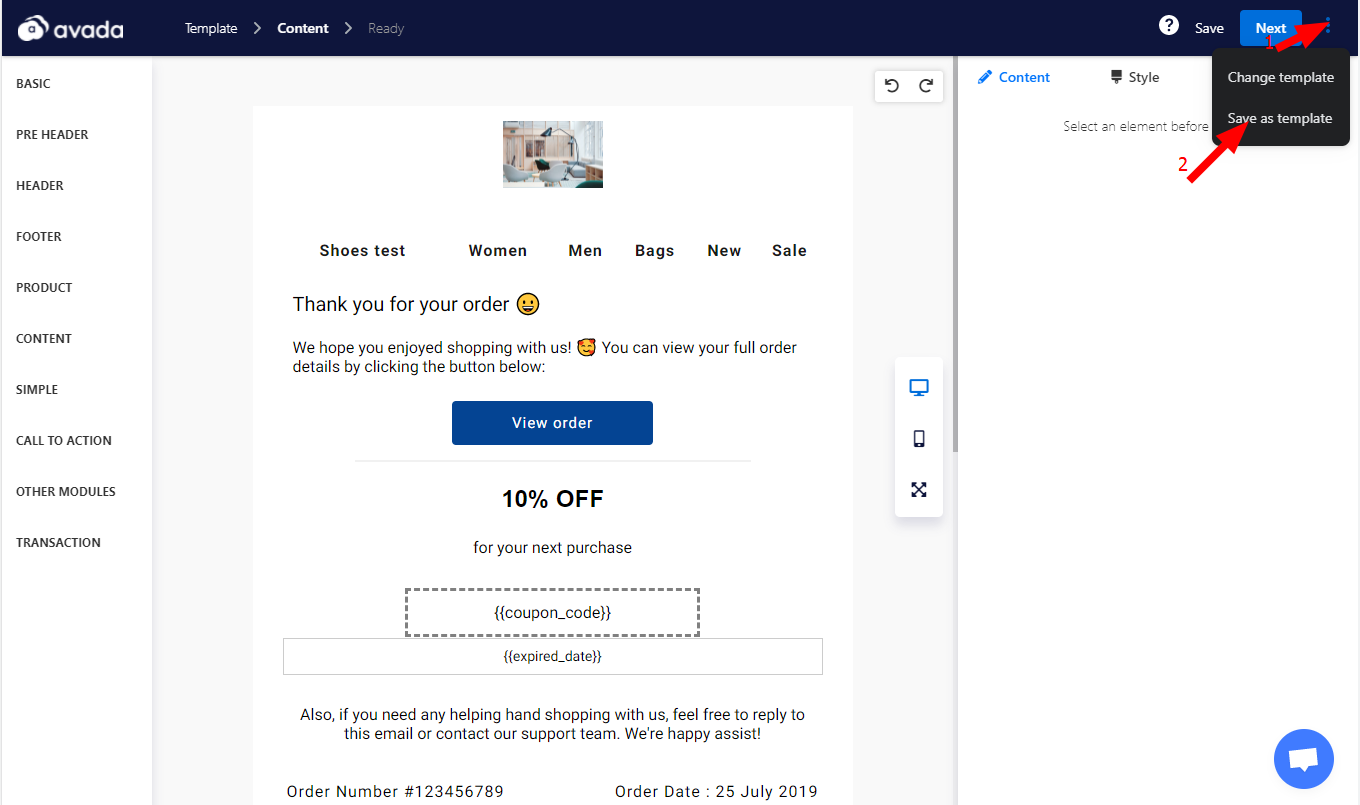
Note: If you would love to change to a new notification template as the current one is not what you are looking for, you might want to use Change template option
Please keep in mind that after completing the customization, hit** Next button** to move to the next step
Step 5: Ready
-
Name: Give your notification a name
-
Description: Write a short description: This is a optional step as you might want to use this for internal use only.
-
Copy to Clipboard: This allows you to copy the HTML code of the template you have created. You will need to copy HTML code for each individual notification email individually

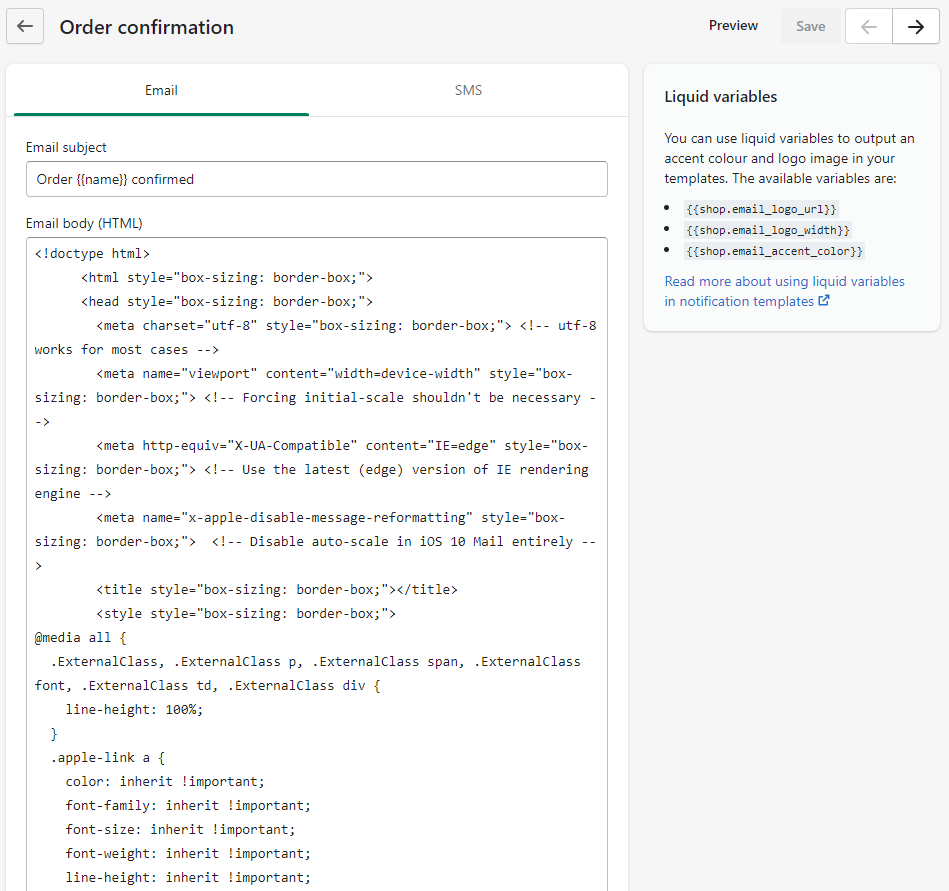
- Select Shopify notification: After you click on email notification type, you will be directed to the corresponding Shopify notification page
-
Delete the existing email body and then paste the code you have just copied to the Shopify notification email
-
See email preview and hit Save as the last step.
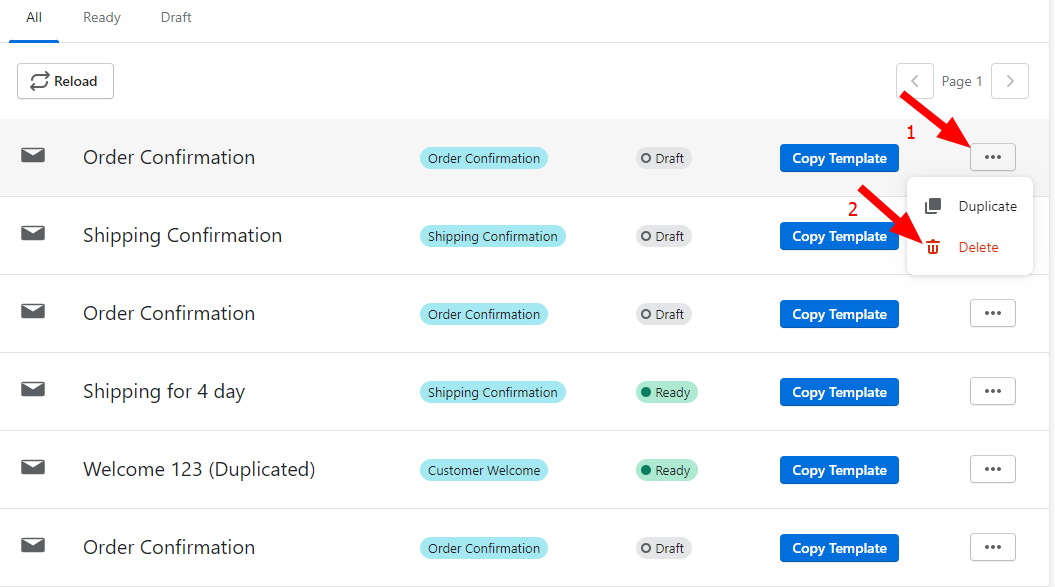
Manage Notification
- Duplicate notification
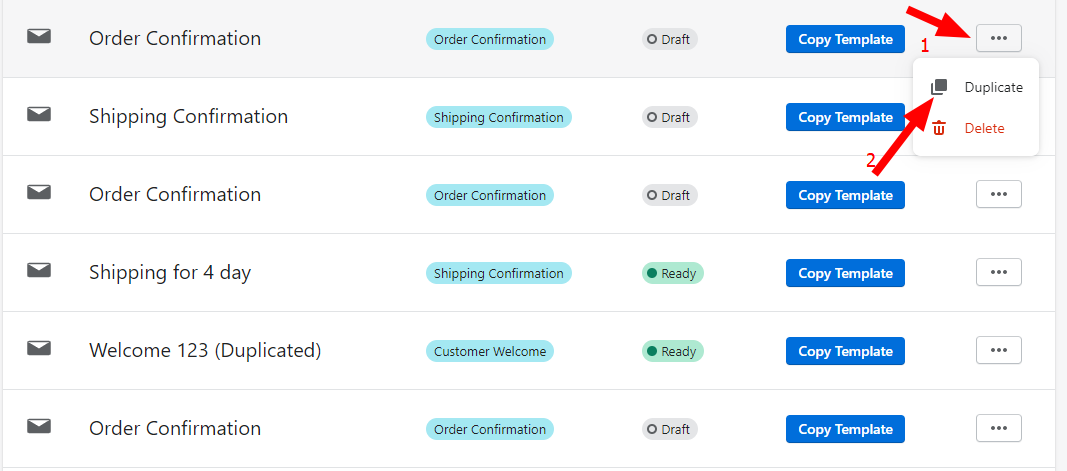
- Delete Notification
Conclusion
At present, AVADA offers 3 most important Shopify notification templates: Order Confirmation, Shipping Confirmation and New Account Welcome. As customizing Shopify email notifications is a frequent request from many clients, we will continue add more templates in the coming time.
See our video guide below if you are not sure about how to process these steps correctly
If you have any questions, please feel reach to out to us through Livechat in the app. We are happy to help you customize your Shopify Notification as you wish!


