
How to Apply the Digital Goods VAT Rates to a Different Collection on Shopify
By Sam Nguyen

VAT or Value Added Tax is a kind of selling tax that the consumers have to pay to the government. For some countries, this tax is free for digital items, however, for people living in European Union (EU), they need to pay it at the rate imposed in their countries no matter where they buy the products. In the previous topic, I have already shown you how to enable the VAT rates for digital goods. Nevertheless, you can create another collection which includes your digital products using the same VAT. For more information, keep following this writing to know how to apply the digital goods VAT rates to a different collection on Shopify.
Related Posts:
- How to see the VAT rates you’re using on Shopify
- How to disable the VAT rates for digital goods on Shopify
- How to change the default name of the VAT tax on Shopify
- How to sell digital downloads on Shopify?
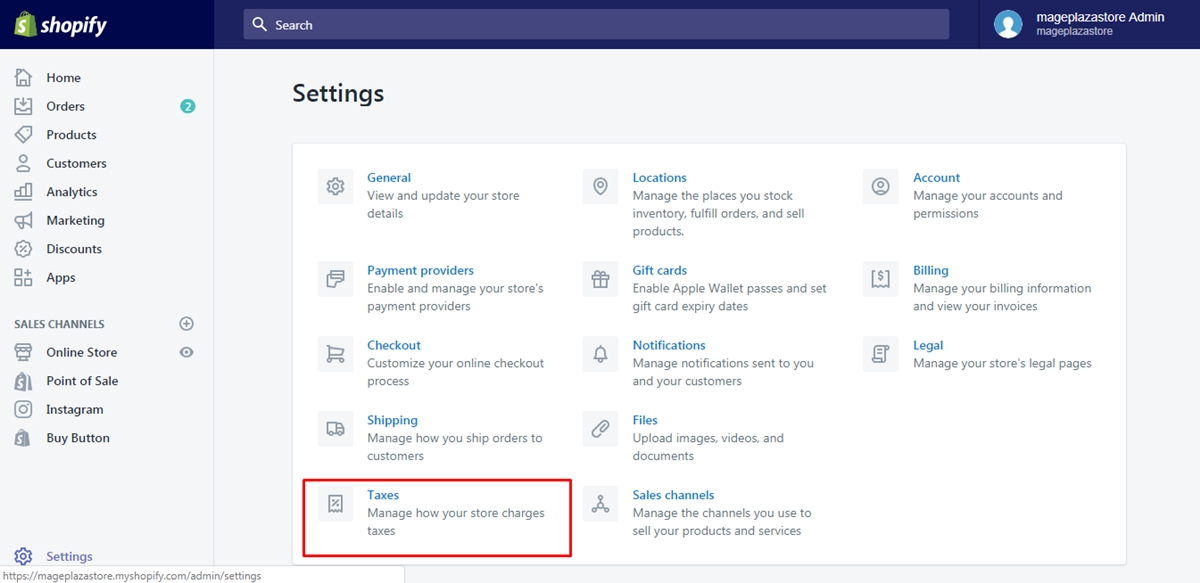
Step 1: Choose Taxes
Log-in to your account on Shopify and click on Settings which has a gear icon next to it. After that, find the Taxes with the percentage symbol beside in the list of Settings, which is the last option in the first out of the three columns.
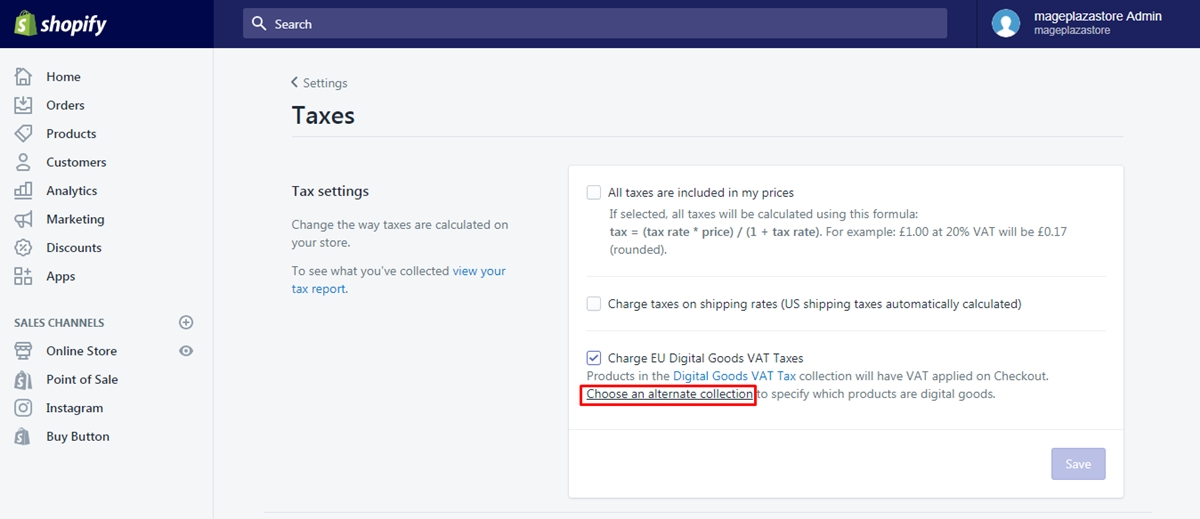
Step 2: Select Choose an alternate collection
In the Taxes, there are two more sections, which consists of Tax settings and Tax rates. In the Tax settings part, there is a Charge EU Digital Goods VAT Taxes option and a short description of how this setting works. You can also see an underlined phrase with the content of Choose an alternate collection then you need to press on it to continue.
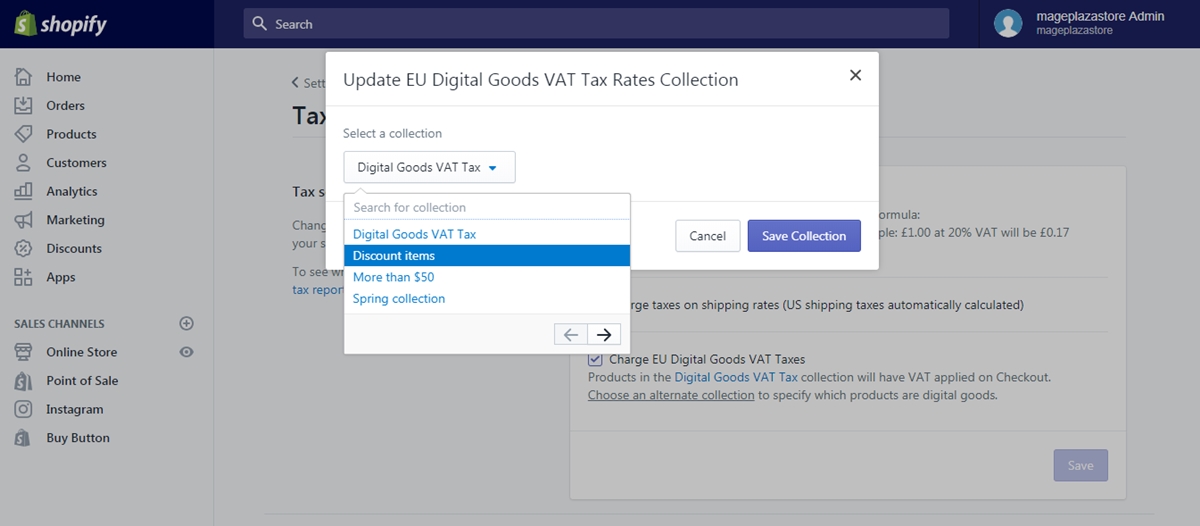
Step 3: Pick a collection
Another dialog box will appear on your screen with the title of Update EU Digital Goods VAT Tax Rates Collection. In the box, there is a drop-down menu and an instruction tells you to Select a collection. Click on the Digital goods VAT tax which is the title of the menu and fill in the name of the collection that you want to apply the VAT on the search box or pick one from the displayed list. For example, I want to use the VAT for the collection named Discount items, which is my second choice in the list then I will choose it.
Step 4: Press on Save Collection
After completing all the above steps, click on the blue Save Collection button to record all the changes. If you accidentally select Cancel, you have to back to step 2 and repeat the process from then on. Thus, remember to choose Save Collection to end the action.

Conclusion
To sum up, the writing has provided you with the guideline of how to apply the digital goods VAT rates to a different collection. I also attach illustrated photos for each step in the process to help you have a clearer vision of what you have to do. With such an effort to bring to you the best, I hope you enjoy the reading time and earn some benefits from this topic so that you can deal with tax better.


