
How to generate a new product section in Shopify
By Sam Nguyen

In the previous post about how to generate a new product template, you must have followed those steps successfully. This is the continuous guide for you to do the next steps which are to generate a new product section. Thanks to this, you can link your product template with the section you are going to create effectively. Below is the transparent instruction.
Generate a new product section
- Step 1: Choose Add a new section
- Step 2: Generate the section
- Step 3: Make the file empty
- Step 4: Copy the content of the product-template.liquid file
- Step 5: Paste the content into your new file
- Step 6: Save
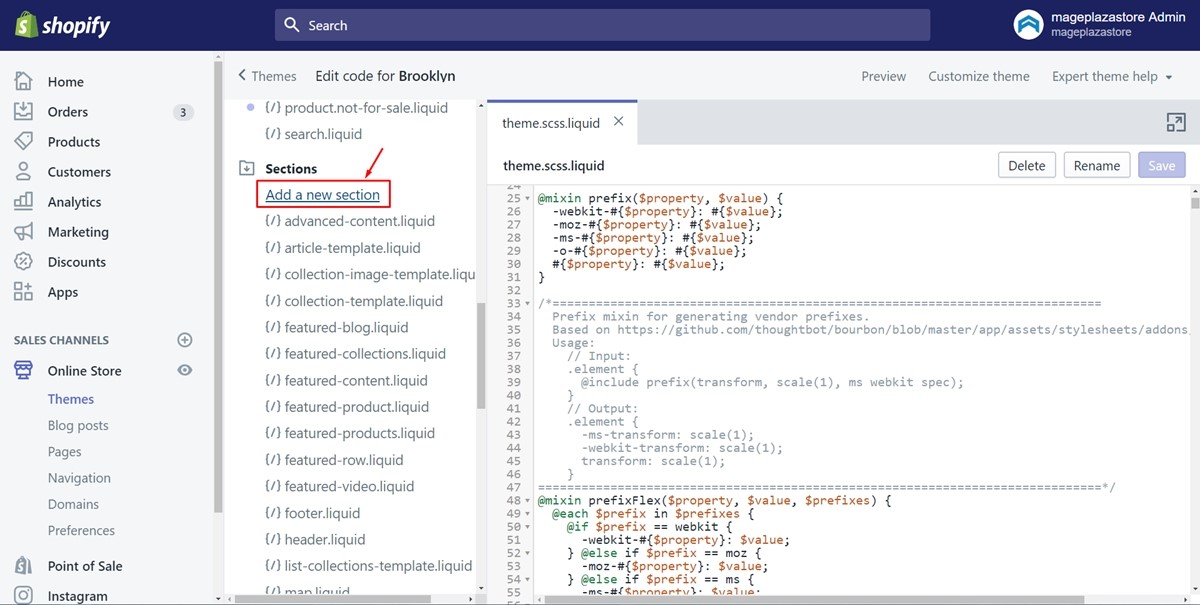
Step 1: Choose Add a new section
After you’ve done all of the steps in the previous post, you can move to this step. Scroll down and take a view of the Sections field, make sure to choose Add a new section which I’ve marked by the red rectangle in the picture below.
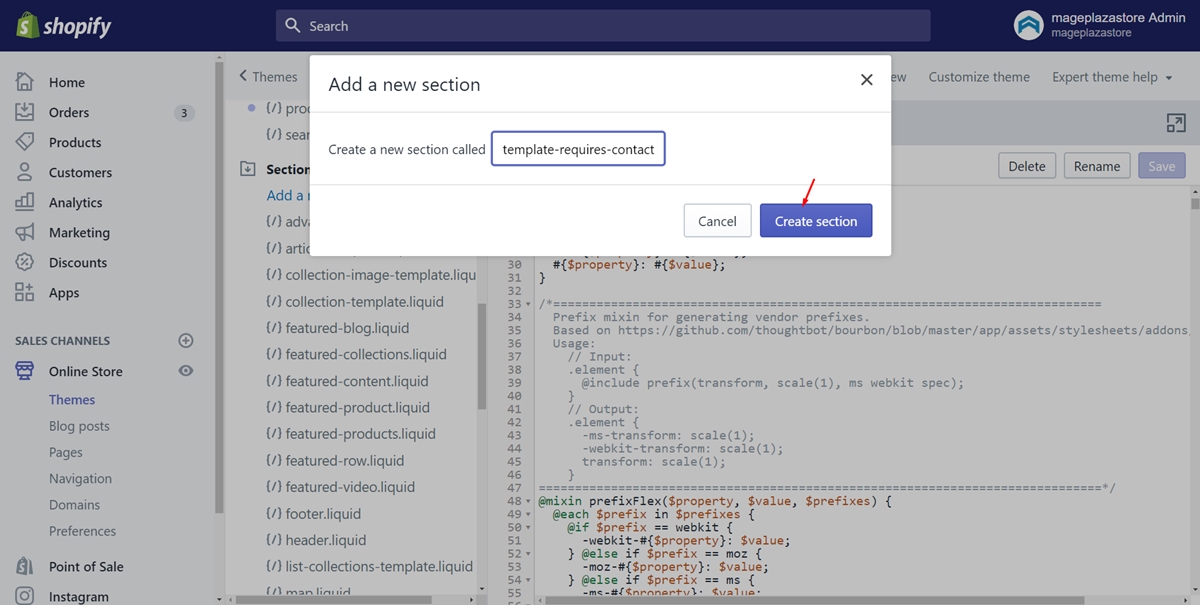
Step 2: Generate the section
In this step, you will generate a new product section. To do this, name the new section product-template-requires-contact firstly. Afterward, press on the Create section. You can see in the following illustrated picture.
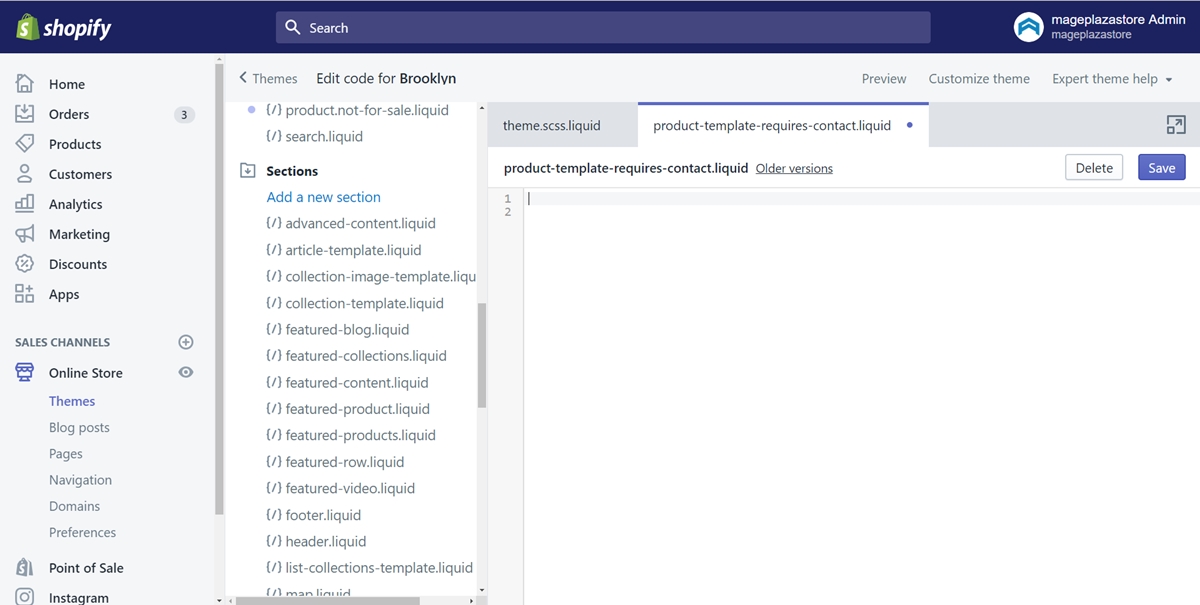
Step 3: Make the file empty
To make the file empty, you need to delete all the default code. To be more clear, blacken all the content and press on the Delete button on the keyboard.
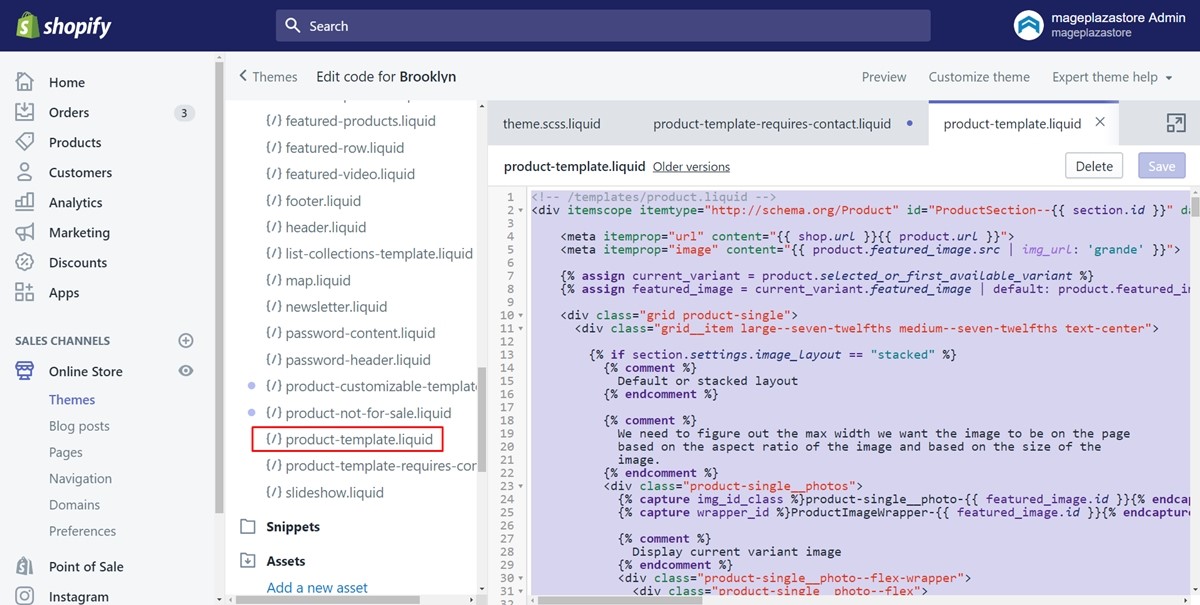
Step 4: Copy the content of the product-template.liquid file
Look at the Sections field again and make sure to find the product-template.liquid file. Next, you need to copy all the codes in the file.
Step 5: Paste the content into your new file
In this step, make sure that you go to the new product-template-requires-contact.liquid file which you’ve created. Paste the code you’ve just copied into the file.
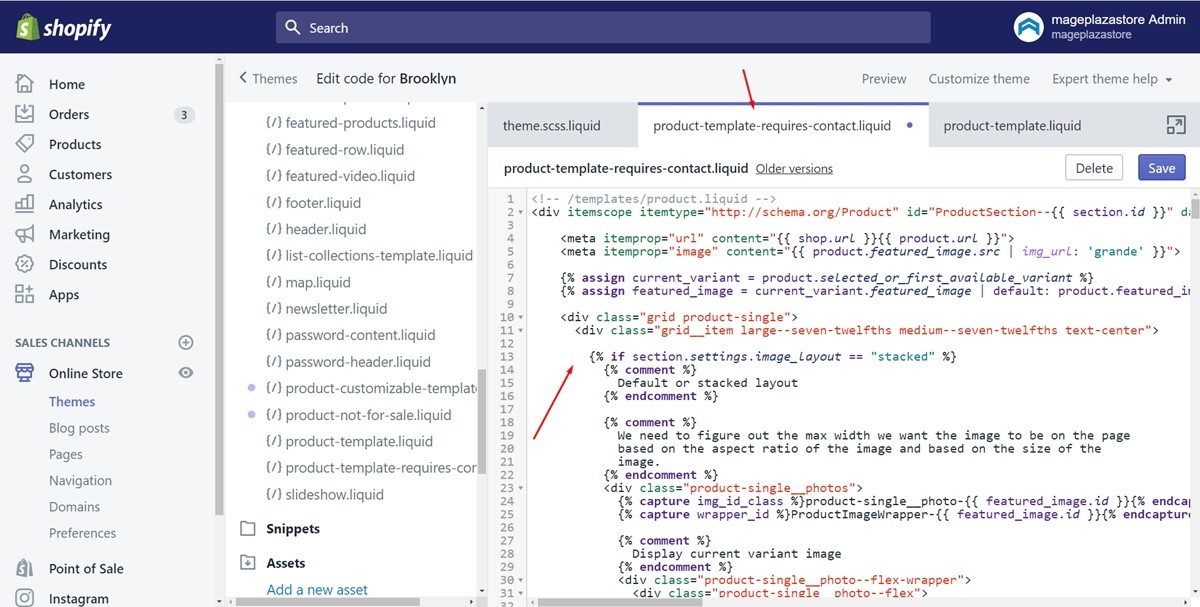
Step 6: : Tap on Save
Finally, don’t forget to tap on Save to save all you’ve done. You’ve created a new product section successfully.

Summary
After following the previous post and this one, you can replace the Add to cart button for an item in an intelligent way. In addition, you should visit the writing I’ve prepared about how to hide the add to cart button in detail. Tap here to move forward to the instruction. Hope you find these ones useful and easy to carry out. It’s highly recommended that you should follow the process to hide the add to cart button successfully.


