
How To Create A Website With Wix: A Comprehensive Guide
By Sam Nguyen

In this post, we’ll explore the art of Wix website creation, guiding you step by step through a comprehensive journey of crafting your site within just one to two hours.
Key Takeaways
- Wix website creation is an easy process and can be done within 10 simple steps. You can either create a stunning storefront by yourself with Wix Editor or take advantage of Wix ADI to have the platform build the website for you.
- Wix Editor offers a range of 900+ templates and drag-and-drop customization, catering to small businesses, online stores, and photographers. In contrast, Wix ADI automates personalized website creation, making it perfect for less tech-savvy users, busy business owners, and time-constrained bloggers.
2 Ways To Make A Website With Wix
Before we get started, you should know there are two ways to make a website with Wix.
Wix Editor
At the heart of Wix Editor’s allure lies its extensive collection of over 900 templates, providing a diverse array of design starting points. Whether you’re aiming to launch a small business site, an engaging restaurant page, a captivating online store, an informative blog, or a visually striking photography portfolio, Wix Editor has a template tailored to your vision.
Wix Editor operates on a drag-and-drop interface, allowing users to craft their digital spaces with unparalleled simplicity. Upon selecting a template that resonates with your brand identity, you’re greeted with a blank canvas eagerly awaiting your creative touch.
One of Wix Editor’s standout features is its robust menu of customization options. Each element on the canvas can be easily adjusted, resized, or repositioned, granting you complete creative control over your website’s appearance.
Wix Editor is a versatile platform suitable for many individuals and businesses seeking to establish an online presence quickly and efficiently. It’s especially well-suited for:
- Small Businesses
- Restaurants
- Online Stores
- Bloggers
- Photographers
Wix ADI
Distinct from the traditional Wix Editor, Wix ADI offers a unique approach by harnessing the capabilities of Artificial Design Intelligence to create a website with simplicity. To embark on your website creation journey, you need to provide basic information such as your business type, contact details, and existing online presence.
Armed with these essentials, Wix ADI takes the reins and dynamically generates a captivating website design tailored to your specifications. From layout and color scheme to imagery and content placement, Wix ADI crafts an entire website for you, effectively automating the design process.
Despite its automated approach, you can make minor design modifications to align the site with your unique taste. This flexibility ensures that the final product is efficiently generated and accurately represents your brand and identity.
Wix ADI’s user-friendly and time-efficient nature makes it a perfect fit for various individuals and businesses:
- Individuals with limited technical skills
- Entrepreneurs with busy schedules
- Time-constrained bloggers
How To Use Wix Editor
Using Wix Editor to create your website is a straightforward process. Here’s a step-by-step guide to help you get started:
Sign up
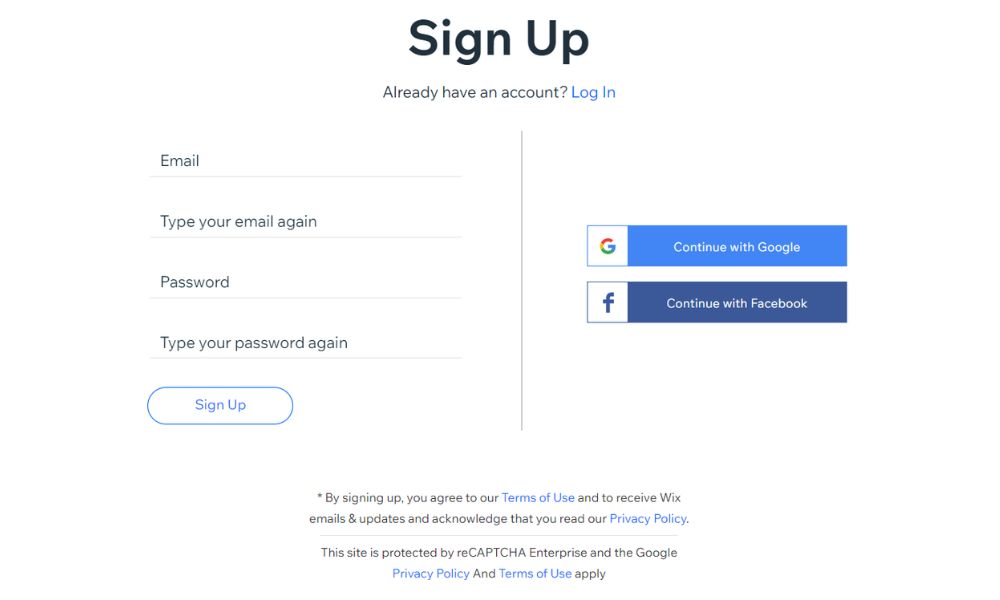
The first step involves visiting the Wix website. Simply click on the ‘Get Started’ button to initiate the process and proceed to establish your account.
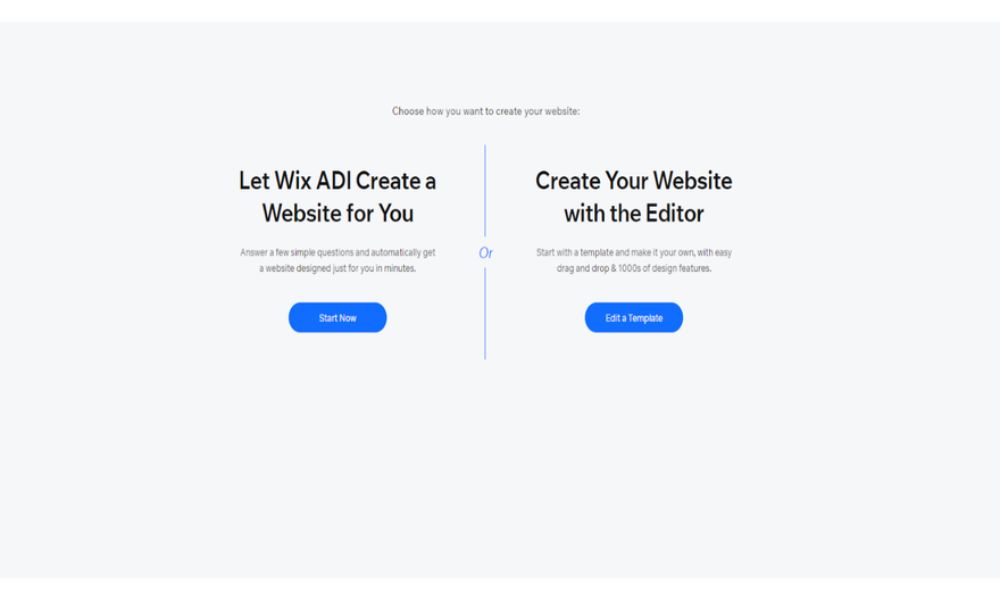
You’ll be prompted to provide your email address before creating a secure password and then presented with the choice between using Wix ADI or Wix Editor.
Once this decision is made, you’ll have the opportunity to define the specific kind of website you intend to construct – from a personal blog to an online store catering to a diverse range of preferences.
Pick A Pricing Plan
Before you begin, you’ll need to select a suitable Wix plan to meet your requirements. Wix provides 5 different packages, priced between $16 and $159 per month. Enterprise, the most advanced plan, has customized pricing. The features and advantages you receive align with the premium tier of each package, meaning you’ll get more as you pay more.
Here is the detailed pricing of Wix plans. Please note that this is the price and plans in the US. Please visit Wix pricing site to see the specific pricing in your region.
- Light: $16/month
- Core: $27/month
- Business: $32/month
- Business Elite: $159/month
- Enterprise: Custom Pricing starting at $500 per month
If you’re new to using Wix for crafting a website or personal blog, the Light plan at $16 is the ideal starting point. Similarly, as your demands and user base grow, you can choose a package that scales accordingly. For those seeking to enhance their brand without hefty expenditures, the Business plan at $32 per month is our top recommendation. This plan covers standard features, marketing tools, and e-commerce capabilities.
Choose A Template
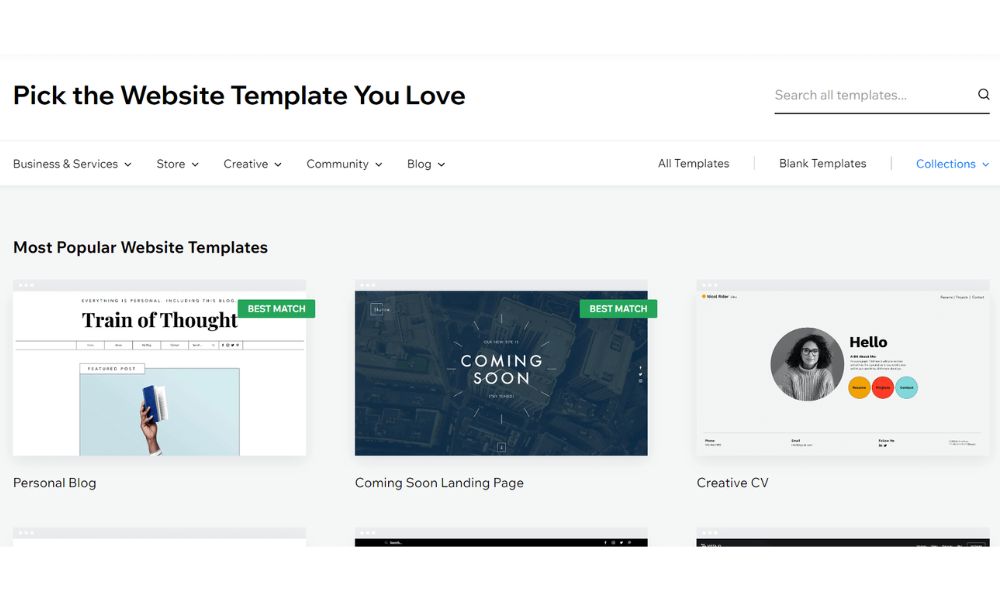
Wix offers a collection of over 900 templates that span across various industries. The choices are abundant, presenting you with the delightful predicament of selecting the perfect fit for your needs.
The expansive template library on Wix is conveniently categorized by industry, allowing you to refine your search effortlessly. And if your desired template doesn’t fall within your chosen category, the search bar comes to the rescue, granting you access to even more options.
Before committing and editing, each template extends a preview, ensuring you see how your website will shape up. This preview function is valuable, especially considering one of Wix’s limitations: changing the template becomes impossible once you finalize and publish your site.
Once satisfied with your template choice, a simple click on the ‘Edit‘ button in the upper right corner initiates your journey to turn your selected canvas into a masterpiece.
Customize The Template
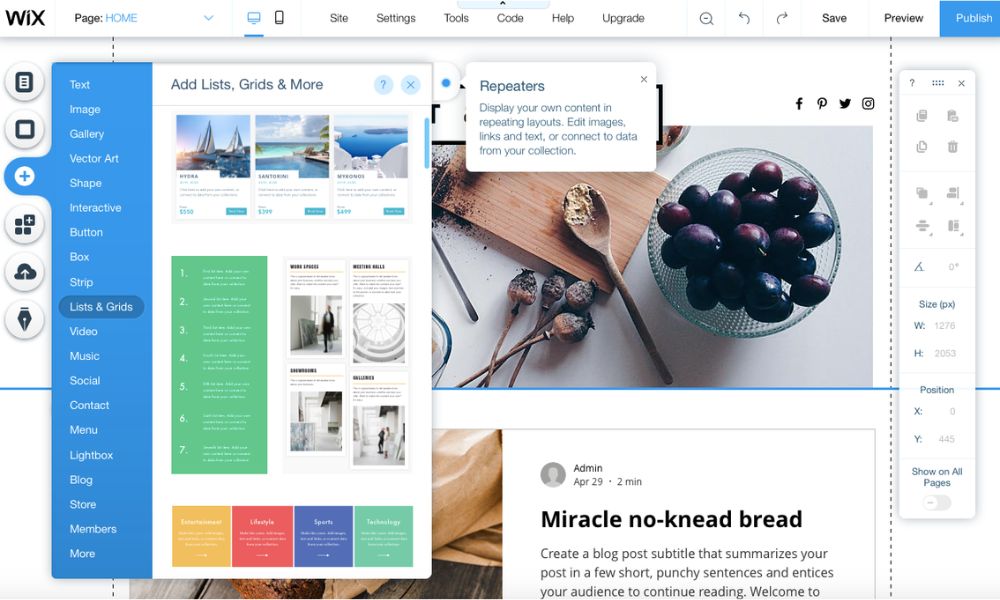
After you’ve taken a peek and settled on your preferred template, the exciting part kicks in time to dive into editing!
You’ll seamlessly transition to Wix’s drag-and-drop editor. The customization is simple: pick the component you fancy from the toolbar on the left, effortlessly drag it to your desired spot, and release it!
When you embark on your editing adventure, your initial focus might be updating details for your company, portfolio, or blog. Here’s how: click on the text you wish to modify, then rewrite it. You can change font size, color, or typography delights like italics and bold.
Wix templates come with pre-existing images. If you’re not fond of an image or prefer to replace it with your own, simply click on it and choose ‘Change Image.‘ You have the option to upload your own images, edit them, and provide descriptions.
Furthermore, Wix offers a wealth of free images. If you lack images, you can explore the photo library and select ones that align with your brand and website.
You also have the option to modify your template’s background. On the left-hand sidebar, there’s an icon labeled ‘Site Design’. Clicking on it opens a panel where you can change your color scheme, page background, or page transitions. To include background images, click on the ‘Page Background’ box. You can also adjust your background by selecting the “Color” button.
After crafting an appealing homepage, it’s essential to add a few more pages to ensure your website covers all visitor needs – like an “About” page and a “Contact Us” page. To add a page within the Wix Editor, click the downward arrow next to your current page at the top of the editor, then select “Manage Pages.” From there, you can add pages and customize them for various purposes.
For more detailed adjustments to your pages, click the three dots next to the page title. This opens a submenu where you can fine-tune your SEO settings, rename, duplicate, copy, or even hide a page.
Integrate Apps
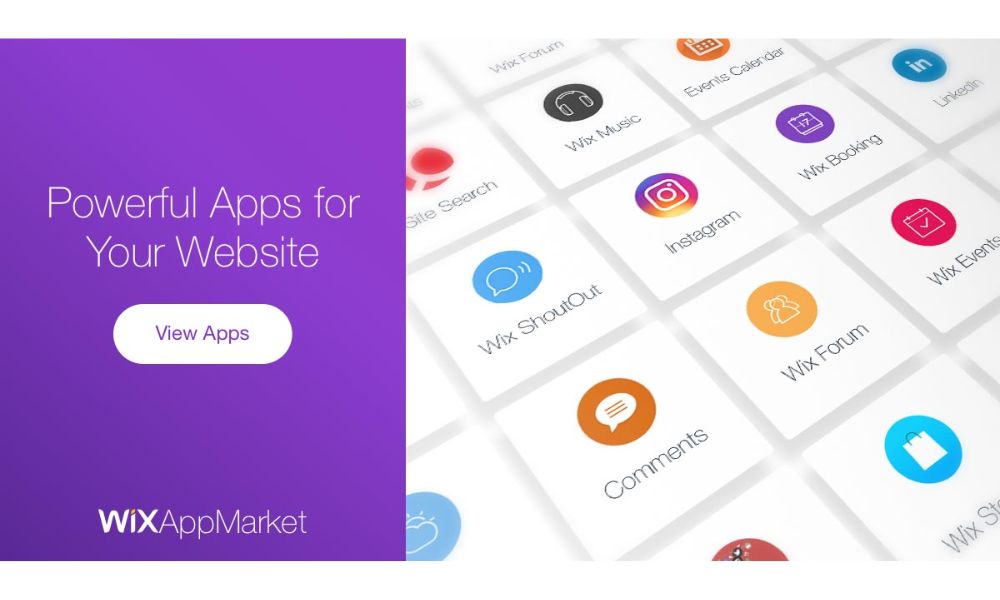
Wix’s Editor incorporates numerous tools and features, but its continually expanding app library is a standout factor that elevates it. Wix App Market boasts an impressive collection of over 300 applications designed to enhance your site.
To integrate apps, return to the left-hand toolbar and click the grid-like icon – this opens the app market. The app market can be browsed through the search bar or by exploring Wix’s trending and featured selections. A thumbnail preview accompanies each app, and you’ll find ‘Free’ or ‘Premium’ price options (or both). Notably, unlike many markets, there’s no need for price negotiations.
However, it’s worth noting that some of Wix’s apps, particularly the premium ones, can carry a higher cost. This implies that your monthly expenses could escalate if not monitored.
To manage this, we recommend having a plan for the apps you wish to integrate before downloading. This proactive approach lets you stay on top of your expenses, ensuring a more controlled financial picture.
Set Up A Blog
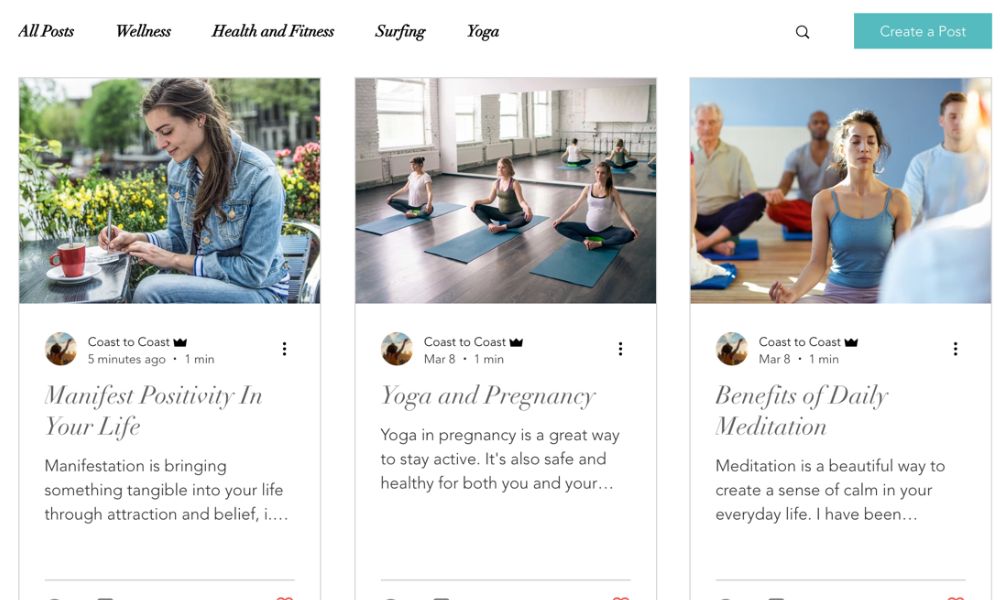
Next, in the Wix website creation process, we will guide you in setting up a blog. While not essential, many businesses include a polished blog page to inform their audience. Wix stands out as an excellent website builder for blogging.
To incorporate a blog, click the pen-shaped icon in the left-hand toolbar. A tab will emerge, inviting you to integrate a blog into your site. You’ll have three choices: a personal blog, one with a writing team, or a members’ area. Select the option that aligns best with your brand.
When you’re ready to craft your debut blog post, click the blog icon in the toolbar and choose ‘Create a Post.‘ A window akin to a Word document will appear, serving as your canvas for writing.
Wix Editor isn’t your sole writing hub. You can also fashion your blog posts in the dashboard. Click the ‘Blog‘ header in the sidebar and select ‘Create New Post‘ at the top right corner.
Wix’s blog app is impressively versatile. Hit the familiar pen-shaped button in the editor, then opt for ‘Add Blog Elements.’ From here, you can introduce practical elements like an Instagram feed, events, or an RSS (Really Simple Syndication) button for online content sharing.
Create An Online Store
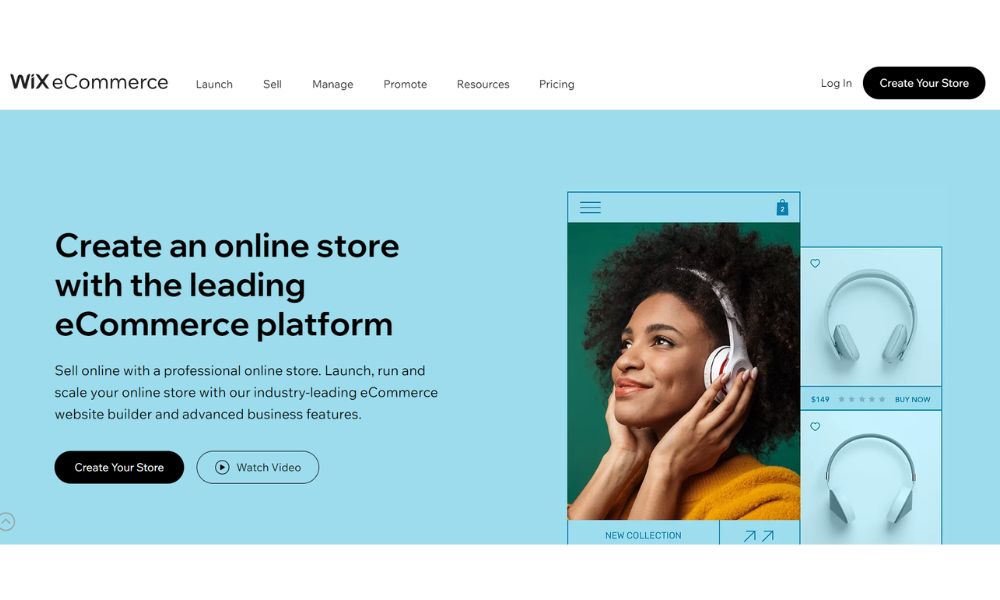
If you intend to transform your website into an online store, opting for Wix is wise. It ranks among the top choices for ecommerce website builders overall and excels as the best website builder for small businesses.
While it’s swift to establish an online store, you must opt for one of Wix’s three ecommerce plans before embarking on sales. Regrettably, the free plan doesn’t support selling. Wix’s ecommerce plans begin at $27 and go up to $159.
Incorporating an online store onto your site is a straightforward process. Begin by clicking the “+” icon found in the left-hand menu. This action will reveal a menu of add-ons for your website. Within this list, select “Store,” and you’ll have the option to “Add a Store.”
Upon completing this step, the next time you access the ‘Store‘ option, you’ll have the opportunity to integrate various ecommerce elements. These include diverse product galleries, add-to-cart buttons, and a currency converter.
You’re not confined solely to the options within the store menu. Wix offers an abundance of ecommerce apps in its app market. These range from dropshipping and payment gateways to tax support, providing many tools to amplify your website’s selling capabilities.
Optimize Your Website
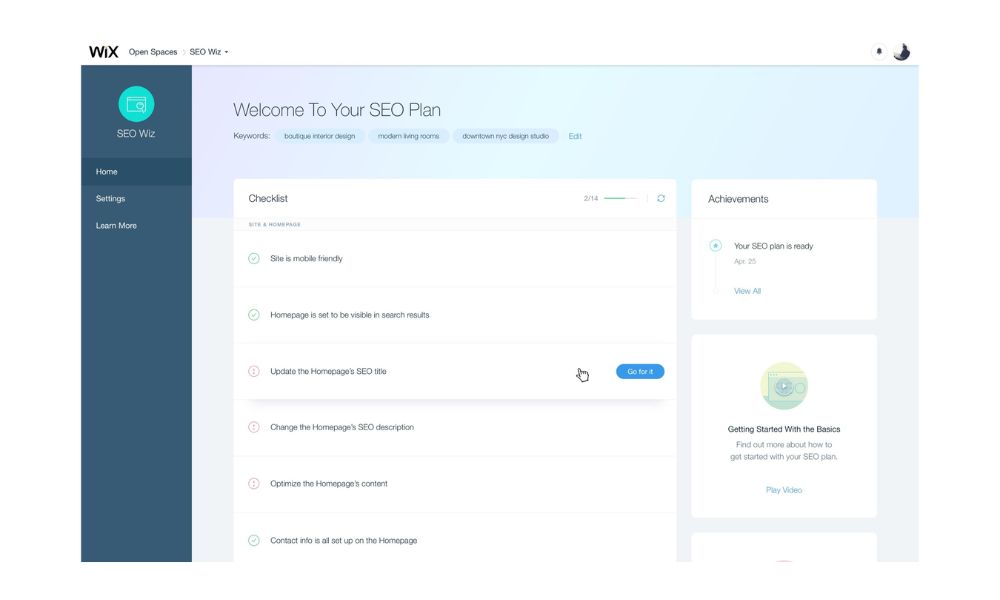
Wix Editor simplifies working with your site’s SEO features. On the left side of the site editor, go to “Menus and Pages” and click the ellipses next to any page. This prompts a list of options, including “SEO Basics.” Clicking this opens a menu where you can manage your site’s fundamental SEO elements. You can review URLs and modify the site description visible in SERPs (Search Engine Results Pages).
You’ll find a button that leads you to ‘Go to SEO Wiz.’ This tool is fantastic for SEO beginners, guiding you through the process and streamlining website optimization. After a brief questionnaire, SEO Wiz generates an SEO checklist to ensure you cover all essential aspects.
Besides, creating a compelling mobile version of your site is crucial because mobile usage continues to surge. Fortunately, Wix Editor makes mobile optimization both essential and effortless. Hover over the desktop screen atop the editor and click the mobile icon to preview your site’s appearance on a phone screen.
Wix has already fine-tuned the mobile view, giving your site an impressive appearance in this format. Yet, you retain the flexibility to customize as needed. Any changes made in the mobile view won’t affect the desktop version.
Set Domain Name
Before launching your Wix site, you must establish your domain name (Wix will prompt you during the “Publish” process).
If you’re on Wix’s free plan, standard domain names like “www.mysite.com” or “www.mysite.net” aren’t available (these come with paid plans). Instead, your site will adopt the format www.yourname.Wixsite/yoursite, which is sufficient to get you started. Consider upgrading to a paid plan for a refined domain name for a more professional appearance!
Publish Your Site
At this point, your Wix Editor site is all set to roll. While shaping it, you can sneak peek using the button in the upper right corner. When content, just hit “Publish” next to “Preview,” and finally – your site is live!
Remember, even post-publishing, you’re not locked in. You can always tweak your Wix site. Simply access the dashboard, choose “Manage Site,” then “Edit Site,” and you’re back in action. For updates, a click on “Publish” in the upper right corner does the trick.
How to Use Wix ADI
If you find delving into Wix Editor daunting due to time limitations or technical uncertainties, Wix ADI (Artificial Design Intelligence) provides a seamless solution for website design. Through a quick questionnaire, ADI efficiently creates an engaging website that suits your requirements.
Choose “Start With Wix ADI”
Once you’ve completed registration, tap the “+ Create New Site” button and “Start with Wix ADI” to initiate the process.
Add Features
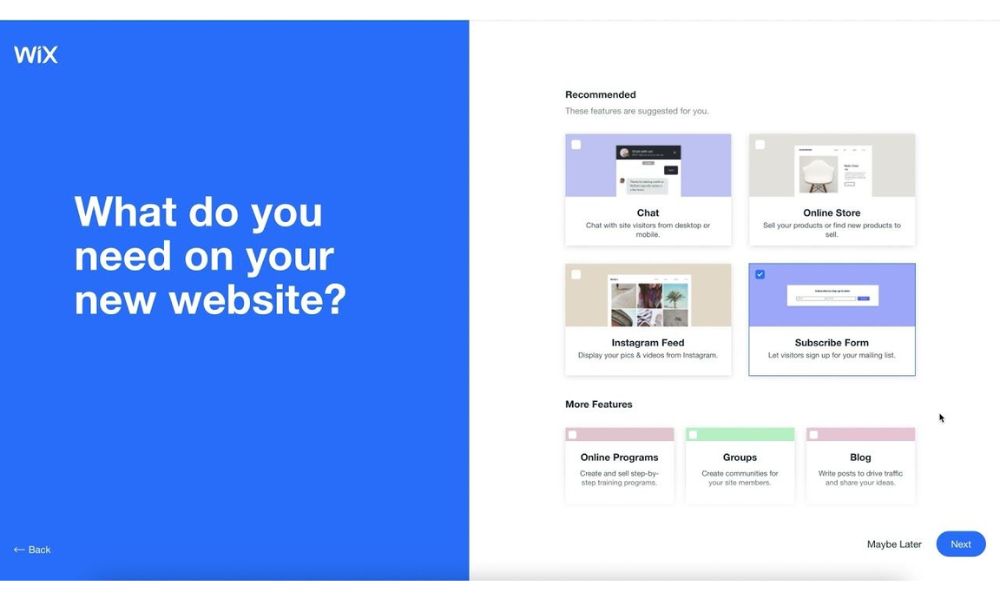
Next, you’ll be prompted to select your desired features. Check the appropriate boxes and click “Next” at the bottom right. Rest assured, you can always change your Wix ADI setup, even altering your business approach, whenever you wish.
Input Your Requirements
Wix ADI will prompt you for the contact information you wish to feature on your website. It’s advisable to furnish as much relevant information as possible. This input enables ADI to seamlessly generate detailed navigation menus, footers, headers, and dedicated contact pages.
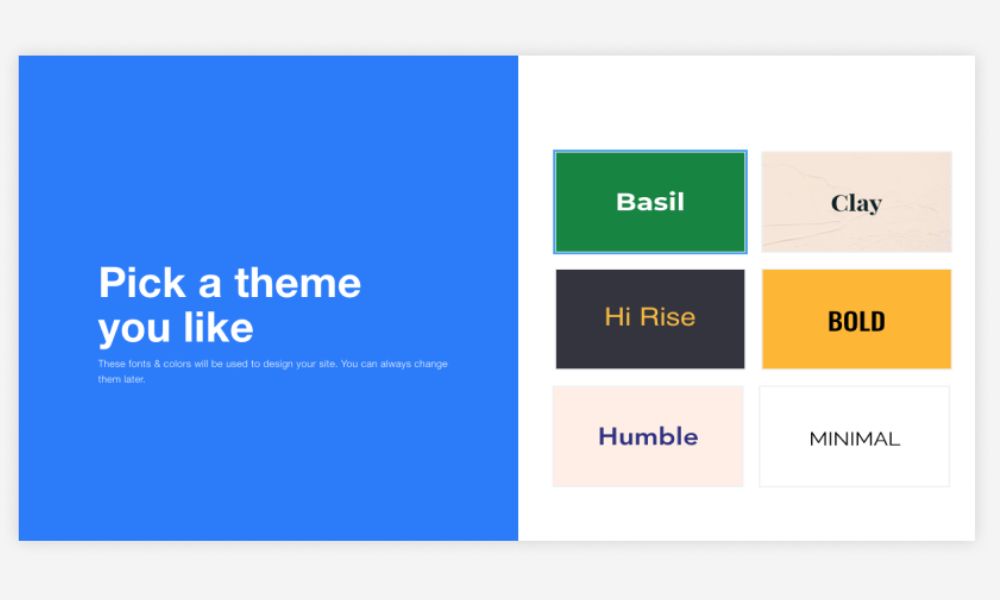
Wix ADI will proceed to the design phase after gathering your contact details. It will present you with various color schemes to choose from. While the ADI will shape your ultimate design, your selection guides the initial aesthetic direction. Remember, the color scheme is not set in stone, and you can make changes later to align with your preferences.
Once you initiate the design process by clicking “Start,” you can explore and select from the presented color schemes. Don’t feel pressured to make an immediate decision; you can revisit and modify this choice if necessary.
ADI will also inquire about your preferred font style. Your font selection influences the overall look and feel of your website’s text elements. While the ADI manages the intricate design aspects, your choice contributes to the site’s visual cohesion and brand identity.
ADI will inquire about the number of pages you envision for your website. This step allows you to outline the basic structure of your site, indicating key sections and content areas. Additionally, you can select from extra pages to enhance your website’s functionality, such as an “About Us” page or a contact form. If you’re uncertain about the pages you’ll need now, you can add a blank page that can be edited later.
Edit Your Website
Once you’re happy with the overall appearance, click the prominent blue “Edit Site” button at the upper right corner. This step grants you the opportunity to personalize your website further. You can tweak fonts, incorporate media, and unlock various additional functions with the guidance of Wix ADI’s intelligent assistant. This process is swift and affords you a degree of creative input.
However, it’s worth noting that while the intelligent ADI assistant offers efficiency, it does have some limitations compared to the more versatile Wix Editor. If you feel the urge to infuse your distinct touch onto your site or are unsatisfied with the outcome, transitioning to Wix Editor mode is a breeze. This transition empowers you with greater creative control.
Consider this carefully, as reversing the process is more challenging. You would need to save your previous ADI version and then restore it.
Optimize Your Website
Wix Editor aids in implementing these elements, but Wix ADI makes it even easier. To delve into the SEO configuration of any specific page on your site, your initial step is to click on the desired page within the left-hand toolbar. Once you’ve done so, an array of options will unfold, and you’ll want to select the “SEO Basics” feature.
Much like your familiarity with the Wix Editor, this new interface lets you fine-tune essential elements such as your meta description and title tag. It doesn’t stop there – you’re also granted the power to infuse specific keywords that will significantly amplify the discoverability of each distinct page.
Turning your website mobile-friendly is crucial for reaching a wider audience. Wix ADI makes this transformation super simple. Just go to your webpage, find the desktop icon, give it a click, and watch your site instantly transform into a mobile-optimized version.
See the cell phone icon – it’s your gateway to the appealing mobile view of your site. The great thing is that you usually don’t have to worry about making changes immediately. Wix ADI handles it smartly, giving your site a polished and engaging look for mobile users. But you can customize elements to match your vision if you want.
Set Domain Name
Once you’ve finished creating your site, just click on “Publish,” situated in the upper right-hand corner of the screen, which will take you to this page:
To acquire a domain in the standard format of “www.mysite.com,” you’ll need to upgrade to a paid plan. If you’re using Wix’s free plan, your domain will be in the format of www.yourname.Wixsite/yoursite.
Alternatively, you can connect your own custom domain with your Wix site; we highly recommend this option.
Publish Your Site
Your finished work is ready for the world. First, click ‘Preview’ at the top of the ADI screen to check it. If all looks good, go back to editing by pressing the X icon. Then, hit ‘Publish’ at the top to show your creation.
If you’re not sure about something, don’t worry. You can edit your Wix ADI site even after you’ve published it. Just sign in and go to your dashboard. Click “My Sites” and choose “Edit” for your ADI website. And remember, you can also hide your Wix site from the public whenever you want. Just use the “unpublish” option. Wix ADI gives you control from start to finish.
Bottom Line
Wix website creation, as unveiled in this comprehensive guide, offers an empowering experience for crafting your online identity. With the knowledge gained here, you’re poised to confidently navigate the realm of Wix and build a captivating website that leaves a lasting impression.
FAQs
Alternatively, you can connect your domain to Wix, keeping the registration with your current domain registrar while configuring the DNS settings to point to your Wix site. Both options enable you to seamlessly integrate your domain with your Wix website for a personalized online presence.
- eCommerce website
- Business website
- Blog website
- Portfolio website
- Personal website
- Membership website
- Informational website
- Online forum
- Community website
- Booking website
- Petition website
- School website
- Interactive website
- Entertainment website
- Wedding website
- Travel website
- News and magazine website
- Memorial website
- Step 1:Consider Your Business Goals: Understand the purpose of your website. Are you showcasing products, sharing information, building a community, or selling services? Your template should support these goals.
- Step 2:Determine the Type of Website You Need: Based on your goals, identify the category of your website (e.g., business, portfolio, blog, eCommerce). Wix offers templates tailored to various industries and niches.
- Step 3:Pick a Website Layout: Choose a layout that complements your content and style preferences. Consider the placement of headers, menus, and content sections.
- Step 4:Decide on Website Elements, Features, and Functions: List the essential features your website requires, such as a contact form, galleries, social media integration, or an online store. Ensure the template supports these elements.
- Step 5:Think About Branding: Consider your brand’s colors, fonts, and overall visual identity. Look for a template that allows you to customize these aspects to maintain a consistent brand image.
- Step 6:Find a Website Template that Checks Most of Your Boxes: Browse Wix’s template library and narrow down options that closely match your requirements. Look for templates that already have the layout and features you need.
- Step 7:Customize Your Website Template: Once you’ve chosen a template, customize it to make it uniquely yours. Modify colors, fonts, images, and text to align with your brand. Add or remove sections as necessary.


