
Move WordPress Site To A New Host: An Easy Step-by-step Guide
By Sam Nguyen

In this post, we’ll present a comprehensive and easy-to-follow guide on how to move a WordPress site to a new host.
Key Takeaways
- Moving a website to a new host offers benefits like improved performance and cost savings, but the process can seem daunting due to the potential risks and effort involved.
- Moving the WordPress site to a new host involves signing up with a new host, backing up files, exporting and importing databases, editing configuration files, uploading files to the new host, and updating DNS settings for a seamless transition. The process might require careful execution to ensure a smooth transfer.
8 Steps To Move WordPress Site To A New Host Manually
Migrating a WordPress site to a new host manually involves several steps to ensure a smooth transition. Here’s a general guide with eight steps to help you through the process:
Step 1: Sign Up For A New Host
Before transferring your WordPress website between servers, you must select a new hosting provider and enroll in a suitable plan they offer. Our top recommendations for you are Bluehost, DreamHost, and A2 Hosting.
Blue Host
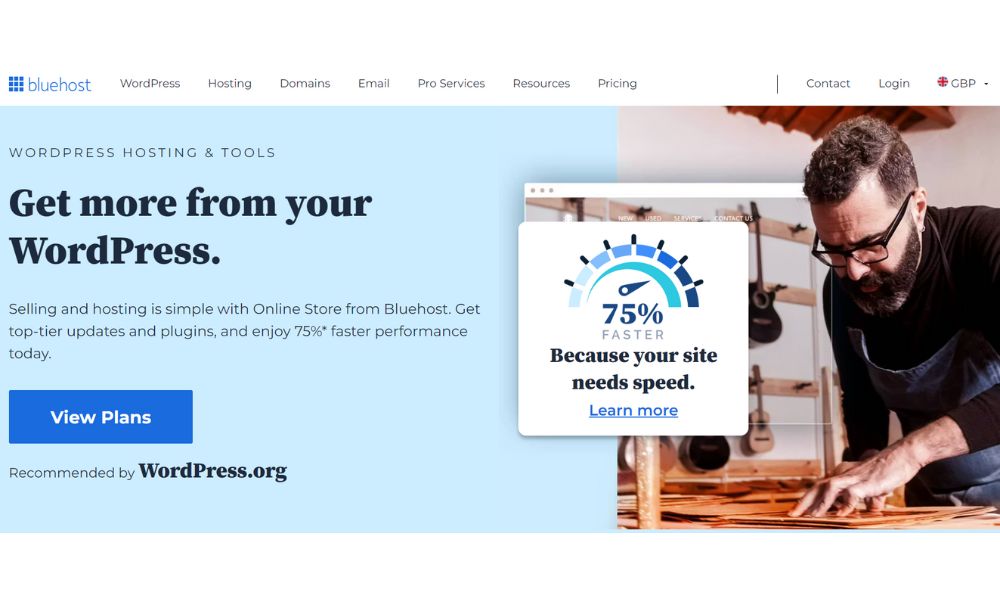
Bluehost stands out as a top-notch hosting provider. It’s worth noting that Bluehost has received an official recommendation from WordPress itself, underlining its credibility and compatibility with the platform.
Regarding pricing, Bluehost offers a range of WordPress plans designed to accommodate different needs. Their entry-level plan starts at an affordable $2.95, making it an attractive choice in price. However, for those instances where free migration doesn’t apply, Bluehost offers a paid migration service for $149.99. This premium option assures a more tailored and personalized migration experience.
Bluehost’s commitment to user convenience extends to its migration process. For most WordPress users, Bluehost provides a free migration service. Once you select and sign up for a hosting plan, you’ll find a free migration contact form within your Bluehost dashboard. By filling out this form, you initiate the migration process.
Website size, database size, current security plugins, and PHP version determine whether your website qualifies for free migration. This thorough review ensures your migration process is seamless and optimized for your needs.
Dream Host
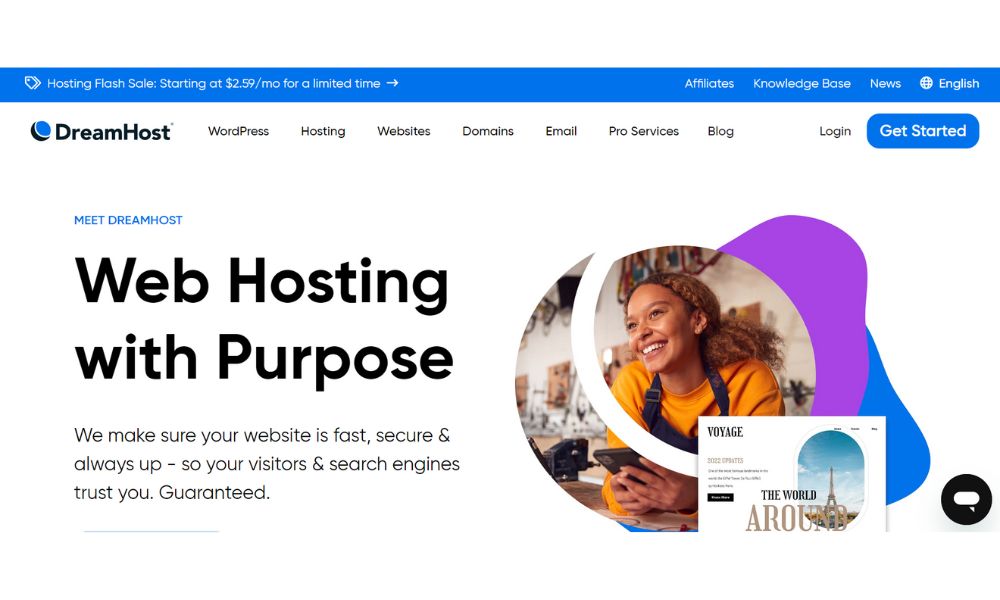
DreamHost has earned recognition for its ample storage space and diverse hosting plans. DreamHost offers a competitive starting price of $2.59 per month for those considering WordPress hosting, providing an affordable entry point for those seeking quality hosting solutions.
One of DreamHost’s standout features is its inclusion of a free, automated migration plugin that enables seamless site migration without any downtime. This migration plugin is available for users across all DreamHost’s WordPress hosting plans, making the transition process smoother.
While they offer informative videos and walkthroughs to guide users through the migration process, the reality is that the migration to DreamHost is so streamlined that you may not even require these resources. Thanks to their user-friendly approach, migrating a WordPress site to DreamHost can be accomplished in just a few straightforward clicks.
A2 Hosting
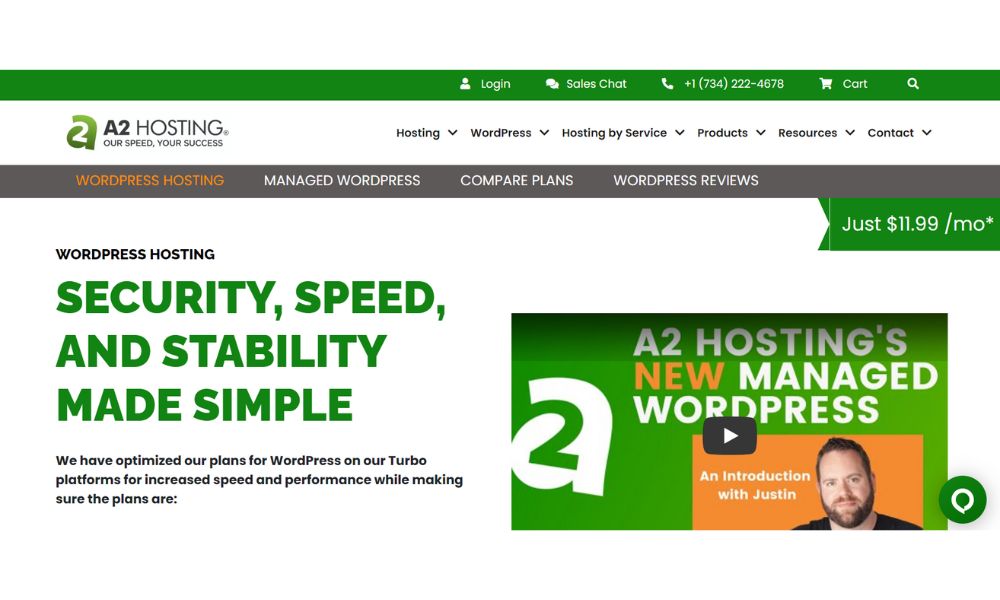
For those considering A2 Hosting for their WordPress site, various plans suit different needs. The shared WordPress plans are $2.99 monthly, offering a budget-friendly entry point. Additionally, for users who prefer a managed WordPress experience, A2 Hosting provides managed plans starting at $11.99 monthly, offering enhanced support and features.
A2 Hosting recognizes the importance of a smooth migration process and provides a comprehensive solution. They offer free WordPress migration services, complemented by round-the-clock support from their dedicated Migration Specialist team.
Once you’ve chosen and signed up for a hosting plan, initiating the migration is as simple as contacting A2 Hosting’s “Guru Crew” support team. This team is well-equipped to assist you throughout the process. Most WordPress migrations with A2 Hosting are completed within 24 to 48 hours, ensuring minimal disruption to your website’s availability.
A2 Hosting is a hosting provider that genuinely shines in security and customer support. If these aspects are paramount to you, A2 Hosting is an exceptional choice. However, if your priority leans towards uptime, exploring alternatives like Bluehost or DreamHost might be worthwhile, as A2 Hosting offers an uptime guarantee of 99.90%, which is slightly lower in comparison.
Step 2: Back Up Your Website’s Files
Once you’ve decided on your new host, it’s time to prepare to move your WordPress site.
First, back up all your site’s files to your local computer to avoid losing your work. Regardless of whether your new host assists with the move, having backups is a crucial safety measure.
You can back up using a file transfer protocol or a WordPress plugin. While using a plugin is simpler, getting familiar with file transfer protocols will be helpful when you upload these files to your new hosting account in step seven.
Using File Transfer Protocol

A file transfer protocol (FTP) is a tool that lets you do exactly what it sounds like move files between your old hosting account and your local computer. This happens by setting up a link between the server and your computer. Well-known FTP programs are Transmit for Macs and FileZilla for PCs.
After installing an FTP program, you’ll require a Secure Shell FTP (SFTP) credential from your old hosting account. This links up with the server and gets to your files. Once connected, you can pick and download all the files in your website’s folder.
Using plugins
Plugins provide a more straightforward way to create backups for your WordPress site. With just a few clicks, you can install a plugin and then use its settings to control which files are included in the backup, how frequently backups are performed, and where the backed-up files are stored. With over 57,000 plugins available on WordPress, many are explicitly designed to assist with backups.
While the range of choices is vast, selecting a plugin that backs up your site and enables restoration is essential. This means you can revert your WordPress website to any of its previously saved versions. Among the options mentioned above, we recommend opting for one of the plugins on the left side since their descriptions highlight the restoration feature.
Step 3: Export Your Database From Your Existing Host
To export your database, you’ll go through a simple process using phpMyAdmin, a management tool designed for MySQL databases.
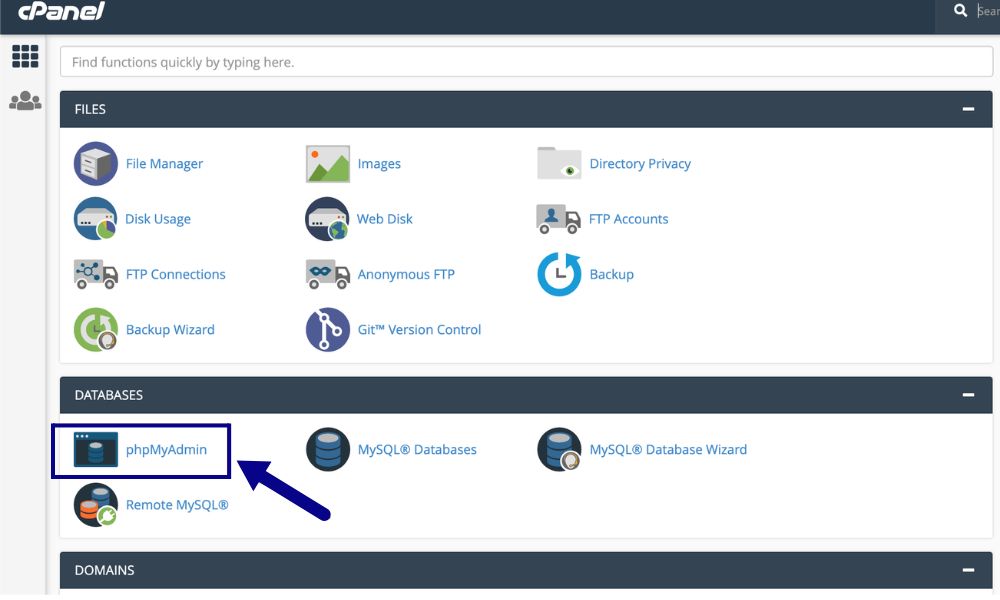
Begin by logging into your current hosting account’s control panel, which you plan to transition from. Most hosting providers rely on the cPanel control panel, which we’ll use as an example. If your control panel is different, like Plesk or vDeck, don’t worry – your current hosting provider can guide you if there are any variations from the steps below. Most control panels operate similarly.
Within your cPanel control panel, head to the “Databases” section and access the phpMyAdmin tool.
On the left-hand side of the tool’s page, select the specific database you intend to export. This will lead you to a fresh page showcasing the database’s structure. At the upper part of this page, click on the “Export” tab. You’ll then be given the option to pick either the “Quick” or “Custom” export methods.
Regardless of your chosen export method, a download window will emerge, enabling you to save the exported database as a file on your local computer.
Step 4: Create A Mysql Database On Your New Host
Begin by logging into the cPanel of your new hosting account – the one you’ve transitioned to. Once logged in, navigate to the “MySQL Databases” option in the “Databases” section.
Important Note: While phpMyAdmin is excellent for handling database imports and exports, refrain from using it to generate databases or database users. PhpMyAdmin cannot map databases, and doing so could disrupt the backup and restoration processes.
You can create your new database upon entering the “MySQL Databases” section. Choose a suitable name for your database that reflects its purpose or content. Once named, the database will be added to the “Current Databases” table within your cPanel account.
Next, you must allocate a user to manage the newly created database. Under the “Add User to Database” section, choose the specific user you want to associate with the database. This can be accomplished by selecting the user from the provided User list box. After selecting the user, you’ll designate the newly created database for them. This is achieved by picking the database from the Database list box.
Depending on the level of access and control you want to grant, you can define specific privileges for the user. Alternatively, you can streamline the process by selecting the “All Privileges” checkbox, which grants the user complete permissions over the database.
Once you’ve defined the user’s privileges and settings, proceed to click the “Make Changes” button. This action signals the cPanel to finalize the modifications and seamlessly integrate the user into the new database.
Step 5: Edit The Wp-Config.Php File On Your Website’s Files
After establishing the database on your new host, import archived files from your computer. However, before this, edit the wp-config.php file on your local computer – this file crucially links your WordPress site and its database.
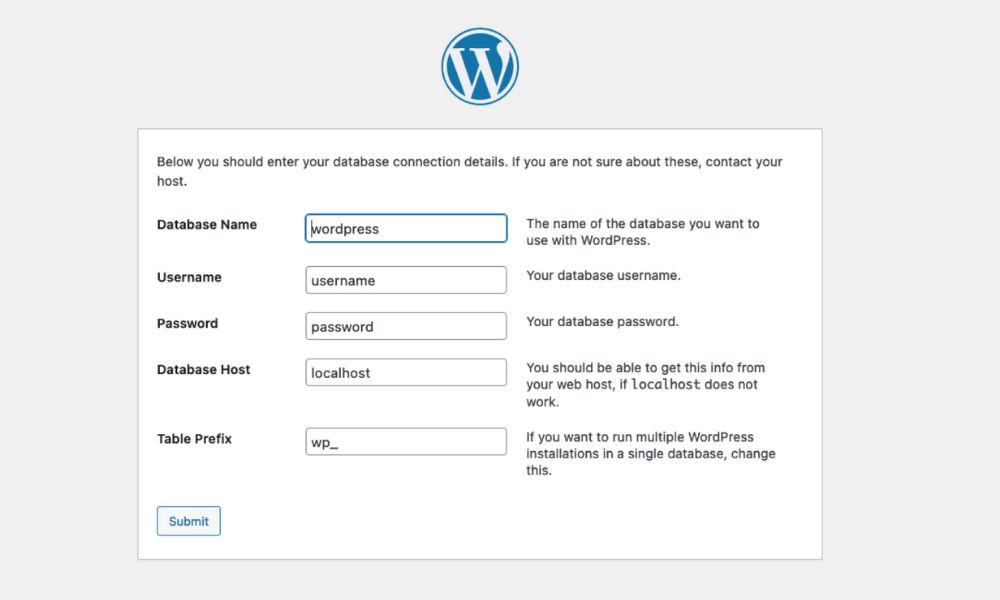
When you initially set up your WordPress site with the former host, the wp-config.php file was generated based on that information. To update it, you’ll need the following: Database name, username, password, and host. These details are now available as you’ve set up the database and user in the prior step. Find the wp-config.php file in your previous website files folder. Open it in a text editor and apply the three adjustments below.
Change the database name
In the file, find the define (‘DB_NAME,’ ‘db_name’); line.
Replace the “db_name” part of this line with your former web host’s database name, and update it to match the name of your new database.
Change the database username
Next, find the define (‘DB_USER’, ‘db_user’); line
Alter the “db_user” segment, replacing the username from your previous host with the newly created username.
Change the database user password
Finally, locate the define (‘DB_PASSWORD’, ‘db_pass’); line in the text:
Modify the “db_pass” segment to reflect the newly created user password from step four.
Step 6: Import Your Saved Database Into Your New Host
When importing your database, you have two primary options: phpMyAdmin and the mysql command line program. For simplicity, let’s focus on phpMyAdmin, which offers a user-friendly approach.
Access your cPanel dashboard and find the “phpMyAdmin” option under the “Databases” section. This will open the phpMyAdmin administration page in a new window. On the left side, select the target database, then click “Import.”
In the “Import” section, choose “File to Import,” click “Browse,” and select your exported database file from your computer. This file contains the data you want to import. These steps will smoothly transfer your data to the chosen database via phpMyAdmin.
Step 7: Upload Your Website’s Files to Your New Host
With your newly imported database in place, the next step involves transferring the old files that you had preserved during step two of the process. You’ll need to leverage your FTP program for seamless file upload to achieve this.
To start, connect your FTP program to the new hosting server. Then, find the directory for your WordPress site’s new location. Upload your saved local files into this directory, including the critical wp-config.php file. This step is vital for your WordPress site’s proper functioning.
At this juncture, you’re on the brink of completion. However, essential advice is to exercise caution and refrain from deleting the files stored on your local computer even after successfully executing the upload process. Maintaining a copy of these files locally is a prudent backup strategy, ensuring you have a safety net in unforeseen circumstances.
Step 8: Update Your DNS Settings
Congratulations, you’ve arrived at the final step of the process! As your uploaded files settle onto your new host, a crucial task ahead is updating your domain’s Domain Name System (DNS) settings. This adjustment ensures the domain points to the new server’s IP address. If this step is overlooked, the DNS settings will continue to direct visitors to your old hosting server.
Your domain registrar holds the necessary information for this update, but be aware that the changes might take up to 48 hours to be entirely affected. It’s advisable to refrain from altering your website during this time frame. This precaution is necessary because any changes would apply to the old version of the site, which is still accessible due to the ongoing propagation.
Once this 48-hour interval has elapsed, you can remove your files and database from the previous web host. However, retaining everything on your local computer is crucial as a safety measure. This prudent approach guarantees a reliable backup, assuring the continuity of your progress in case of unforeseen hiccups.
Bottom Line
In conclusion, while the eight-step process to move a WordPress site to a new host manually offers control and customization, it’s worth considering the streamlined option provided by hosts like Bluehost, DreamHost, or A2 Hosting. By letting them handle the migration, you can simplify the process into just two steps, ensuring a seamless transition of your website while saving valuable time and resources.
FAQs
The process isn’t overly complicated if you’re comfortable with FTP and database access tasks. Managed hosting providers and migration plugins offer options for a smoother transition. Automated tools or professional assistance can make the process easier for those less tech-savvy.
- Define Your Needs: Determine your website’s traffic, resources, and performance requirements.
- WordPress Compatibility: Choose a host optimized for WordPress to ensure seamless integration.
- Security and Support: Prioritize providers with strong security measures and reliable customer support.
- Performance and Uptime: Select a host with a reputation for high uptime and fast loading speeds.
- Scalability: Ensure the host offers scalability options to accommodate future growth.
- Server Locations: Opt for a provider with server locations near your target audience.
- Reviews and Pricing: Research customer reviews and compare pricing to find a provider that offers value for your needs.


