
How To Make A Christmas Bow: A Step-By-Step Tutorial
Don’t judge gifts by their wrapping—unlike books, a well-wrapped gift matters. Have you ever found the ideal present, only to see it covered in tape under the tree? Learning how to make a Christmas bow will not only upgrade your gift wrapping but it’ll also allow you to create cute hair accessories for your kids.
If you’re having trouble with hand-eye coordination or getting the ribbon tension right, don’t worry! Crafting the perfect bow is much easier than it seems. Follow our step-by-step tutorial to transform a simple ribbon into a stunning Christmas bow.
Materials to Make a Christmas Bow
Before you embark on your bow-making journey, gather the following materials:
- Ribbon
- Scissors
- Tape
- Gift wrapping paper
- Patience (it’s the secret ingredient!)
How to Make a Christmas Bow
Step 1: Pull out the ribbon from the spool
- Wrap your gift just like you usually do and place it aside.
- Take the ribbon and loop it around your hands five times, ensuring each loop sits neatly on the one before. Don’t cut the bow from the ribbon roll just yet.
Pro tip: Opt for wired ribbon to make the process a breeze.
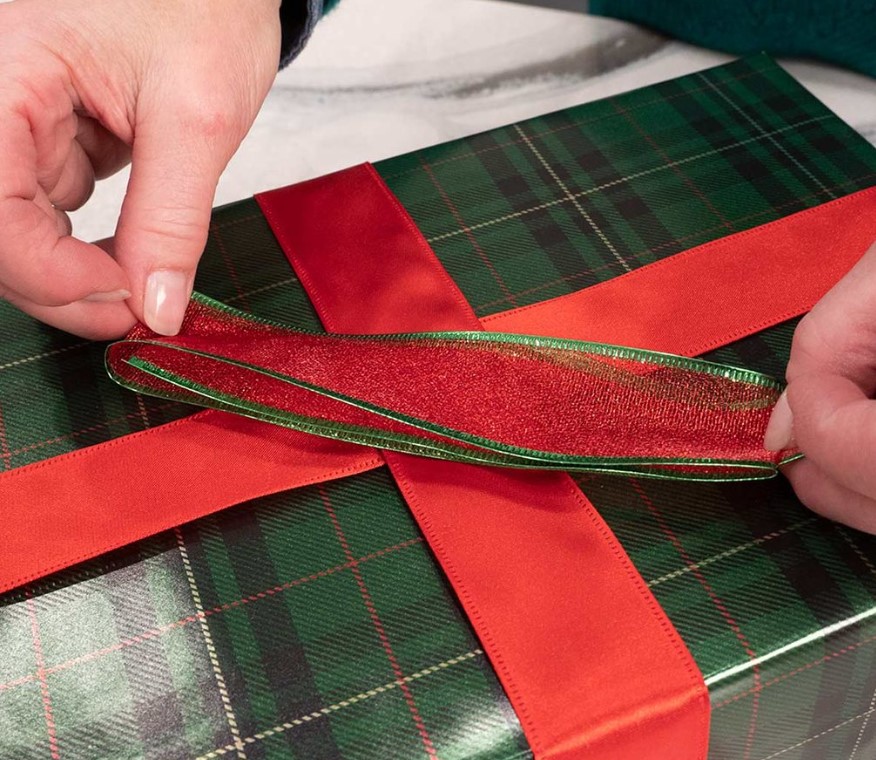
Step 2: Measure the loop size
- Place the loop on the present and resize it to your preference. Ensure the final loop finishes on the opposite side of the starting one.
- Trim the end from the rest of the ribbon roll.
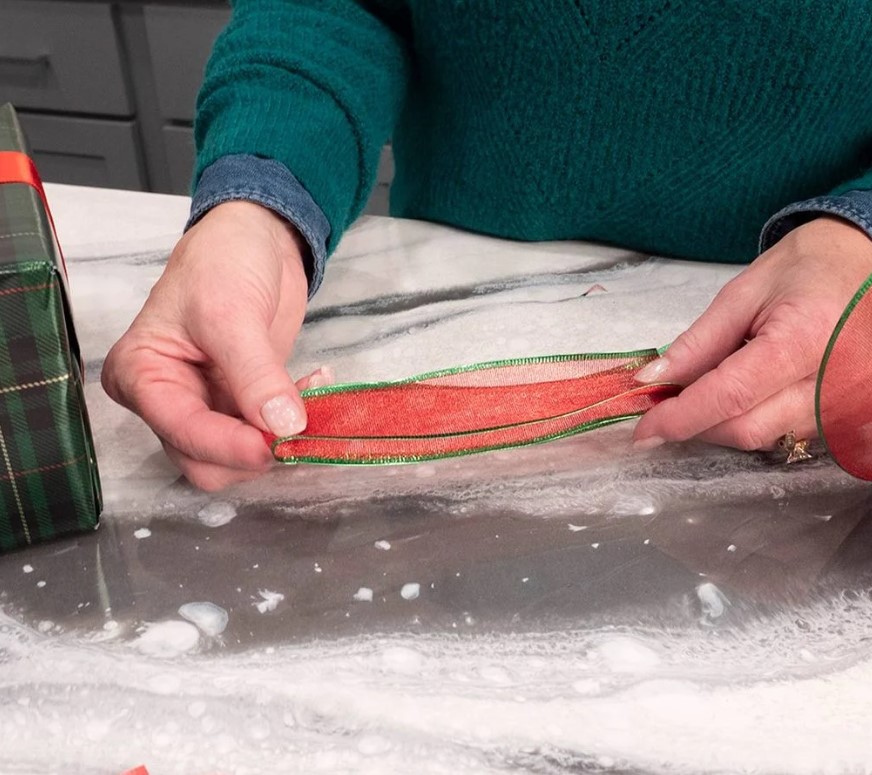
- Take the ribbon off your hand and fold the loop in half.
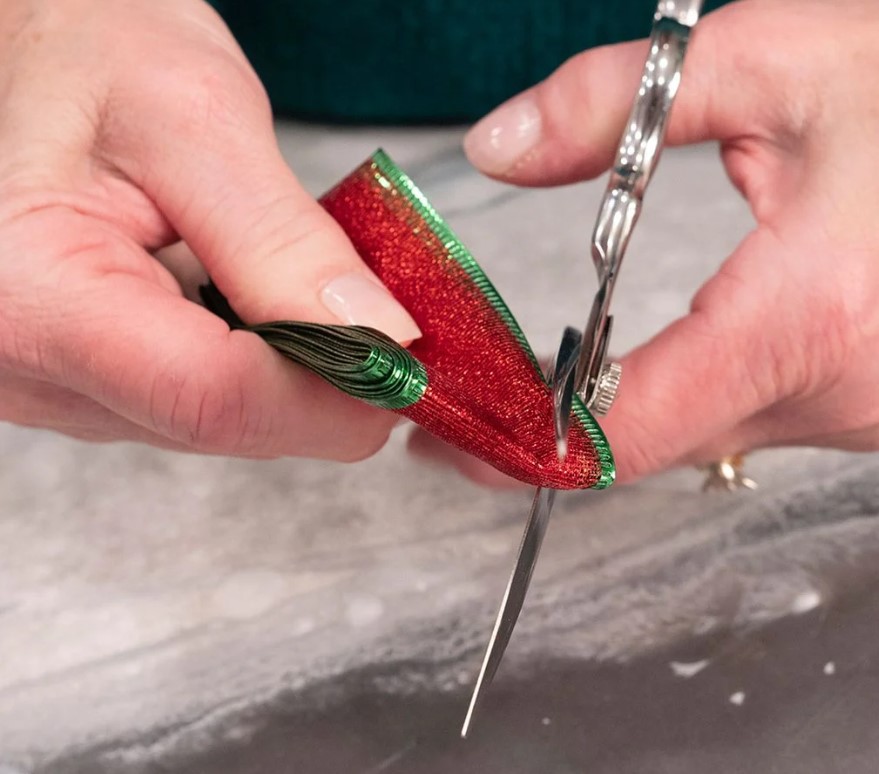
Step 3: Cut the cinch
- Hold the folded loop with the centerfold facing up.
- Use a pair of scissors to trim off the corners from either side of the centerfold.
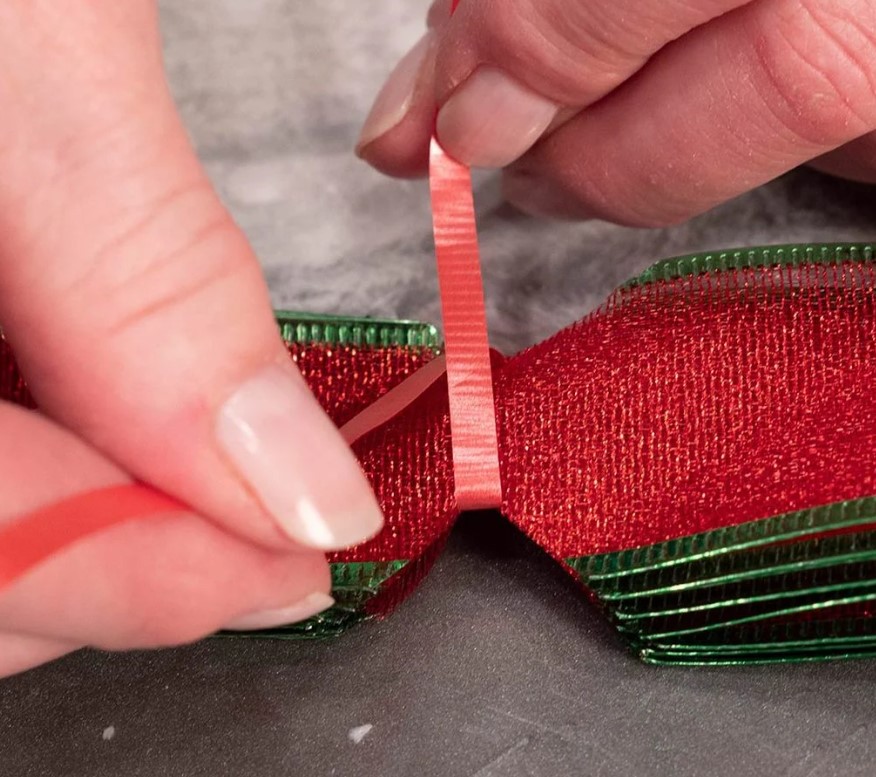
Step 4: Tie the middle
- Grab another ribbon and tie it around the middle part.
Pro tip: Place the knot on the back of the bow to ensure it lies flat on a gift.
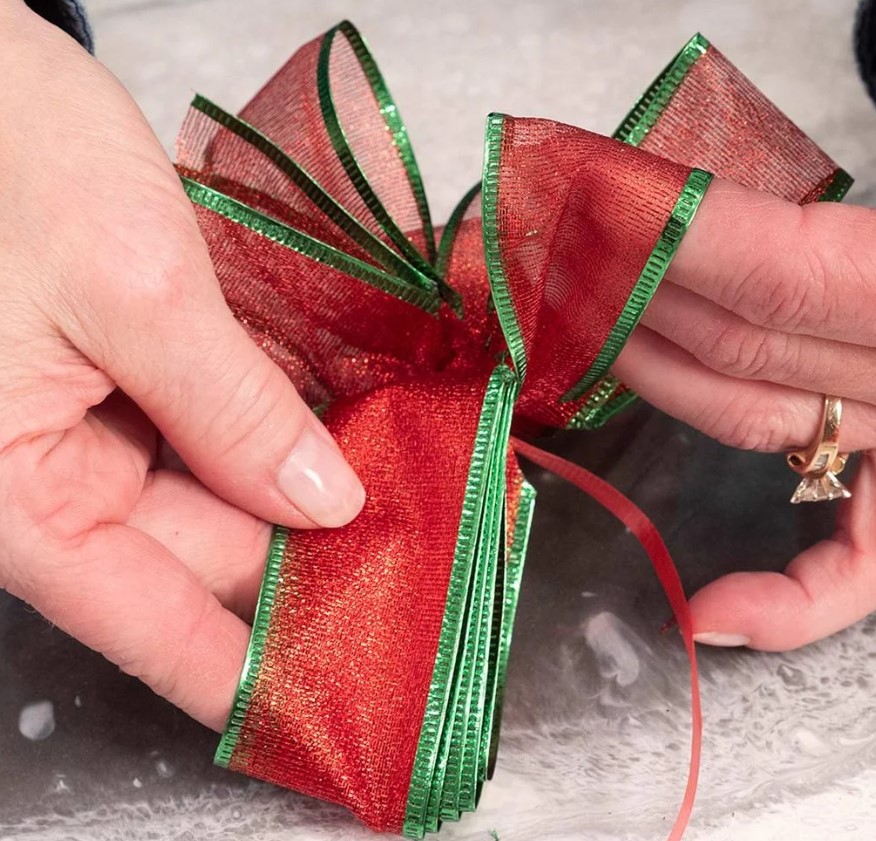
Step 5: Fan out the loops
- Separate the loops from the inside to the outside.
- Gently tug the loops from the center and twist them in your direction.
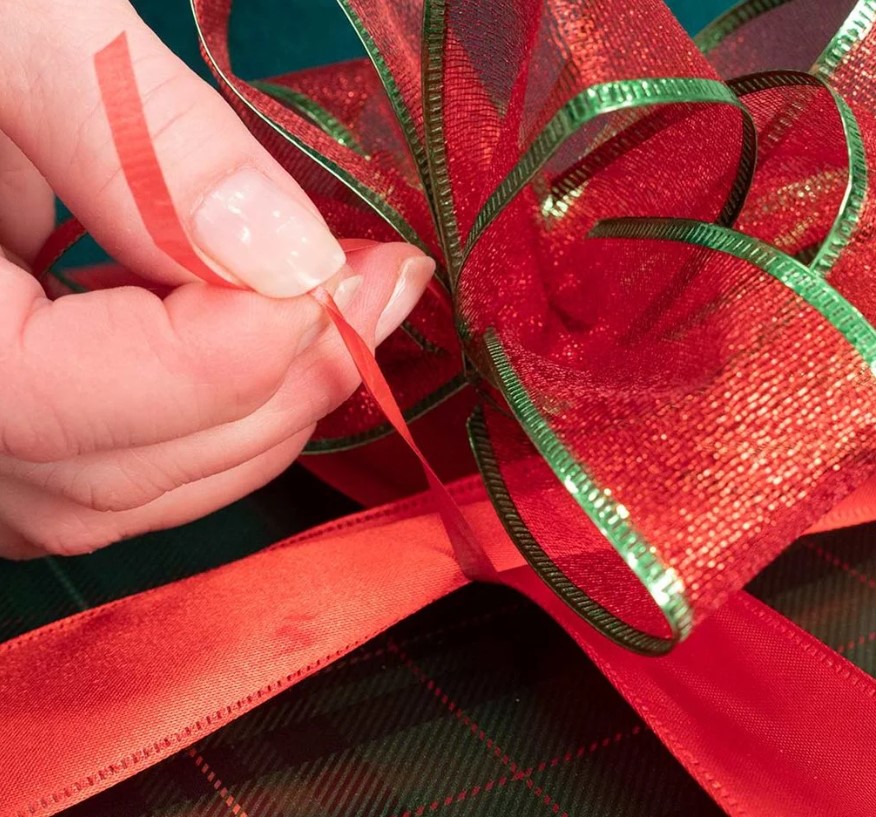
Step 6: Attach the bow to the present
- Use the ribbon tails to secure the bow to the ribbon wrapped around the Christmas present.
- Or, you can cut off the ribbon tails from the bow and tape the bow onto the present.
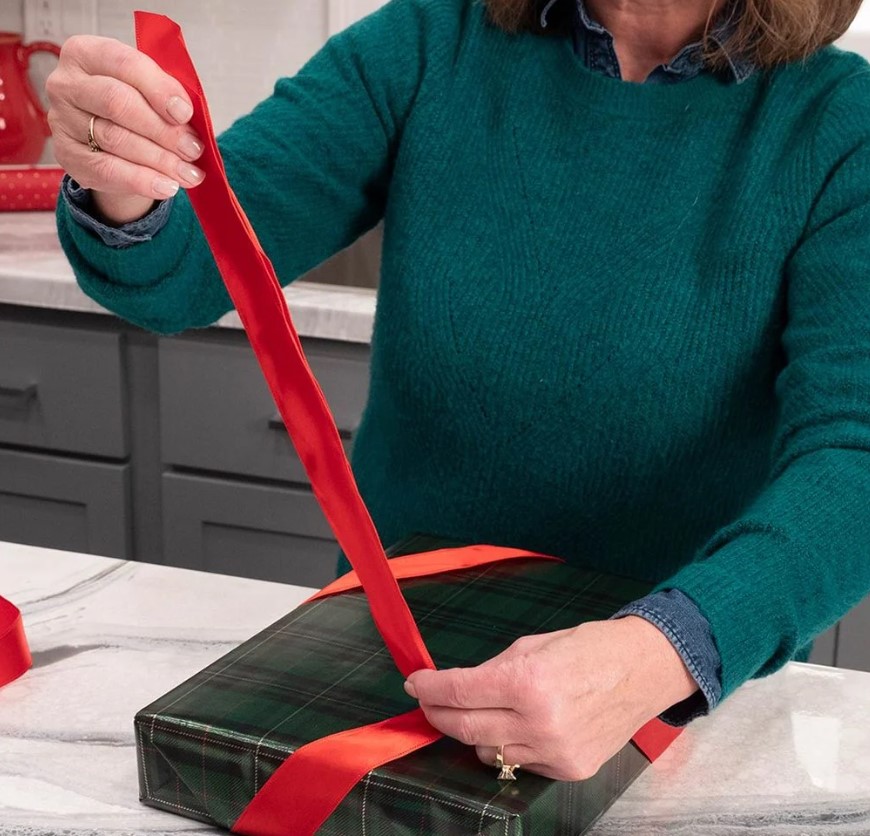
Step 7: Tie a classic bow for the corner of the present
Here’s how to create a traditional Christmas bow for the corner:
- To measure the length, wrap the ribbon around the top corner of the present. (Don’t cut the ribbon from the rest of the roll.)
- Run the ribbon under the nearby corners of the gift and gather it on the top of the last corner.
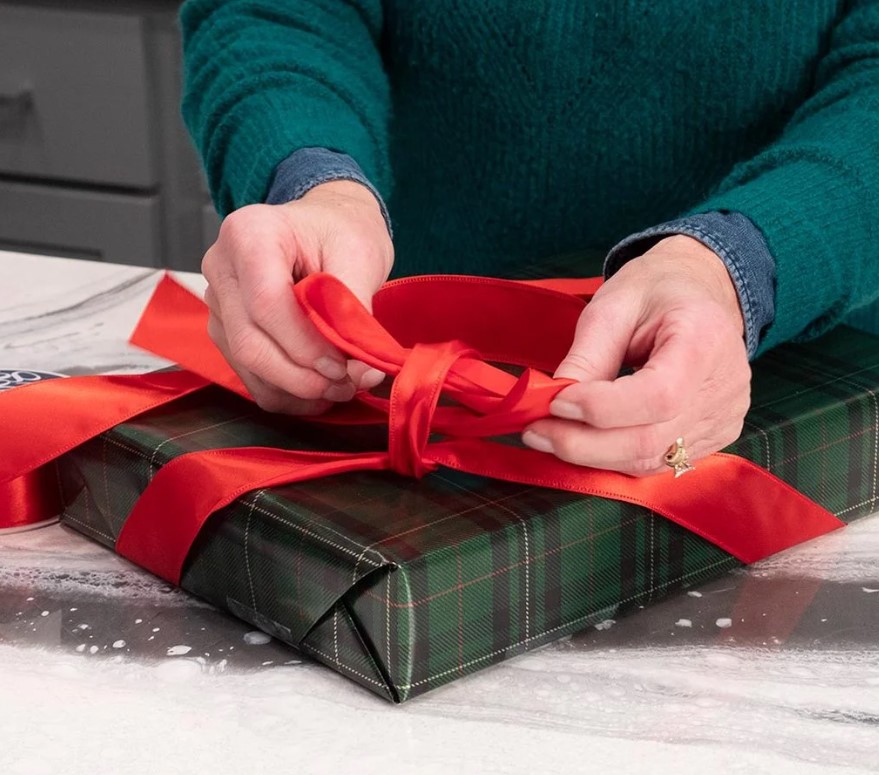
Step 8: Tie the ribbon together
- Create a standard bow with the ribbon by tightly knotting the two ends.
- Then, form a loop with the left side of the ribbon.
- Wrap the right side around the left loop and pull it through the hole behind the left loop, creating a second loop of the same size.
- Tighten the bow.
Step 9: Finishing touches
- Make sure both loops don’t hang over the sides of the present.
- Trim the ribbon tails at an angle.
Read More:
Bottom Line
Learning how to make a Christmas bow is not only about wrapping presents; it’s a way to bring a personal and loving feel to your holiday celebrations. Your thoughtfully wrapped presents will undoubtedly stand out, making the holiday season even more special for those you love. Happy wrapping!
Blake Simpson
Hi, I’m Blake from Loveable. I help people find perfect gifts for occasions like anniversaries and weddings. I also write a blog about holidays, sharing insights to make them more meaningful. Let’s create unforgettable moments together!
If you love this post, share it with your friends!