
How To Put Ribbon On A Christmas Tree? (Easiest Tutorial)
With Christmastime coming up soon, there is no better way to give your Christmas tree a touch of style and charm than with some ideal ribbons. Ribbons can be used as an art form to decorate a Christmas tree, turning it into a festive beauty. This complete guide will show you step-by-step how to put ribbon on a Christmas tree so that it stands out and becomes the centerpiece of your Christmas decoration.
Basic Things You Need to Know Before Putting Ribbon on Your Christmas Tree
No matter how much you know about holiday decorating, starting with the basics is the best way to create a stunning masterpiece. Therefore, you need to know these important things before putting the ribbon on your Christmas tree.
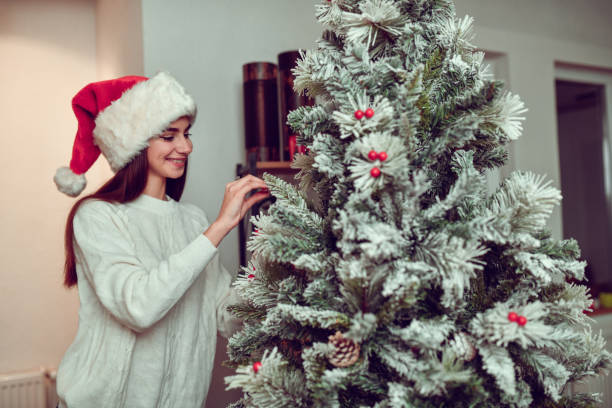
The Christmas tree
Sure! In this decoration, the Christmas tree will be the star. The most important thing is that the tree you choose looks good in your space, whether you buy it from a farm, cut it yourself, or use an artificial tree.
Most of the time, your tree should be one foot shorter than the ceiling. If the roof is 9 feet high, get an 8-foot tree. In addition to making decorating easier, this also ensures that your Christmas tree fits perfectly in your home.
The Christmas lights
There’s no way you could miss your Christmas tree’s lights. You can choose to wrap the string lights up if your tree doesn’t already have them. They can be wrapped in many ways, such as around the tree or individual twigs. Carefully hide the lines so that only the lights are visible. This will help the glow of your pine tree look more natural.
The type of ribbons
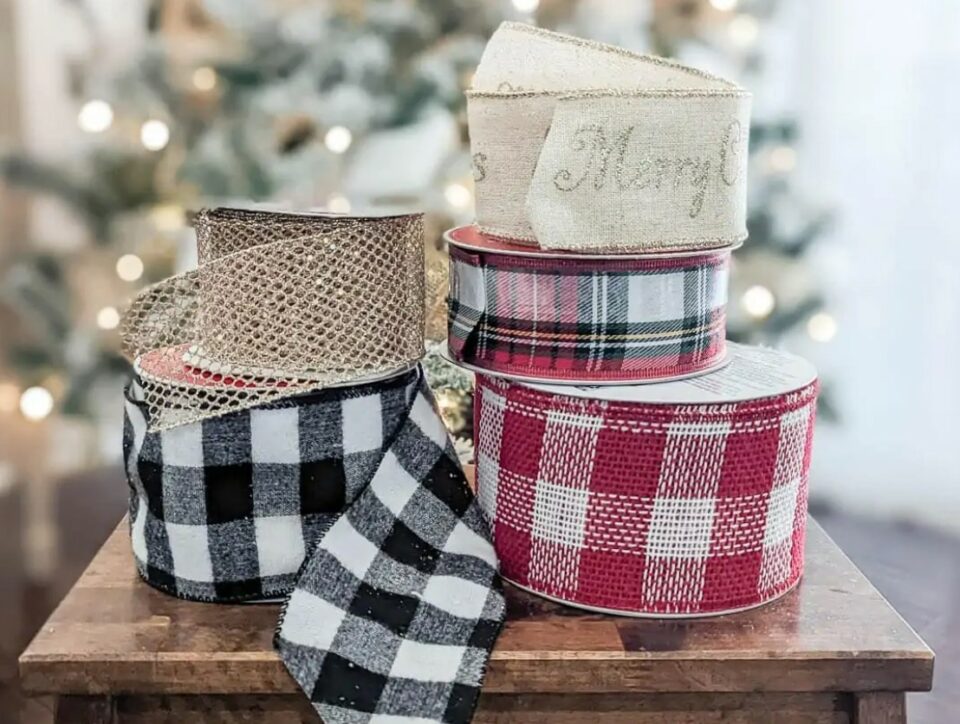
There are many types of ribbons that you can find on the market. However, from our experience, you can base on the following factors to find the most suitable type of ribbon for decorating your Christmas tree perfectly:
Width
Depending on the look you want, you can pick your ribbons that are wide or thin. Wide ribbons make a bold statement, while thin ribbons offer your tree a delicate and subtle touch.
Length
For the whole Christmas tree, it will require at least 24 feet of ribbon. The size of your tree determines how long the ribbon you need in total. By winding and tucking your ribbon in, you can go up to 36 feet.
Style
| Style of Ribbon | Best to Use For |
| Satin Ribbon | Enhance the look smooth and classy |
| Plaid Ribbon | Ideal to add patterns and colors |
| Faux Fur Ribbon | Unique and novel, suitable for strong personalities |
| Burlap Ribbon | Show a rustic vibe |
| Wired edge Ribbon | Simple to shape and hold |
| Velvet Ribbon | Velvety in look, yet with a greater feel than satin |
| Wide Tartan Ribbon | Perfect for ribbon Christmas garlands |
| Striped Ribbon | Add a fun pattern to your Christmas tree |
How To Put Ribbon on Your Christmas Tree in 3 Steps
Do you wonder how professionals decorate Christmas trees with ribbons? Below are three of the simplest steps to decorate the Christmas tree with ribbons like them. What are you waiting for? Check it below now!
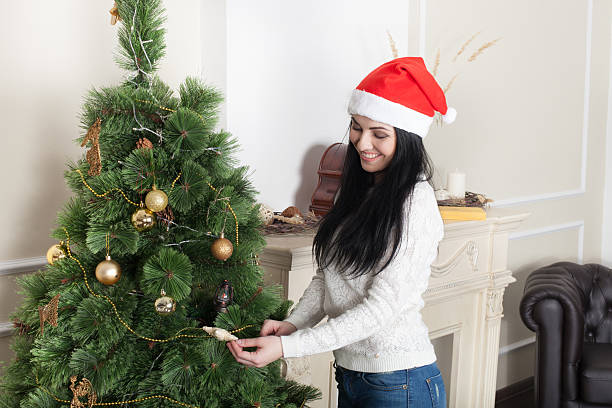
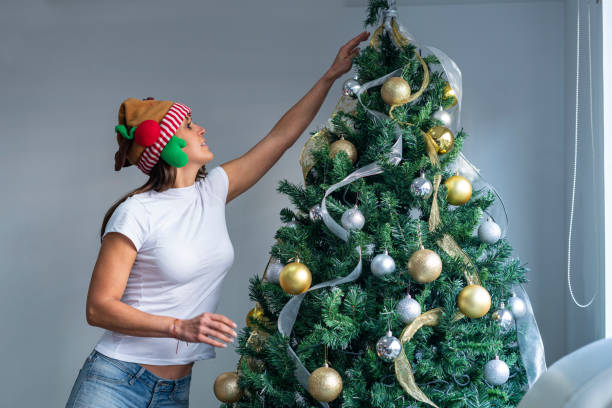
Step 1: Fluff your tree and attach a bow
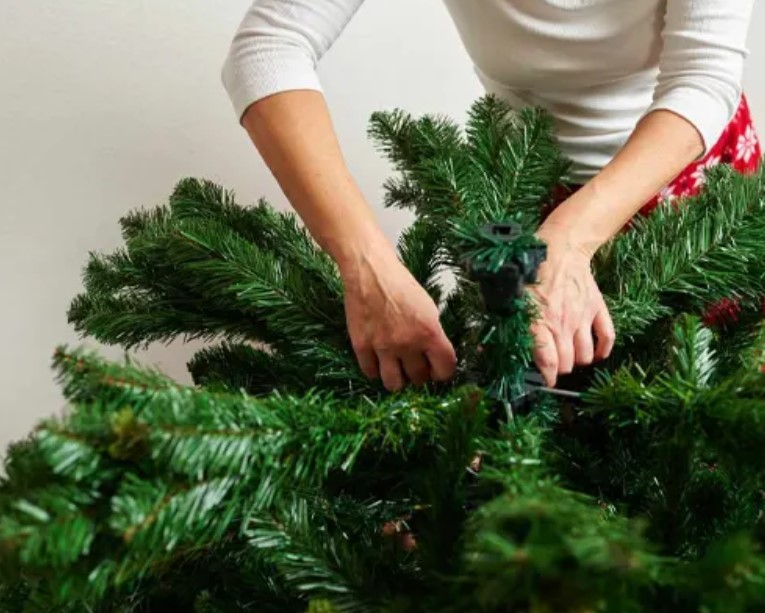
Firstly, you must prepare a Christmas tree by fluffing the branches and ensuring none are flat. This is essential for a lush appearance and having the most natural ribbon placement. To make it look larger, you should do an “open hand” move at the end of each branch.
If you have a tall Christmas tree, you should attach the bow to the top of the tree topper before putting the tree up. Instead of struggling with a ladder while holding it above your head, you can do this when it is lying down.
Next, try to string the lights on your tree. This is an essential step in the setup process before decorating.
Step 2: Cut the ribbon into pieces
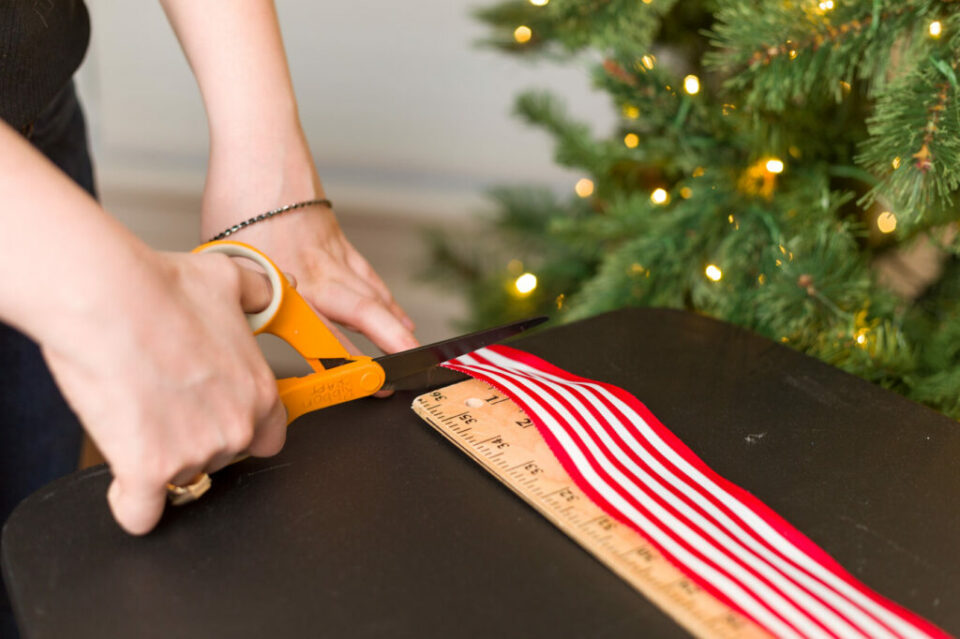
Next, cut the ribbon into lengths that allow you to make two surges at a time. Another option for you is cutting the ribbon into lengths for individual billows. Doing two at a time is quicker than attaching individual billows, and the ribbon pieces remain easy to handle.
For two billows, you should cut ribbon lengths somewhere around 38″- 42″. All pieces don’t have to be the same length. You might even want to mix longer pieces with individual billows where needed.
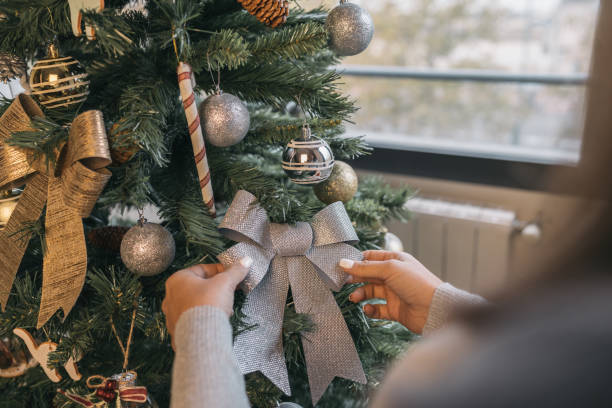
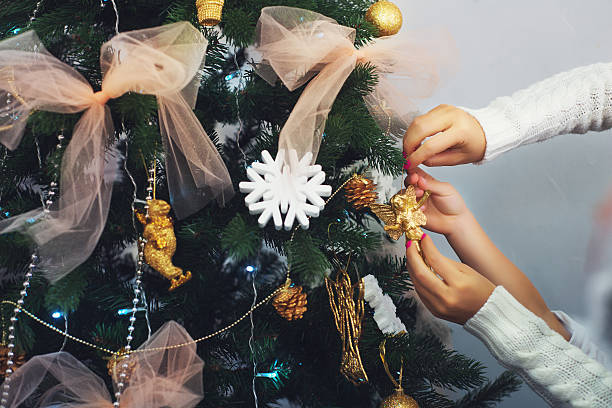
Step 3: Put the ribbons on and tie them

Now is the time for detailed instructions on how to put ribbons on your Christmas trees. So make sure you follow these actions carefully and do them all the way through:
Action 1: Prepare the ribbon
To get started, position yourself near the top of the tree with the first ribbon piece. Insert the ribbon into the tree hole. Then, you need to secure it by bending a branch with wire inside for an artificial tree or using floral wire for a real tree. Depending on the ribbon’s feel, you might not need to tie it further.
Action 2: Create the first billow
Now, let’s bring the ribbon down diagonally, letting it billow just beyond the branches. You can secure the middle with an inside branch, ensuring it’s not too tight or loose. Then, you continue billowing in the same direction, tucking the end inside the tree.
Action 3: Connect ribbon pieces
Next, you may insert the next piece close to the end of the first ribbon, creating the illusion of a continuous flow. As you begin the next piece, lay it out diagonally and let it fall oppositely, wrapping around the tree.
Action 4: Repeat action 1 and 2
For the following pieces, you should repeat actions one and two. Step back occasionally to see how the ribbon naturally winds and identify areas needing more ribbon. The goal is to make sure that your Christmas tree has pretty ribbons all over it.
Action 5. Achieve consistency
Add ribbon pieces repeatedly until the billows are consistently spread out across the visible parts of the tree. You need to adjust the quantity based on your preference and fill in any gaps with individual one-billow pieces as needed.
Action 6: Add a coordinating ribbon

If you’d like more, you can repeat actions 1-5 with a coordinating ribbon. Begin with the widest ribbon, leaving space for additional layers. Experiment with vertical, horizontal, or diagonal placement to make it visually interesting.
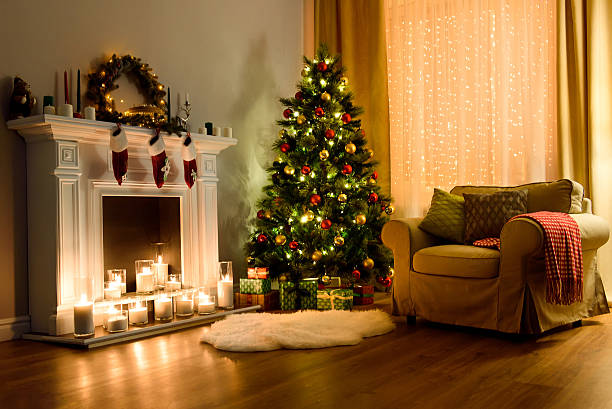
Your tree will be ready for picks and ornaments, looking full and captivating in just a few easy actions. Avoid making it too uniform for a dynamic look, ensuring the billows are evenly spread across the tree.
5 Useful Tips to Decorate Your Christmas Trees
Not every ribbon choice is beautiful; it’s all thanks to the trick. Thus, you should read on for tips on how to hang ribbons on a Christmas tree like a pro! No matter what kind of design you’re making, these five tips will help you make a better Christmas tree!
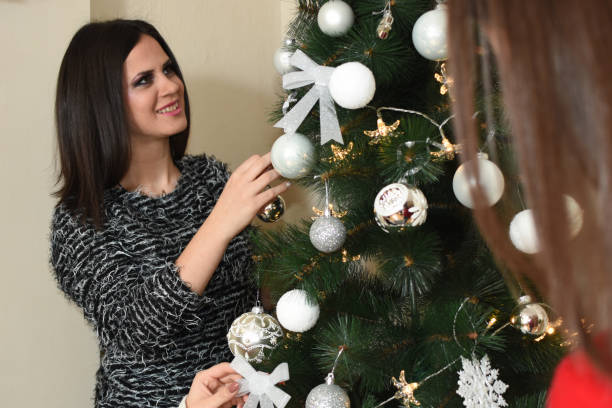
Tip 1: Mix the colors together
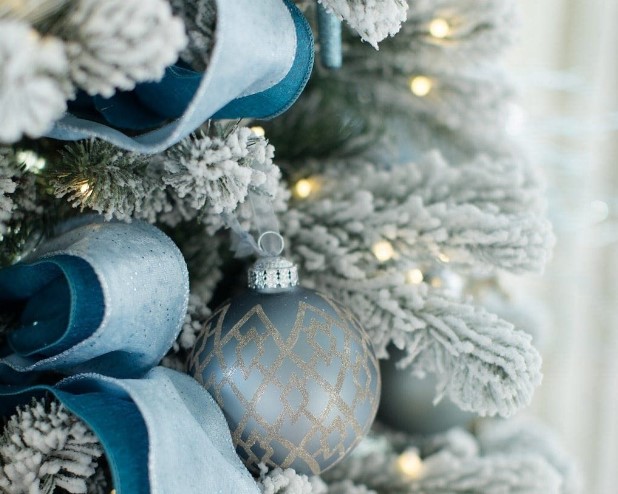
To make a look that looks put together and has the most design effect, you should use ribbons of different colors. For example, two shades of blue are used here to tie in with the trinkets and help the blue Christmas tree look better and really stand out.
Tip 2: Size does matter
Ribbon width can make a huge difference in how something looks. A string over the top can sometimes give you the look you want. But it can also put it off on a small tree. A 2 to 3-inch ribbon will work for a 7-foot tree.
If it’s higher than that, you can use a 5′′ ribbon to show how big it is. But if you want a bigger look with more interest, you might want to consider using two ribbons that are about 2 to 3 inches wide.
Tip 3: A customized touch
You can use a branch to grab a ribbon and bend it while putting it on an artificial tree. However, the branches don’t always meet in the right spot or don’t make a strong enough hold for a pinch. To connect the ribbon to the brach, grip it with a wire. This pulls more tightly than the limbs, leading to full and fluffy rings. Twist the ribbon to hold it in place after wrapping the wire around it twice and pulling it tightly.
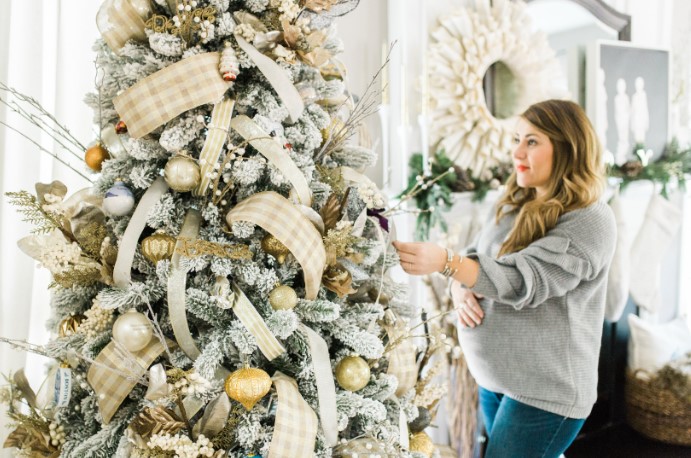
Tip 4: Make Christmas tree sparkle
A gorgeous way to make a Christmas tree look like it was put together by a pro is to layer ribbons of different colors. If you don’t want to use a lot of different colors, you can add a mesh glitter ribbon for more sparkle and let the color or design of another ribbon show through!
Tip 5: Look at often

Every once in a while, you need to look at how the ribbon is flowing when you’re having it. Do you see parts that don’t look finished? Does it turn around the tree at the right angle? The ribbon is great because you can shape it any way you choose, so keep checking on how the fabric fits on the tree.
See More:
- Unique Silver Christmas Tree Ideas
Conclusion
So there you have it: the simple steps to make your Christmas tree look even more lively. We’ve also given you some basic information about what you need to know before you decorate your Christmas tree and some useful tips to help you decorate it like a pro.
Hopefully, this article has shown you how to put ribbons on a Christmas tree. Of course, now you can follow these wonderful steps to make your home feel blessed and joyful. Don’t forget to follow our other Christmas articles for more great tips!
Blake Simpson
Hi, I’m Blake from Loveable. I help people find perfect gifts for occasions like anniversaries and weddings. I also write a blog about holidays, sharing insights to make them more meaningful. Let’s create unforgettable moments together!
If you love this post, share it with your friends!