
The Ultimate Guide to Using Permalinks in WooCommerce

WordPress permalinks provide the complete URL address of a page or post on your website. Permalinks are the “permanent address” of where a piece of content on a WordPress website may be found.
Because the format of your WordPress permalinks can significantly impact your SEO (search engine optimization), it is critical to understand WordPress permalink settings and configuration.
This article will show you The Ultimate Guide to Using Permalinks in WooCommerce to upgrade your own store.
What are permalinks in WooCommerce?
Permalinks, or permanent links, are the lovely links (URLs) to your blog or website’s individual blog posts, pages, categories, and tag archives.
A solid permalink is critical for your website to appear professional. It makes it simple for users and search engines to comprehend your information. Setting up an effective permalink structure for your website is also beneficial to SEO. We can only identify specific blog posts, pages, or any other material on your website using these permalinks.
Reasons to use permalinks in WooCommerce
Permalinks are essential in WordPress for a variety of reasons:
- First and foremost, if someone enjoys your material and wants to link back to it, they can do so by using the permalink of that piece.
- Second, you will need your permalink (which serves as your blog post’s internet address) if you want to share your blog post with anyone online via email or social networking platforms.
- 3 Best plugins to support WooCommerce Permalinks customization links appear below your post title and above your meta description on search engine results pages (SERPs). This makes it simple for users to determine whether or not your post is related to their search query.
- You cannot maintain track of your material throughout the internet without permalinks, and you cannot see how well your postings are performing due to your latest social media marketing techniques.
Types of Permalink Structures
1. Plain
This construction is bare-bones, as the name implies. The slug is really the database’s designed page ID. It doesn’t give you any information about the webpage you’re on. Most of the time, you’ll want to employ a structure that offers readers (and search engines) a little more information.
2. Day and Name
The name of your post or page, as well as the date it was published, are used as part of the URL in this permalink structure.
The benefit of this layout is that it allows your users to immediately tell how old a post is. This can sometimes save them the trouble of looking for a date in the text to see if it’s still relevant. This layout is commonly used by news and magazine websites, as well as any website that creates time-specific content.
Some readers may simply look at the date and conclude that the advice is no longer applicable, whether or not this is accurate. To be clear, including the date of publication anywhere inside your post is usually a good idea, but there’s no compelling reason to put it in your URL.
3. Month and Name
The structure of this URL is nearly identical to the one we just discussed. The only difference is that your post’s URL does not include the date of publishing.
From a functional standpoint, the Day and Name structure have the same combination of advantages and disadvantages. While it’s convenient for visitors to see how old your post or page is at a glance, it can also make some of your information appear out of date.
4. Numeric
The Numeric permalink structure is quite similar to the Plain permalink format. This configuration, like Plain permalinks, uses the ID of your post as the slug and provides no extra information to users. You receive a short permalink in this situation as well, but there are no other benefits; therefore it shouldn’t be your first choice.
5. Post Name
This is our favorite of all the default WordPress permalink configurations. It uses the name of your posts and pages to identify them, resulting in clean and memorable URLs.
The best part is that you can name your posts and pages whatever you like, and you can even change the slugs if the names become too long. Your slug should be between three and five words long as a rule of thumb. That way, it’ll be easy for your visitors to remember, and search engines will be able to figure out what the content is about.
6. Custom Structure
If none of the structures we’ve discussed so far appeal to you, WordPress also allows you to create your own. For example, if you have a blog, you can create separate categories for your roundups and reviews and include them in your links.
In practice, WordPress provides eleven structural tags with which you can create custom permalinks. Continue reading to learn what they are and how to utilize them; we’ll go over all the basics in the next part.
SEO-Friendly Permalinks
From the perspective of search engines, permalinks and link structure are crucial. While there has been a lot of hot SEO breath vented on this topic over the years, Google’s URL structure requirements remain delightfully clear — keep them as simple as possible and intelligible to people.
The fundamentals are simple to grasp:
- Keep URLs short - under 100 characters is preferable.
- Use keywords in URLs sparingly, but don’t try to pack them in.
- If at all feasible, remove dynamic attributes.
- Use hyphens to separate words and leave off stop words like and, or, but, of, and the.
How to create Custom Permalinks
1. Use the Custom Structure Tags in WordPress
To generate custom permalinks in WordPress, you may utilize ten different sorts of structural tags.
-
Date Tags - This category contains %year%, %monthnum%, %day%, %hour%, %minute%, and %second%, and they all work as expected. If you include any of these tags in your permalink structure, those numbers will appear in your URL.
-
Post ID and Name - the tags for post ID and name are %post id% and %postname%, respectively. The first shows the unique ID for each of your articles or pages, while the second shows the complete title of each.
-
Category and Author - You can include these options by using the %category% and %author% tags, respectively.
Access your dashboard and go to the Settings > Permalinks tab to utilize any of these tags. Once you are in, you may choose from any of the permalink structures we discussed before. Select the Custom Structure option at the bottom of the list if you want to make your own.

All you have to do now is combine the structure tags we discussed earlier. For your own permalink structure, you can use as many or as few tags as you wish. However, to ensure that your material remains evergreen, we recommend keeping things brief and eliminating dates if at all feasible.
2. Use plugin for the Custom Permalinks
If you have used WordPress for a while, you will know that there are plugins for almost any situation you can think of. It is no different when it comes to customizing permalinks. The Permalink Manager plugin is one possibility.
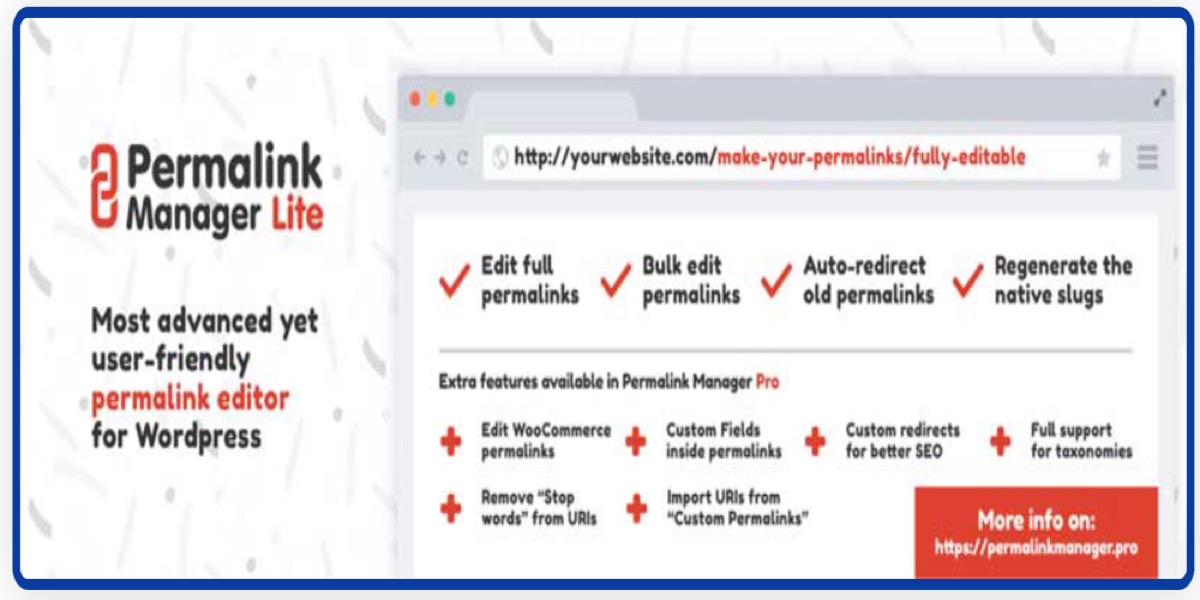
This tool allows you to adjust the permalink structure of your posts and pages and change the URLs of individual posts, all from a single interface.
Install the plugin, activate it, and then go to the Tools > Permalink Manager tab to get started. You will find a list of all your posts inside, along with the opportunity to change their permalinks.
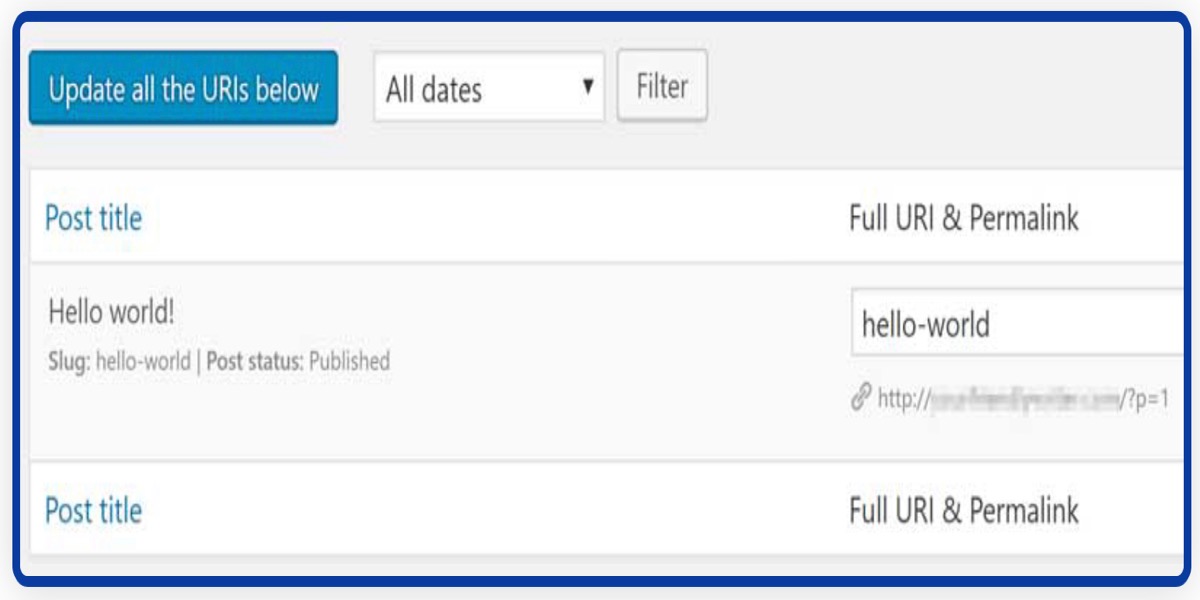
There are additional tabs for your Pages and Media in the URL Editor tab section, which function similarly to the Posts part. Move on to the Permastructures tab once you have finished with those. You can create custom permalink structures for your posts, pages, and media in this section.
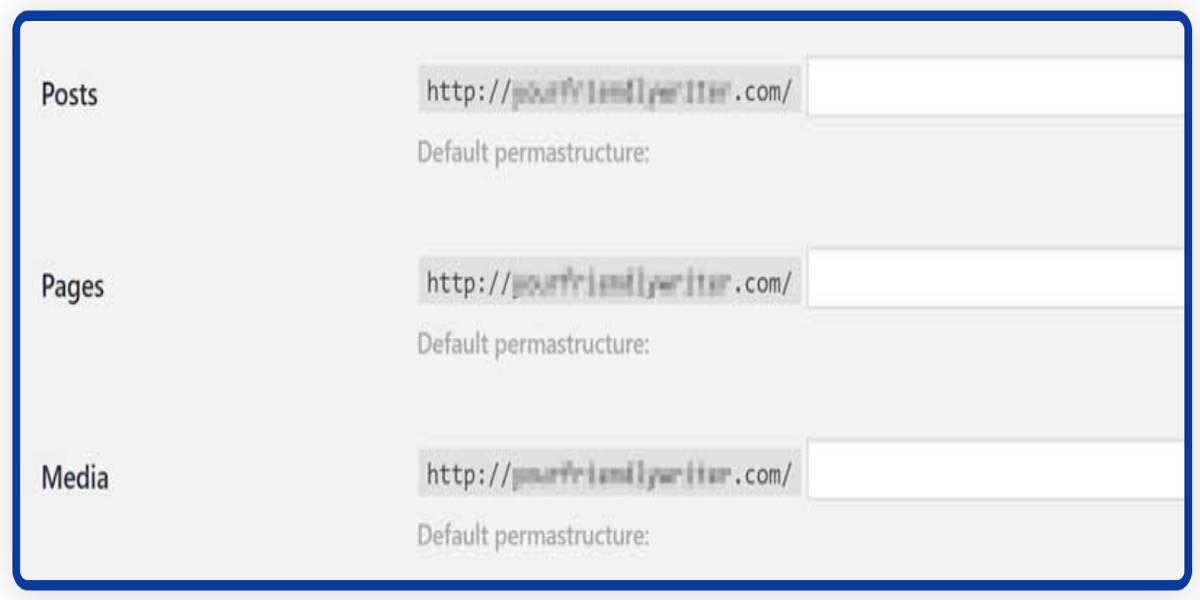
As you can see, the plugin also takes advantage of the WordPress structure tags to assist you in creating new permalinks. Simply arrange them in the order you like and save your modifications.

You can always utilize the Restore to Default Permastructure button below each field if you’re not content with your new structures. That is pretty much it for getting started with the plugin.
How to change the Permalinks
1. A Post or Page That is Already Published
You will need to put up a redirect rule for those two URLs to redirect the old slug from a post to the new one.
After you have found your site, go to the menu and select Redirects.
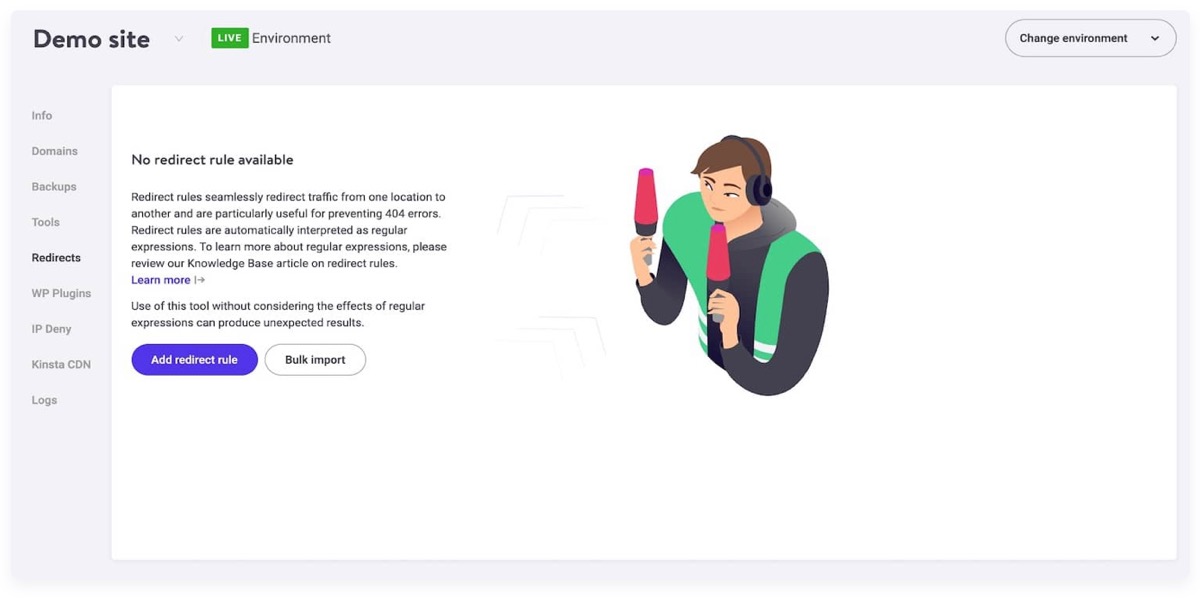
To open the redirect rules box, click the Add redirect rule button.
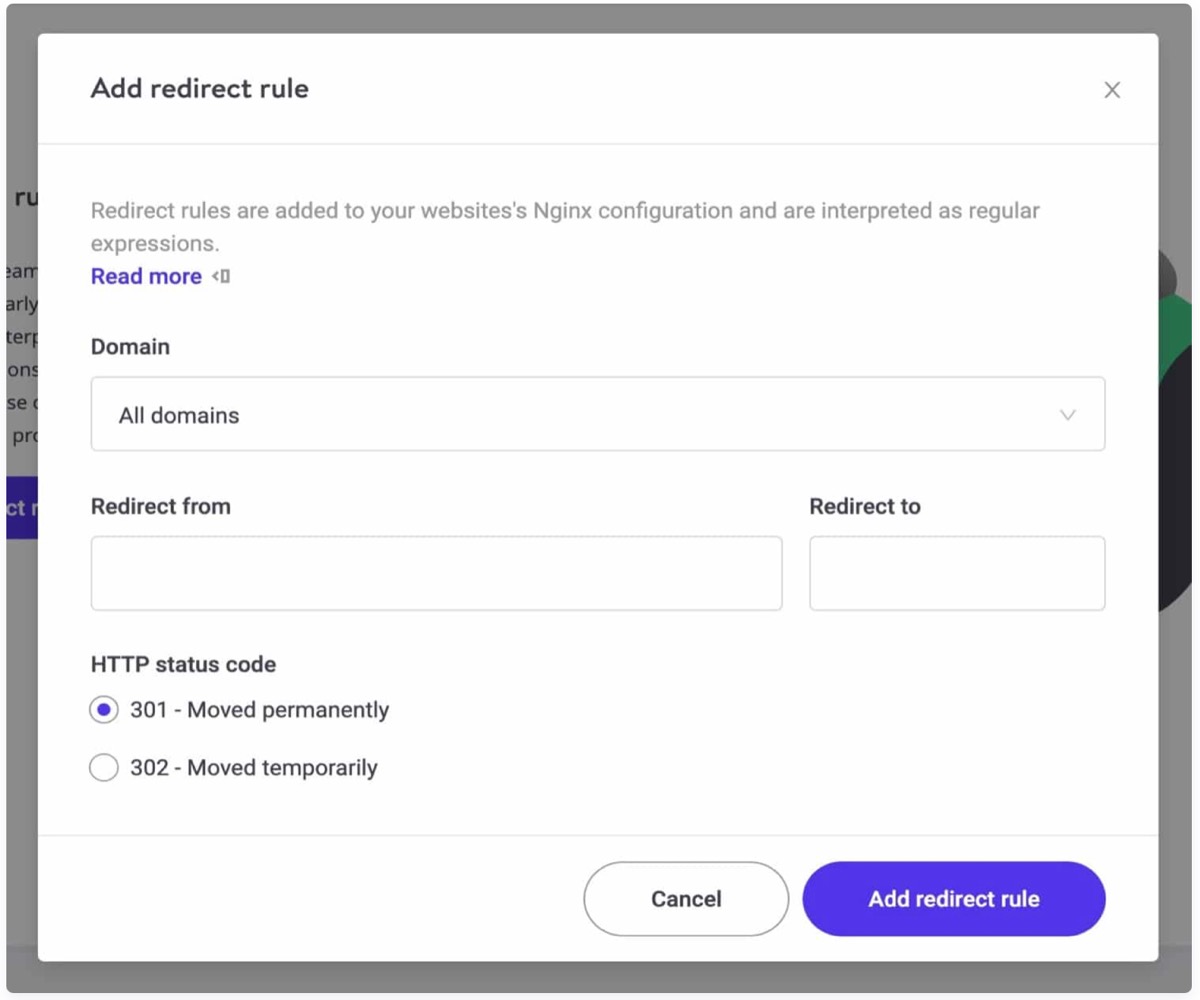
Select 301 redirect, then type the old slug as the Redirect from value and the new slug as the Redirect to value to add your redirect.
Your redirect will be put up once you click the Add redirect rule button.
You can see in the screenshot below that I updated the slug for one of my posts, and the plugin recognized it and created a redirect rule.
2. An Archive Page
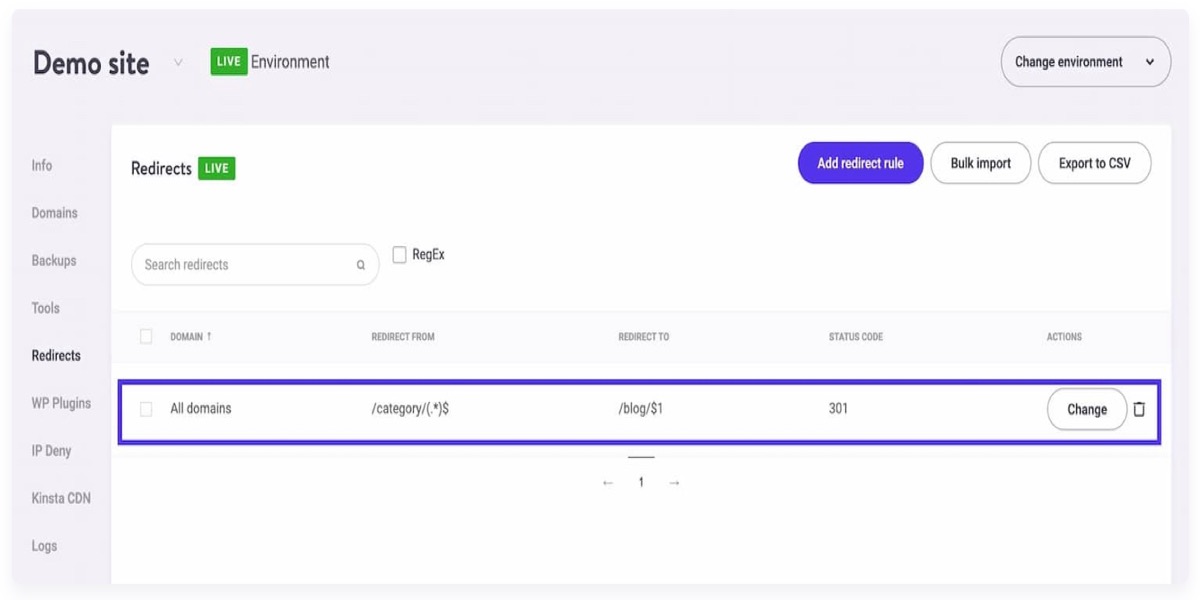
If you use the Optional part of the Permalinks settings page to change the structure of your archive pages, everyone who visits the previous link to a category archive will be directed to your 404 page. As a result, you will need to create a wildcard redirect.
Type the old path to categories with a wildcard in the Redirect from field. It must be in the format /oldslug/(.*)$. The Redirect to entry must be in the format /newslug/$1.
In the Redirect from field, type /category/(.*)$ and /blog/$1 in the Redirect to field if you have altered your category URL structure to use blog before the category name instead of the usual category.
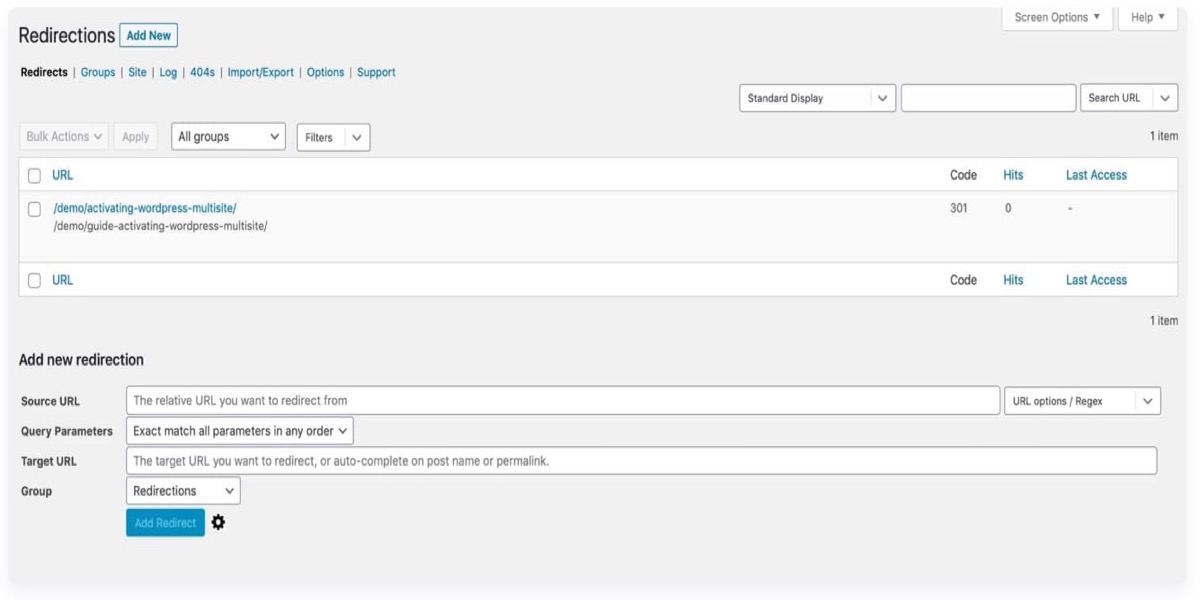
Because the wildcard asterisk is a regex function, you will need to enable Regex functions first if you are using the Redirection plugin.
Go to Tools > Redirection and select the Add new redirection option.
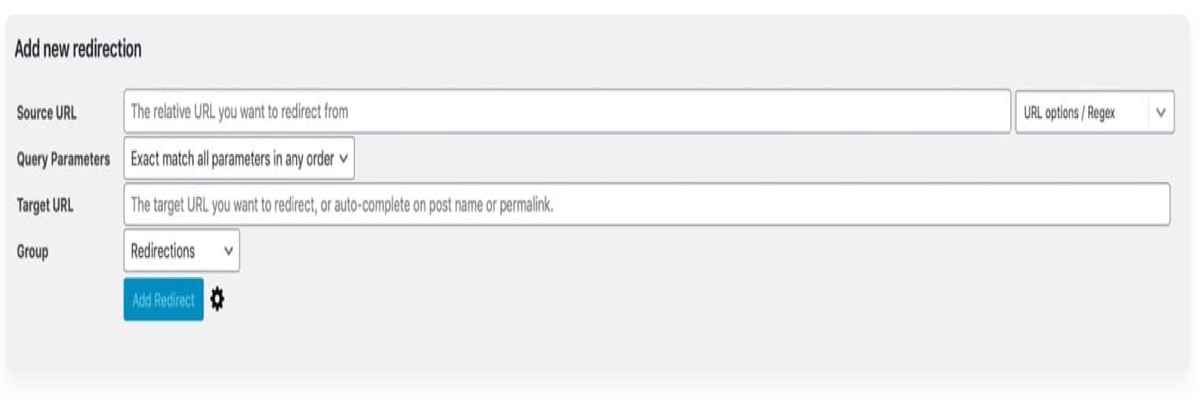
Check the Regex box in the URL Options/Regex drop down menu.
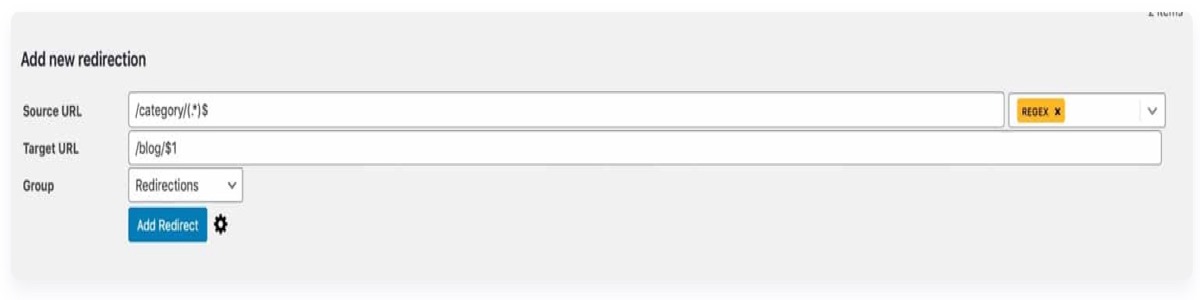
Type the old path to categories with a wildcard in the Source URL column. It must be in the format /oldslug/(.*)$. The source /newslug/$1 must be used in the Target URL entry.
3. Tags and Categories
To get started with categories, go to Posts > Categories in your WordPress dashboard.
It is Posts > Tags, for tags.
Locate the tag or category to which you wish to make changes, then click on its name.
You will note that WordPress developed a unique slug for the tag or category depending on its name when it was first created.
However, you are not bound by it. At this stage, you can change the tag or category’s slug.
It makes more sense to design your tag and category slugs when you first set them up, much as you did with your posts. You will need to set up extra redirects if you are modifying existing ones.
If you use a plugin to create a custom taxonomy or construct one yourself, you will be able to edit the slug for individual terms within the taxonomy in the same way. However, if you want to change a taxonomy’s real slug, you will have to dive into the code.
How to reset Permalinks
You may resave your permalinks in WordPress by heading to the Permalinks page, which is available under Settings, and selecting the ‘Save Changes’ button. It is the same as rebooting your phone or laptop.
Re-saving the permalinks usually solves the problem if:
- You have access to wp-admin, but your site’s public area is empty.
- You can see your home page, but all of your articles, pages, and archives are blank.
Resaving permalinks can also help with a few other difficulties. When you cannot go into the site’s admin section, you can’t use this solution. However, the two circumstances mentioned above are the most common ones I’ve heard of.
Problems with permalinks are most likely to develop in your WordPress site after making significant changes to its structure or moving it to a new host. It can happen at any time.
If you have recently relocated your website and previously used the wp-cache function and are seeing a blank page, it is possible that a line in wp-config.php is to blame. If resaving permalinks doesn’t work, go to wp-config.php and remove the line that states it was inserted by wp-cache, which should look something like this:
define(‘WP_CACHE’, true); //Added by WP-Cache Manager
3 Best plugins to support WooCommerce Permalinks customization
1. Permalink Manager Pro
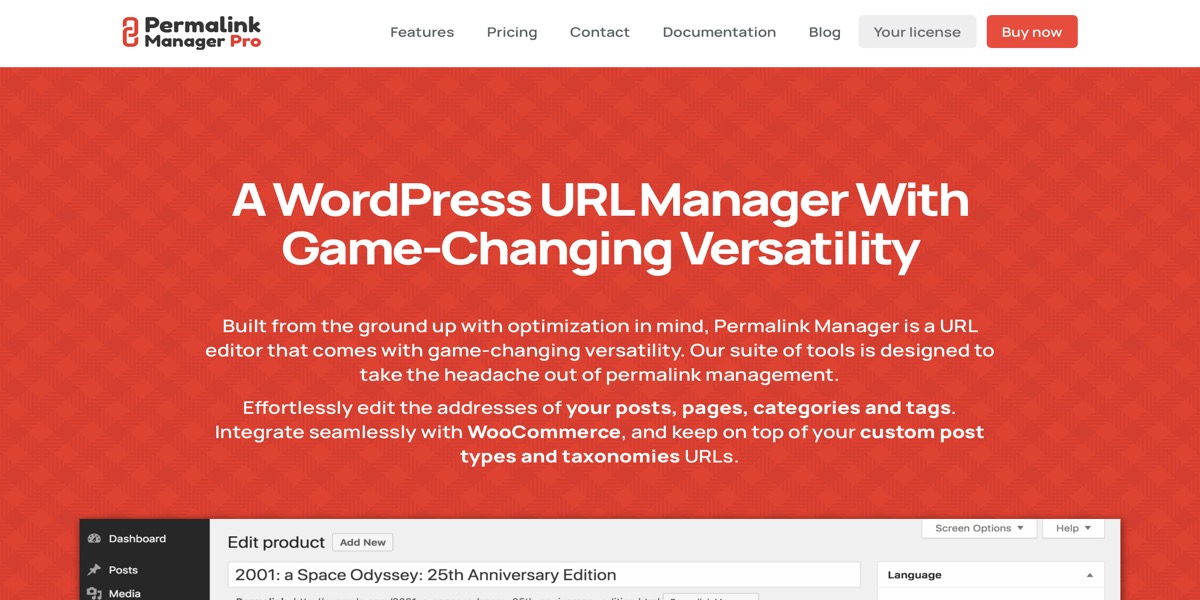
Permalink Manager Pro allows you to alter not only the slug but also the entire URL addresses. It has a screen option that allows you to customize how many URLs are displayed on each page. You can also use the date filter to display the posts by month on the list. If you use two permalinks that are exactly the same, this plugin will display an alert underneath the custom URI field.
Features:
- In less than 2 minutes, you can remove or update the permalinks of all WooCommerce pages, products, and taxonomies.
- Using the regeneration or reset tool, you can easily regenerate or apply fresh permalink settings to all posts, pages, and terms.
- Allow custom fields to be used in your permalinks.
- Create redirects for all previously used custom permalinks automatically.
Price: $40
2. Custom Permalinks
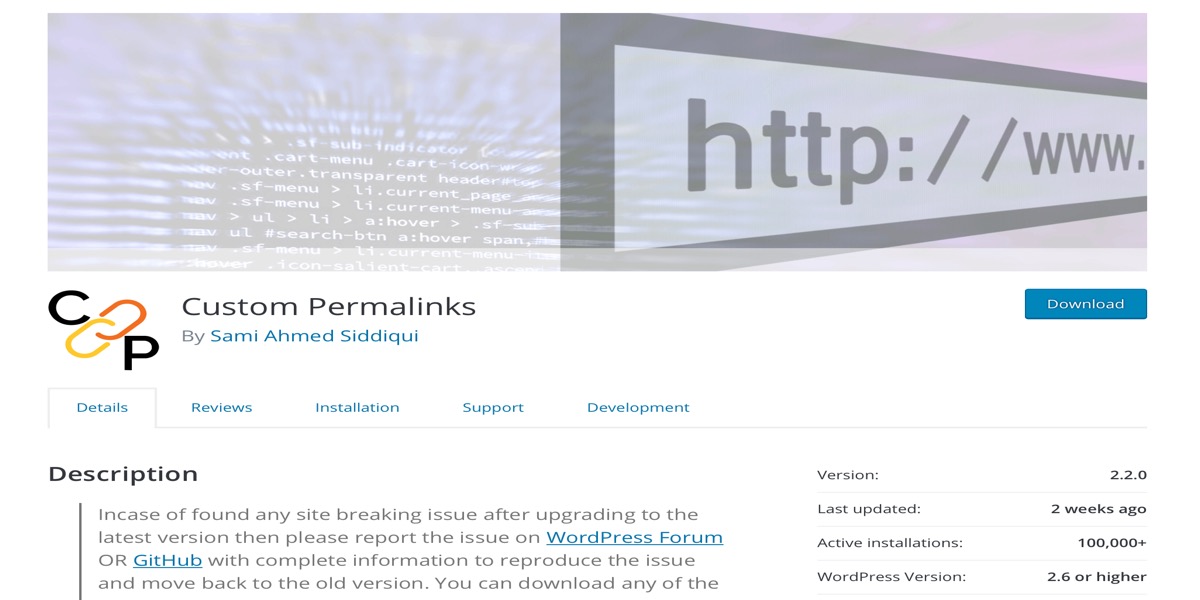
Custom Permalinks plugin is clearly popular, as it has over 100K current installations and a 5-star rating. This plugin will offer you complete control over the structure of your website. Custom Permalinks can be used to create unique permalinks for each post, page, tag, or category.
Features:
- This plugin is available in six distinct languages.
- You have complete control over the URL of any post, page, tag, or category.
- Your visitors will be sent to the new location by all of the old permalinks.
- This plugin allows you to create custom permalinks for certain articles, pages, tags, and categories.
Price: Free
3. WooCommerce Permalink Manager
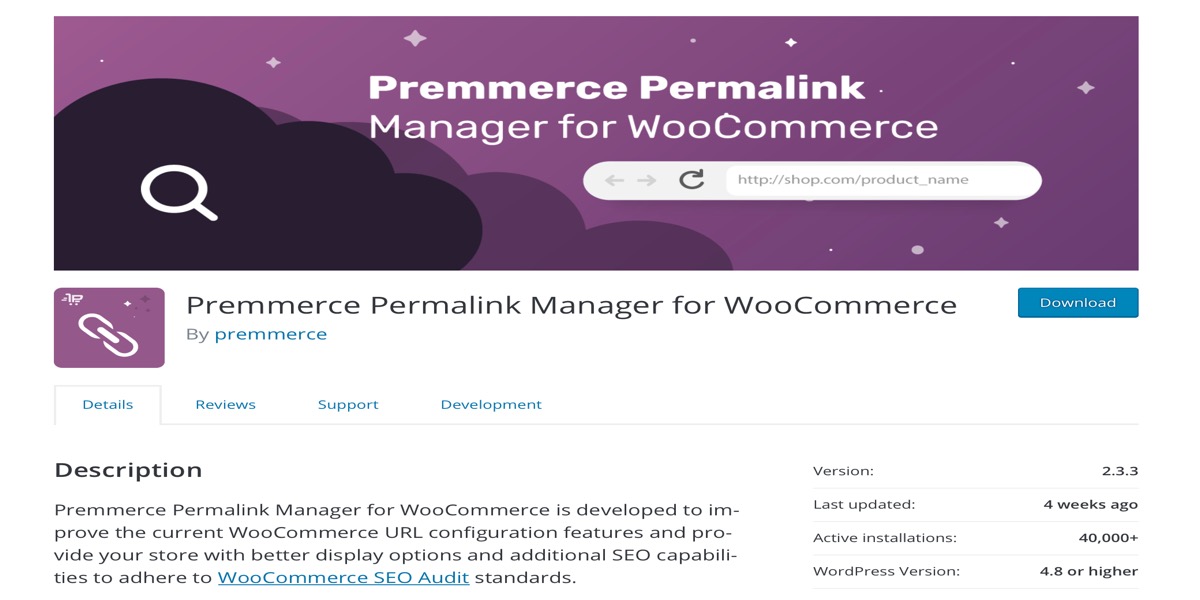
WooCommerce Permalink Manager plugin is ideal for any online store because it is compatible with all WooCommerce plugins. It is optimized for speed and can support over 1000K products in an online store at the same time. It is search engine friendly, plus it gives your store more display options and features.
Features:
- It adds the ‘rel = canonical’ attribute automatically, which removes duplicate pages.
- This plugin allows you to configure all of your online store’s permalinks from a single page.
- It can build a product category URL that is only visible in its slug and the slugs of its categories.
- All WooCommerce plugins are compatible with WooCommerce Permalink Manager.
Price: Free
Tips for better WooCommerce permalinks
There are certain permalinks that are better than others. While a content management system like WordPress gives you a lot of alternatives, it’s a good idea to learn about the best practices for WordPress permalinks so you can pick the best one:
- Make Use of Keywords in Permalinks.
- Permalinks that are short are preferred over those that are long.
- Maintaining a Consistent Framework.
- Permalinks should be tailored to the content titles.
- Consider whether or not to utilize www. or.com.
- Dates should not be used to clog up your content.
- To improve the effectiveness of your permalinks, use SSL.
Ways to fix WooCommerce Permalinks issues
The permalinks don’t work after you register a post type
Don’t panic if the links to relevant archive articles or pages aren’t working after you’ve created a new taxonomy or post type.
This occurs because WordPress does not instantly recognize that the addition of a custom taxonomy or post type changes the permalink settings.
To fix this, navigate to Settings > Permalinks and the settings will be automatically updated. You don’t even have to modify anything or click “Save Changes.” All you have to do is turn on the computer.
Conclusion
Many people make the mistake of not paying attention to the structure of their website’s permalinks. Although it may appear to be a minor point, employing the proper permalink format can improve your SEO and make your website more user-friendly.
As a general rule, permalinks with long strings of numbers or awkward phrases should be avoided. With this in mind, the best method is to utilize your post names as your default permalink structure and manually shorten them as needed. If it isn’t a good fit for your website, you can always use WordPress tags or a plugin to generate custom permalink structures.
I hope you will find this article about The Ultimate Guide to Using Permalinks in WooCommerce fundamental!


