
How to Set up Facebook Shop in WooCommerce?

Facebook Shop for WooCommerce links your WooCommerce to Facebook Shop, making it easier for customers to find your online store. You can buy ads, discover new consumers, set up a shop on Facebook to sell your items, and track the effects of customer actions on your website.
In this article, I will show you How to set up Facebook Shop in WooCommerce to upgrade your business.
What is Facebook Shop?
Facebook Shop is a platform that allows companies to create an online store and sell their goods via Facebook or Instagram. Businesses may establish a catalog of the items they wish to sell and modify the store graphics to match their brands’ look and feel. Furthermore, businesses may use Facebook and Instagram advertisements and stories to market their products. Facebook Shop is completely free, and the greatest thing is that it can be integrated with your WooCommerce store.
Reasons to set up Facebook Shop in WooCommerce
Adding WooCommerce to your Facebook Shop is a great method to boost your sales. You can make the purchasing process easier while also improving the customer experience using this tool. This increases engagement, which aids in the conversion of that consumer into a committed customer. That is not all, though. Adding WooCommerce items to Facebook Shop has a number of other advantages, including:
- Analyze the effectiveness and outcomes of ad campaigns.
- Product and category integration is done automatically.
- Because of the reach and proximity, you can help establish stronger customer connections.
- It enables you to sell items quickly and effectively using Facebook Pages.
How to set up Facebook Shop in WooCommerce
Step 1: Install the plugin
In this post, we will show the way to create Facebook Pixel. You can use a plugin to combine Facebook Pixel with WordPress following this demonstration. Download it here
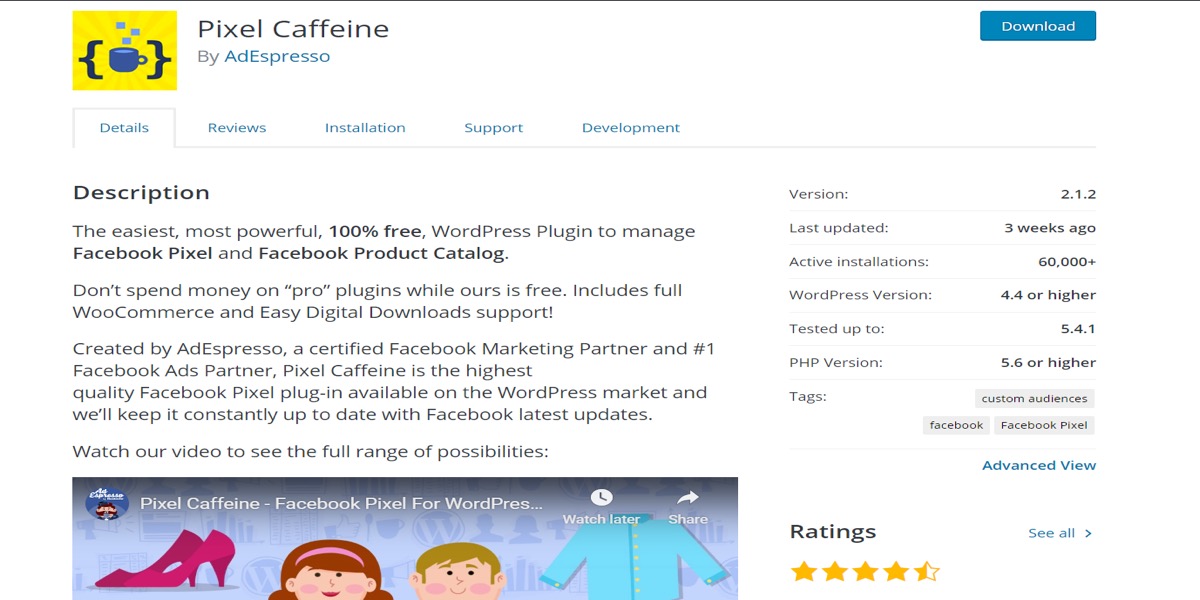
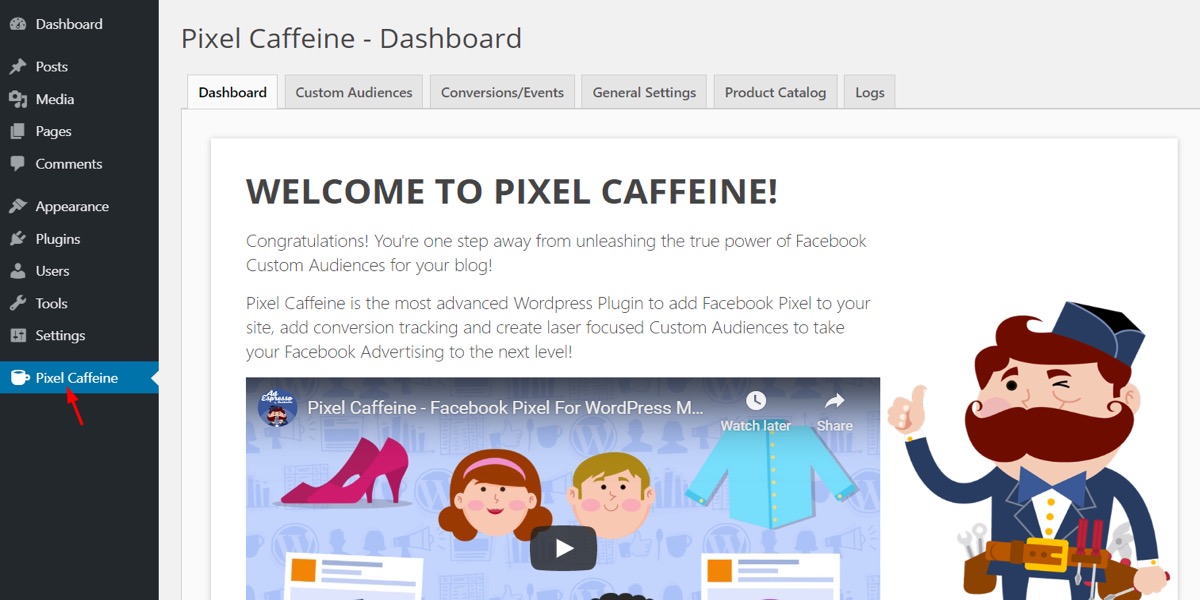
First, set up Pixel Caffeine on your website and activate it. The plugin configuration will then appear in your WordPress admin area.
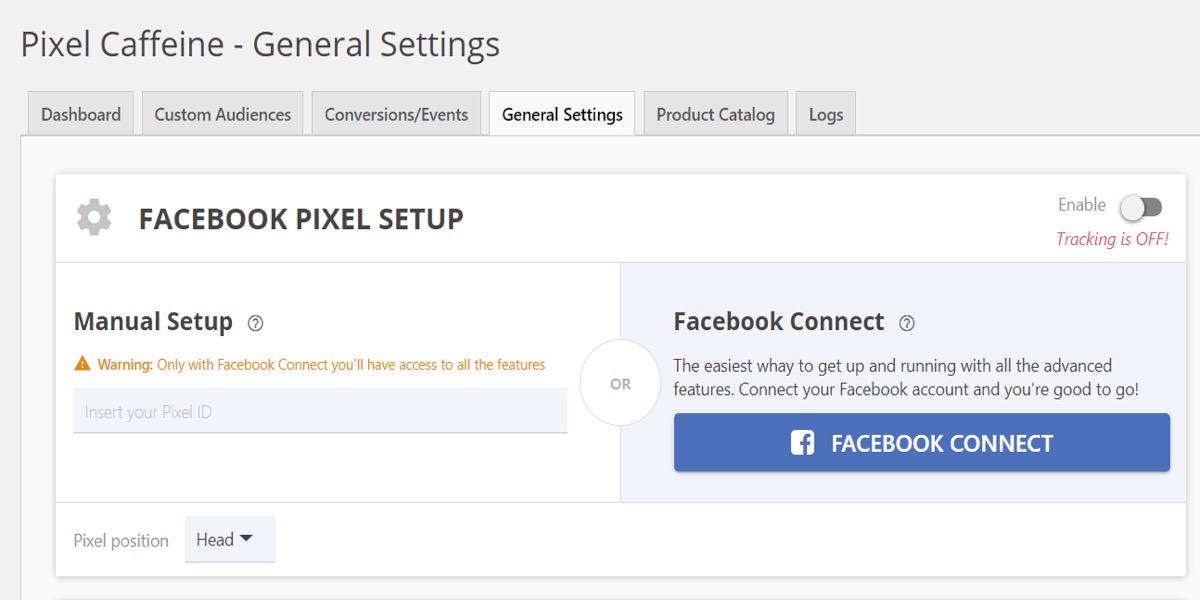
You’ll see something like this if you go to the General Settings tab.
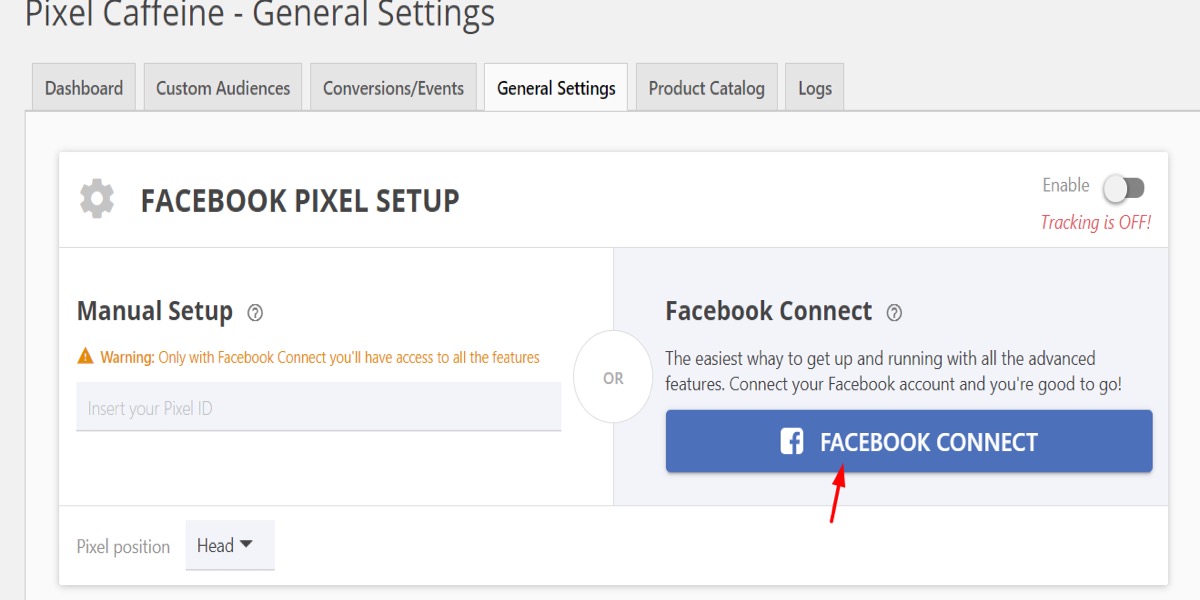
You can connect the plugin to your Facebook account or combine Facebook Pixel with your ID. Even though pasting the Pixel ID may appear to be more simple, the truth is that you must press Facebook Connect to get all of the functions.
As a result, we recommend that you use the Facebook Connect button on the right to link the plugin to your Facebook account.
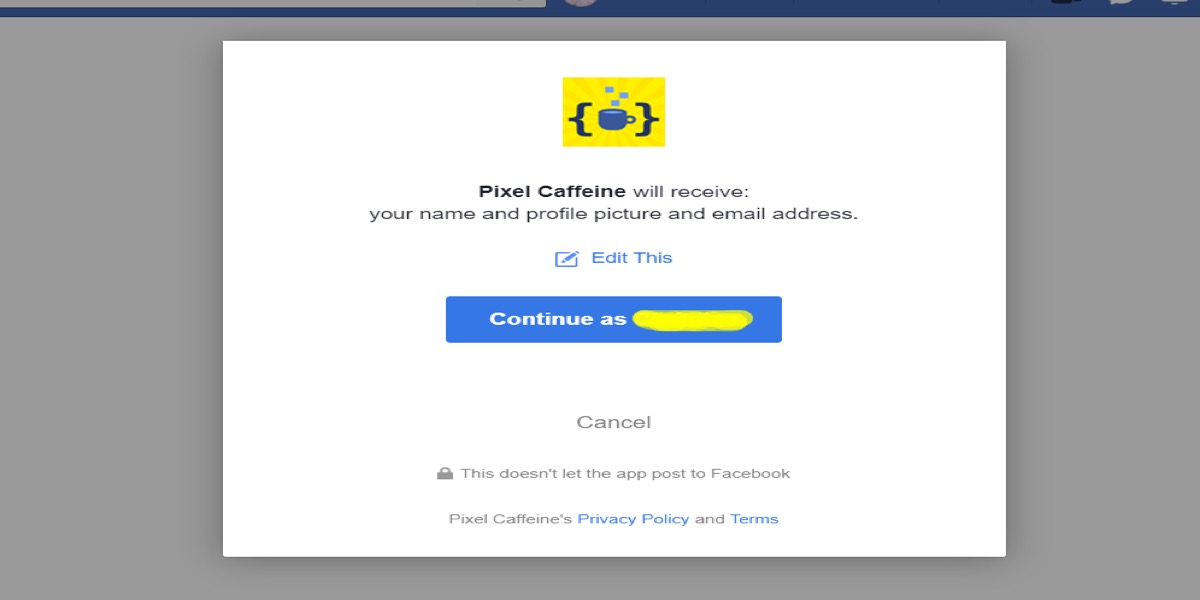
You’ll see the following pop-up if you’ve already logged into your Facebook account in your browser.
Allow Pixel Caffeine to manage your advertisements, access your ads, and so on by clicking Continue.
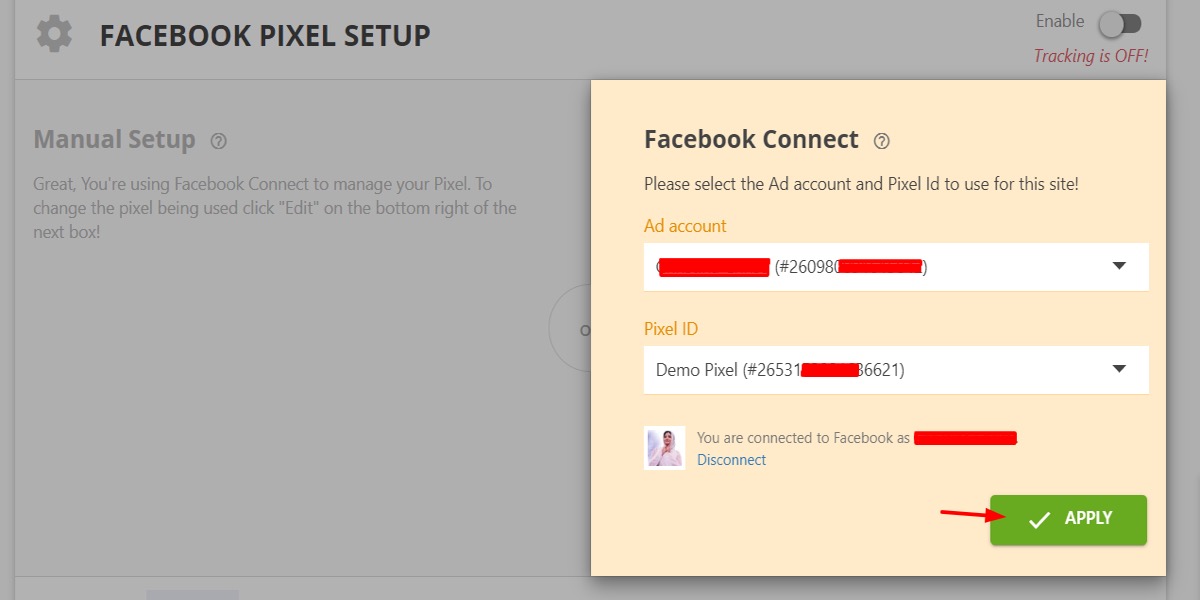
You will be routed to your WordPress blog, where you will see the Facebook Pixel plugin configuration page, once you have granted permission. Select the Ad account and Pixel ID from the dropdown menus, then click Apply.
The configuration will be saved within a few seconds. You’ll see the same thing in your WordPress dashboard if the integration is operating properly.
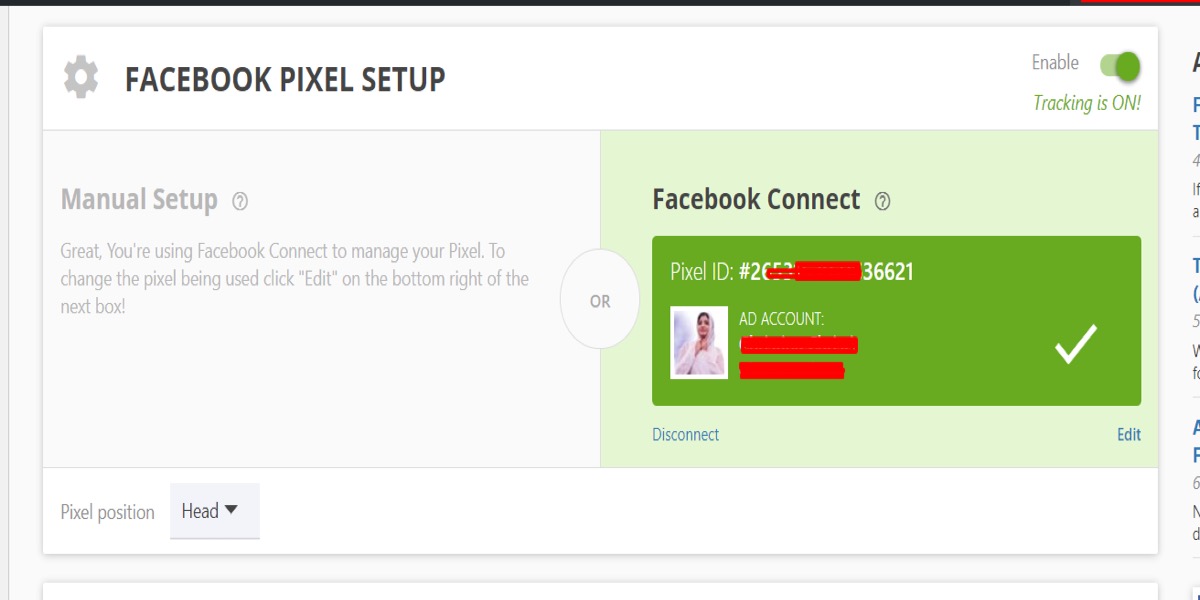
You’re fine to go after you’ve saved the plugins’ settings.
Step 2: Integrating Facebook Shop with WooCommerce
The download instructions will appear to assist you in choosing the pixel you want to use and configuring the WooCommerce Facebook Pixel Extension in your account.
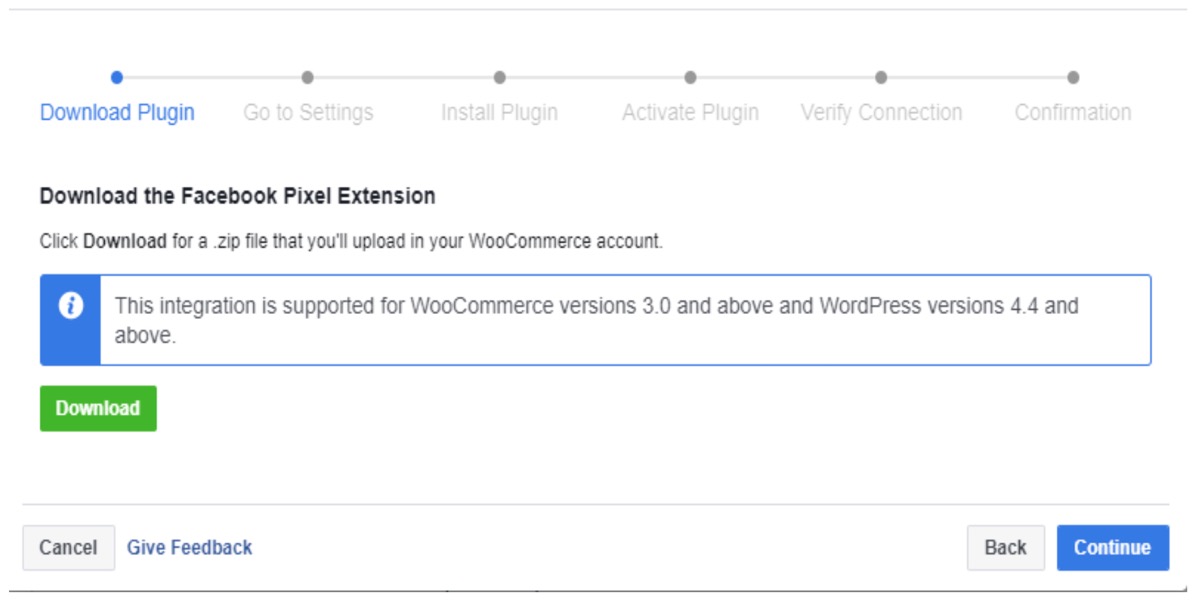
To download the Facebook Pixel Extension, click the Download button and save the zip file that is automatically downloaded to your computer.
Navigate to your website, then to the Plugins tab, then to Choose file. Choose facebook-pixel-for-woocommerce-.zip and install it.
-
Install Now is the button to use.
-
Activate the plugin by clicking the Activate Plugin button.
-
Go to your website’s WooCommerce area.
-
Select Settings from the drop-down menu.
-
Then select Integrations from the drop-down menu.
-
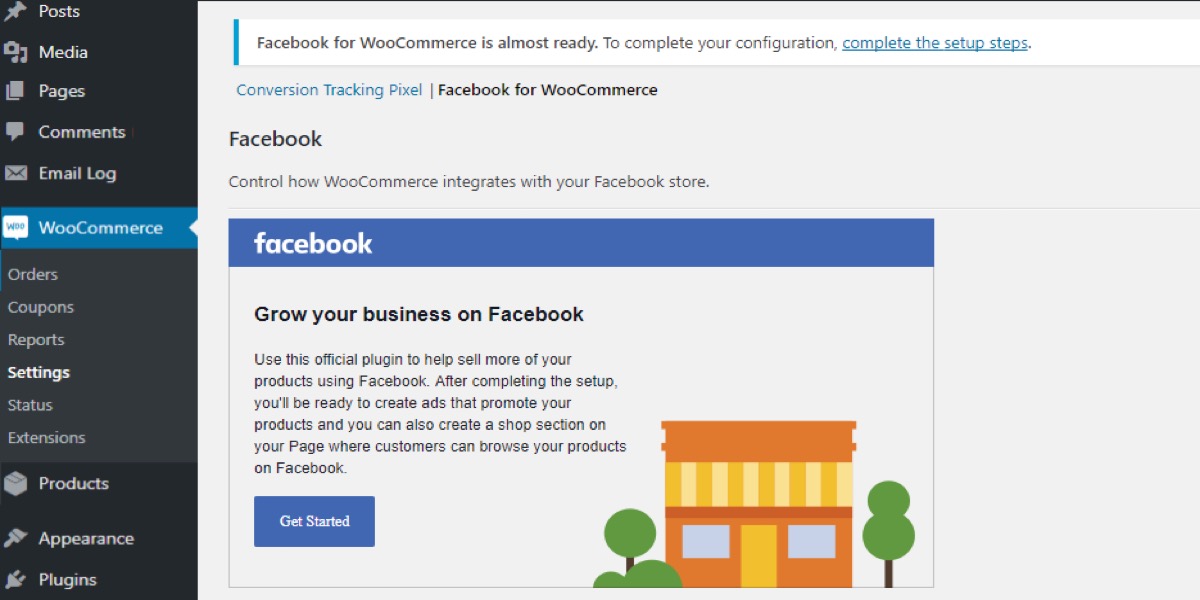
Choose Facebook shop for WooCommerce
-
Press Get started right away. You will be sent to your Facebook Page if you select this option.
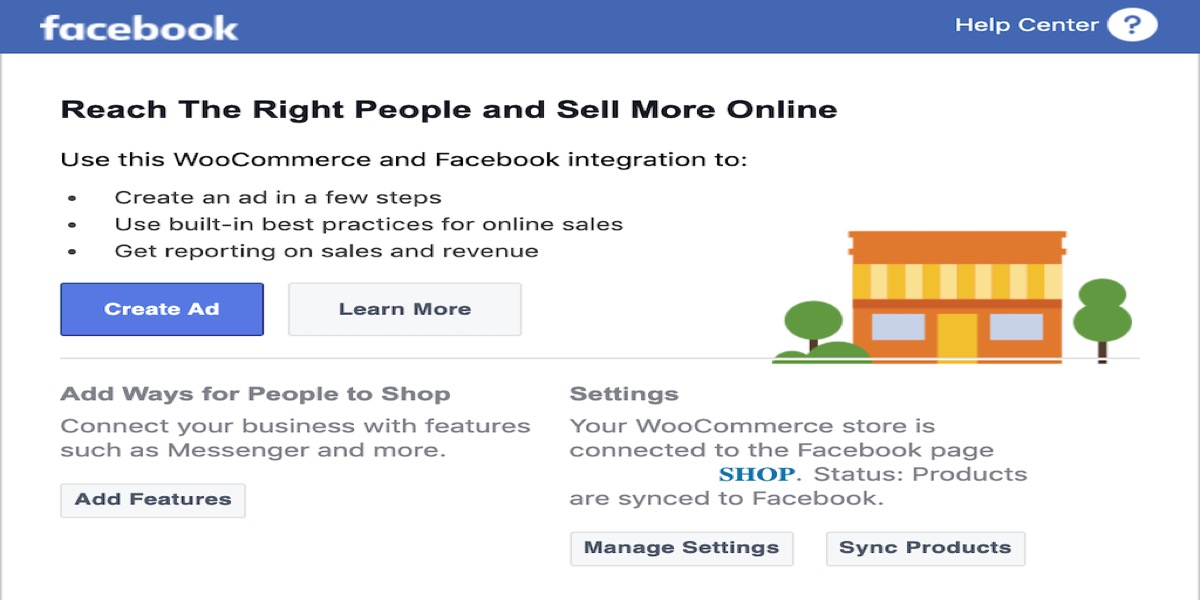
Here you’ll have three choices. Select Choose a Facebook Page from the drop-down menu. Then, on the next screen, hit the Next button.
You’ll skip to the next stage because you’ve already installed Facebook Pixel. To add the items to your shop, select Import product from the drop-down menu and then click Finish.
That is all there is to it. You’ve successfully combined Facebook Shop with WooCommerce!
Facebook shop integration common issues
Your Facebook Shop may not sync with WooCommerce for a variety of reasons. If this is the case, we recommend contacting their customer service staff. If you don’t want to wait for their response, we’ll teach you how to address the most frequent issues right now.
Refresh the auto-sync
- Go to the
WooCommerce > Settings > Integrationtab in your WordPress Dashboard. You’ll findFacebook settingsfor WooCommerce there. - You must reset your API connection if you receive a Facebook extension error. To do so, simply press the button and follow the on-screen instructions.
- That concludes our discussion. WooCommerce and Facebook Shop should now be in sync.
- You may also alter the auto-sync timing in the Advanced Settings section.
Reset the Facebook Shop configuration
During the configuration process, there are occasionally issues. Even if you remove and reapply the plugin, it will revert to its original settings, therefore you must reset the Facebook Shop settings. To do this, you must:
- Go to
WooCommerce > Settings > Integrationtab in your WordPress dashboard and click onFacebook for WooCommerceto go to the configuration page. - A pop-up will appear when you click
Settings(or Reconfigure for previous versions). - Go to
Advanced Optionsand selectDelete Settingsfrom the Advanced Options drop-down menu. - That concludes our discussion. You’ve just re-configured your Facebook Shop for WooCommerce.
Conclusion
You can optimize your sales process and customer experience by linking your WooCommerce store to Facebook Shop. You’ll be able to track ad campaign success and synchronize items and categories to sell things through Facebook Pages.
The quickest and easiest method to accomplish this is to use a plugin that will let you synchronize your store with Facebook Shop in minutes. To get the most out of your campaigns and unlock the full potential of Facebook Ads, we also recommend integrating Facebook Pixel with your site.
If you have a WooCommerce store and want to modify the shop page, we recommend reading our comprehensive tutorial on How to set up Facebook Shop for WooCommerce.


