
How to Set Up & Use WooCommerce POS?

It doesn’t matter what kind of business you run if you don’t have software that allows you to take customer orders. It allows your employees to rapidly submit orders from consumers into a single ordering system, rather than different versions for in-store and online, or worse, something on paper. It is more precise and efficient.
A WooCommerce POS system will make it easy for your waiting staff or behind-the-counter employees to add and delete products from the order list, pick variants, place orders for clients, and send them through for processing quickly.
In this tutorial, I will show you How to set up and use WooCommerce POS to help you get a complete business.
What is WooCommerce POS?
Point of Sale for WooCommerce is a web-based point of sale (POS) solution that allows store owners to easily sell online items in physical storefronts. It converts any contemporary web browser into a cash register, allowing you to keep track of all of your items, orders, and customers in one place. Retail stores, market stalls, food and beverage sellers, vape retailers, jewellers, and other businesses will benefit from WooCommerce Point of Sale.
Reasons to use WooCommerce POS
A static computer screen is used in most shops to take client orders. The items in the customer’s order are all recorded and sent to the appropriate departments. Unfortunately, there are a number of issues with this method of receiving orders:
-
These stores’ software is out-of-date and difficult to use. You’ll need something like WooCommerce or WordPress, which are both up-to-date and simple to use.
-
Because there are only so many counters, either consumers or waiting staff must queue to pay for their purchases. For anyone who has to wait a long time to make a purchase, this may be a genuine hardship.
-
Desktop PCs take up valuable counter and desk space.
-
If you also sell online, you’ll need to keep track of two order systems!
Set up a WooCommerce point of sale system on an iPad or Android tablet to rapidly input the customer’s order, compute the total amount due, and gather payment details.
When you use WooCommerce as your point of sale system, you get a web-based, cutting-edge solution. It’s cheap, and it’s simple to set up. If you’re currently selling online with WooCommerce, even better - integrating WooCommerce POS with your existing shop will save you time, simplify things, and save you money.
How to set up a WooCommerce POS
Step 1: Begin by configuring WordPress
Continue with the requirement, WordPress Environment Setup, for which WordPress is required. WordPress may be easily downloaded and installed at www.wordpress.org.
If you’ve already installed and used WordPress, skip this step and go on.
Step 2: Allow your WooCommerce store to be fully functional
If you’re new to online business and need assistance installing WooCommerce, have a look at our guide and follow these three simple steps:
To begin, download and install the WordPress WooCommerce plugin.
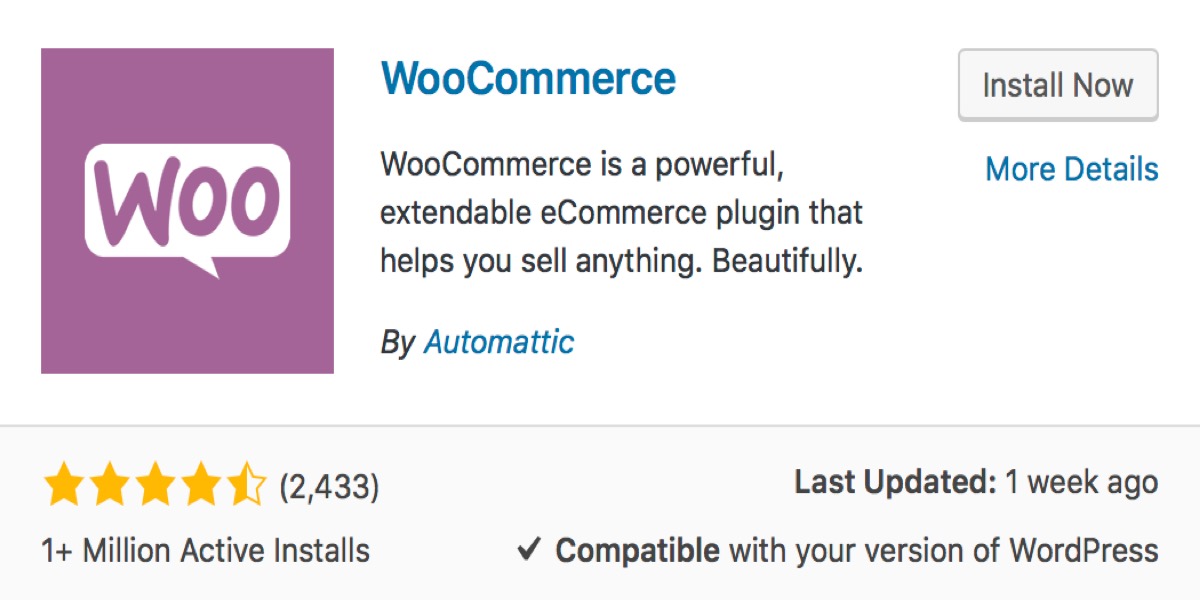
It’s possible that WooCommerce will be permitted to be installed for free. After you’ve set up your eCommerce store, you’ll need to add goods and adjust additional parameters like shipping and payments in the WooCommerce settings.
Install the necessary plugins and choose a theme for your store.
Choose a theme for your online store that matches your requirements. It’s critical to improve the website’s attractiveness and engagement.
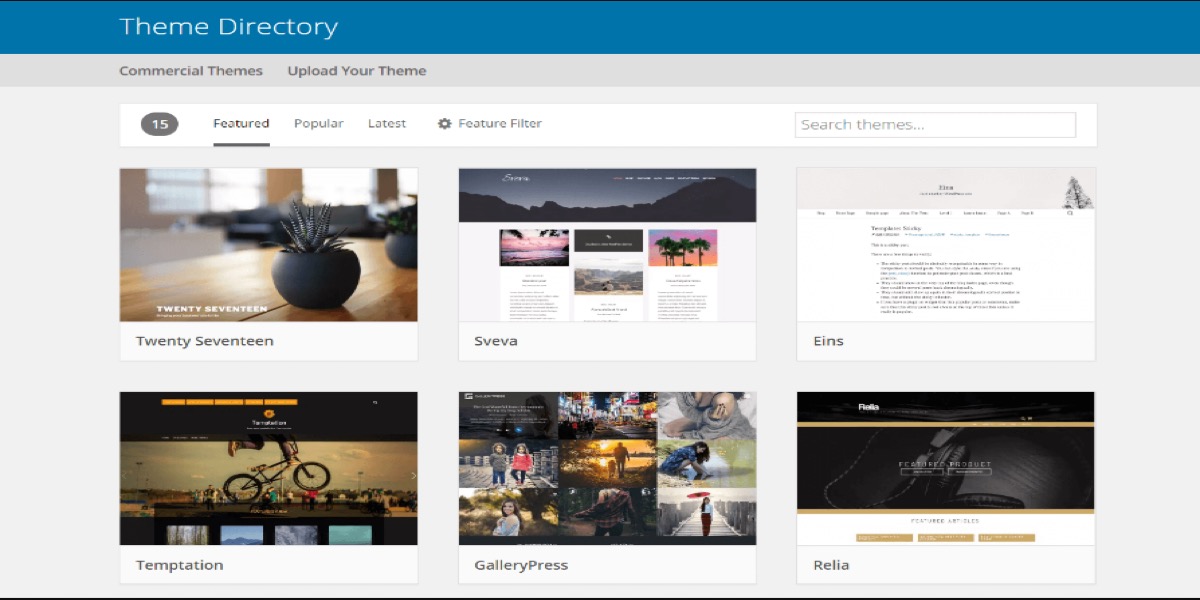
Simply select a theme that is suited to your tastes to get the same outcome. For your online businesses, WooCommerce provides both physical and digital themes.
Then, to get started, log in and add a few goods to your WooCommerce store.
At this point, all of your goods will be publicly accessible and presented in the default layout. Don’t worry if you already have a WooCommerce store; simply follow our instructions.
Create a website with just enough functionality for early consumers to be happy with the service, then improve it based on their feedback. The screenshot below shows how your WooCommerce fake store will look.
Step 3: Install the POS Plugin and turn it on
Go to the WordPress Dashboard and sign in.
After that, navigate to Plugins > Add New on the left column of your dashboard.
Then, search for MWB Point of Sale (POS) for WooCommerce in the search bar. ( The missing link that might act as a tie-up knot for your online and physical stores is MWB Point of Sale (POS) for WooCommerce. The two systems, POS and WooCommerce, can now work together to quickly manage all orders.)
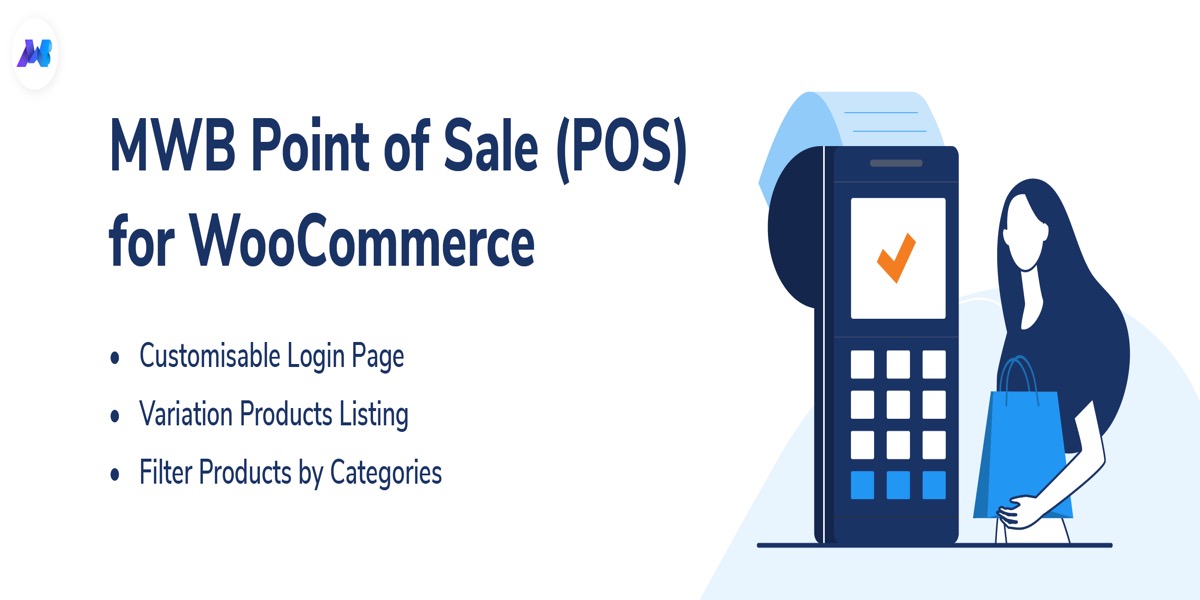
Tap the Install and Activate icon to install and activate the plugin.
We use MWB Point of Sale here as an detailed example that you can follow and apply for installing many other POS plugins.
How to use a WooCommerce POS
1. Opening and closing registers
To open a register, go to Point of Sale > Registers and select the one you’d like to use.
The button will display Enter if the register has already been opened. It will say Open if the registration is closed.
When you open the registration, the first thing you’ll notice is the login panel. This will show all of the cashiers allocated to the outlet. To access the registration, click on the profile you want to log in to and enter the password.
There are various indications on the login screen that may be used to quickly examine crucial registration information:
- Wireless icon – this displays internet connectivity in case of loss of internet connection.
- Cloud icon – This displays the total number of fetched products in the cache.
- Solid circle icon – This displays the register status, which is either Open (Green) or Closed (Closed).
To shut a registration, go to the top left of the screen and click the WooCommerce symbol, then click Sales at the bottom. The closing register window will appear as a result of this. To end the session, click Close Register from this screen.
2. Adding products
From the registers page, there are four methods to add items to your cart:
- The product grid allows you to browse and explore goods.
- Use the search box to find the product.
- For customized orders, add a custom product.
- Scanning the product barcode.
2.1. Adding a custom product
You may add a custom product by clicking the Plus button in the search box for customized items. Click Add Product after entering the product name, price, and quantity.
Click the Add Attribute button to add product attributes such as size, color, and so on. By selecting the Publish Product option on the bottom left of the dialog box, shop owners or cashiers with publishing capabilities can have the product published to the products catalogue.
2.2. Searching for a product
If your product catalog is too vast to explore using the product grid, you may search for a product using the search box in the top bar. The product picture, SKU, price, and stock count will all be displayed in the results.
2.3. Scanning product barcode
To add items to your shopping basket by scanning them:
- To enable barcode scanning, click the search button in the search field.
- When you click this icon, a barcode symbol appears, asking you to begin scanning.
- You may now place your barcode reader over the product barcode and pull the trigger.
- This will compare the product SKU barcode to the store’s SKU, and if the match is successful, goods will be added to the basket. An error will display if the product SKU cannot be retrieved.
3. Loading customers
3.1. Adding an existing customer
By looking through the users on the top right, you may add an existing client to the order. If no inquiries are found, the register will recommend that you add this client based on the query you submitted.
3.2. Adding a new customer
Click the Add button to the right of the customer search box to add a new customer to the order.
By selecting the Save Customer option on the bottom left of the dialog box, you can choose whether to save the customers’ information or retain them as guests.
Go to Point of Sale > Settings > Client > Necessary Fields to set the required fields when adding a new customer.
3.3. Scanning a customer barcode
Click the customer symbol in the customer search bar to scan and load a customer to the register. This will bring up a window where you may either scan the customer’s card or type in the card number.
To enable store cards, you will have to click the option located under the Point of Sale > Settings > Customers > Customer Cards tab.
4. Editing cart items
You may view more options after adding a product to the basket by clicking on the cart row item.
4.1. Item fields
-
Quantity – show the quantity selected as well as the unit of measurement used to manage the product stock. You may also raise the product quantity by 1 by swiping the item row from left to right.
-
Discount - input a percentage number you wish to discount the item price by, the price field will lock to reflect the original price and the price on the order will be discounted.
-
Price – input a custom price or enter ‘0’ in the discount area to return to the original price.
-
Note – add a note to this product. This will be added as a product meta attribute in the order.
4.2. Item actions
-
Edit - allows you to change the product name, tax class, and any product attributes you want to add, delete, or change.
-
View – this product’s web link opens in a new tab.
-
Delete – removes an item from the shopping basket. You may also delete a product from the cart by swiping left on the cart row.
5. Applying cart actions
A cart action panel is located below the cart total. This section outlines the steps you want your cashiers to do while completing orders at the POS. Additional options, such as reset, clear, and print, are available to cashiers by swiping left on this screen.
5.1. Applying a coupon
Click the Coupon action button to apply a coupon. This will open the coupon page, where you may input the coupon code or scan the coupon barcode using a barcode scanner if you have one.
5.2. Attaching a note
Click the Note action to add a note to the order. This will bring up the notes page, where you may add a client note or an order note. Customer notes are provided to customers, while order notes are kept on file for internal use.
5.3. Discounting the order
Click the Discount action button to apply for a discount. This will bring up the discount page, where you can specify the discount reason, discount type (fixed or %), and discount amount.
Go to the Point of Sale > Settings > Register page and choose the discount values in Keypad Presets to configure the percentages presets.
5.4. Maintenance actions
You may reload the register by selecting the Reset action, or you can clear it to start the order again from the beginning by selecting the Clear action.
5.5. Holding an order
Swipe left on the cart total and select Hold to save or hold the order. Orders placed on hold at the POS have an on-hold state by default. Point of Sale > Settings > General > Status Options can be used to customize this.
5.6. Adding a shipping method
Customer information, including the mailing address, is necessary to add a shipping method to the order. The new client would need to be added to the register’s cart, or the old customer would need to be loaded.
After the client information has been loaded, select the Shipping cart action. This will open the shipment tab, where you may double-check the mailing address and select the best delivery option.
6. Order fulfillment
6.1. Choosing a payment option
After clicking the Pay button, you’ll be given the option of selecting a payment method to tender the order. The WooCommerce > Settings > Payments tab allows you to enable and disable payment methods.
Cash for cash payments and Chip & PIN for EMV payments are both supported by the extension. This option is for store owners who already have an EMV terminal. Enable it, and the register will generate an order number that you can refer to when using your terminal.
6.2. End of sale
After you’ve chosen a payment option, you’ll be shown what steps to do to complete the order:
-
Printing - you may control how the receipt is printed. This will display as an option if this is set to yes in the registration settings.
-
Email - this will send the receipt to your email address. This will be toggled by default with a prefilled email address and will be needed if this is set to yes in the register settings.
-
Signature capture - to capture a signature, click the Add icon on the toolbar. This is helpful for orders that need to be approved or verified. Point of Sale > Settings > Customer > End of Sale > Signature Capture must be enabled for this to work.
-
Notes - attach a customer remark to the order, or if one has already been added, review it with the customer before completing it.
6.3. Refunds
You may refund an order in one of two ways: using the Orders tab to locate the order, or using the Refunds action tab to search for the order:
- On the cart totals panel, swipe left or select the More option.
- Select the Refund option from the drop-down menu.
- This will take you to the refund tab, where you may search for the order you wish to cancel and refund.
- The items of the order will be loaded to the cart when you locate and click on it.
- You can change the number or delete goods that aren’t eligible for a refund.
- At the bottom left, click the Refund button.
- Whether you choose to Recover Stock or leave a Refund Reason, the choice is yours.
- To complete the refund procedure, click Continue.
7. Stock keeping
This extension allows you to update product supply from the backend of your business. To swiftly modify stock levels, do the following:
- Go to Stock > Point of Sale.
- Scan or type in the SKU barcode for the product.
-
If the product is discovered, a table with the image, name, SKU, stock status, stock level, price, and the option to change the stock level will be presented.
- You can: By selecting Increase, you can increase the stock level by the entered amount, depending on the value you input. By selecting Decrease, you may lower the stock level by the specified amount. By selecting Replace, the stock level value is replaced with the amount specified.
8. Analytics
From the Analytics > Orders tab, store managers may examine orders completed at the POS:
- Go to Orders > Analytics.
- Select POS Orders from the Show drop-down menu.
You may also filter orders depending on the register and outlet where they were placed from this page:
- Select Advanced Filters from the Show menu.
- Select Add a filter and then Register or Outlet from the drop-down menu.
Conclusion
WooCommerce Point of Sale System is a fantastic plugin that gives business owners the ability to simply manage their online stores as well as their physical stores/outlets. Physical stores will have a POS front-end management system. The administrator may appoint a store agent who will be able to easily manage sales and customers at that location.
I hope that you find this topic about How to set up and use WooCommerce POS necessary!


