
How to Create and Customize a Product Gallery in WooCommerce

The majority of internet shoppers base their purchase decisions on product pictures. As a result, you must ensure that your WooCommerce store has the greatest photographs and videos available in order to maximize conversions.
Unfortunately, the standard WooCommerce product gallery is way too simplistic. With this in mind, we’ve put up a detailed guide to WooCommerce product gallery.
Without further ado, let’s learn how to create and customize a product gallery in WooCommerce.
Why Should You Customize WooCommerce Product Galleries?
-
Because the majority of online consumers evaluate a product based on its photography, upgrading your product galleries might help you attract clients and consequently improve sales.
-
While the default WooCommerce product gallery is sufficient, it can only display several pictures beneath the featured product photo.
-
Appealing e-commerce product galleries can include numerous pictures per product variant, along with integrated product videos, and seamless zooming to give customers a close-up look at your items.
-
When customizing product galleries, you can better match them to your entire WooCommerce theme.
How to Create a Product Gallery in WooCommerce?
Product galleries showcase all images associated with a product via the Product Gallery meta box.
Therefore, you can simply create a Product Gallery using the Product Gallery meta box.
Step 1: Login to WooCommerce account
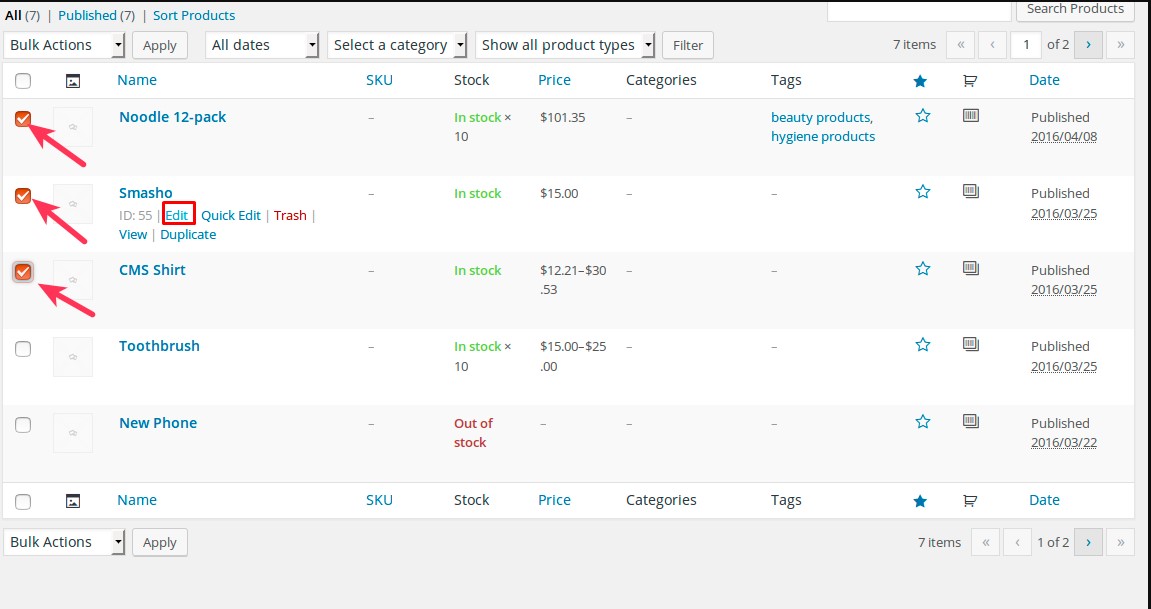
After logging in to your WooCommerce account, go to WooCommerce > Products.
Then, you check the box next to the product that you want to create a product gallery. After that, click on the option Edit right under the product name.
Step 2: Go to the Product gallery
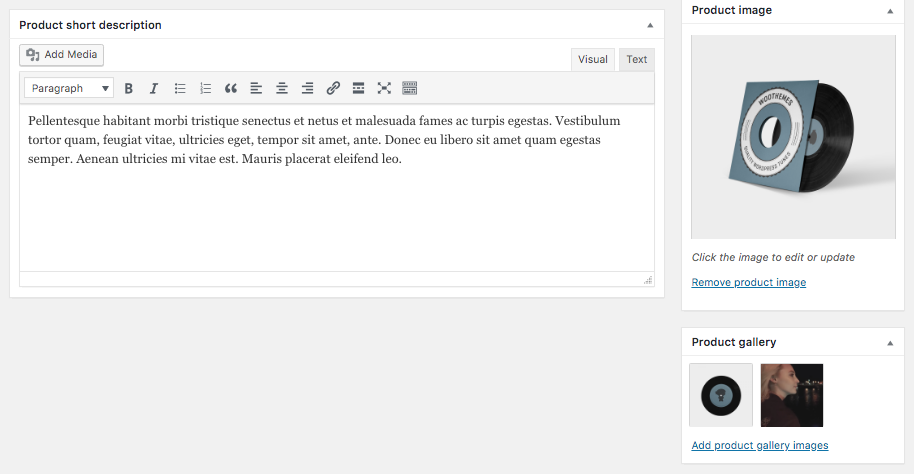
In the Edit Product page, navigate to the section Product gallery, which is on your right-hand side.
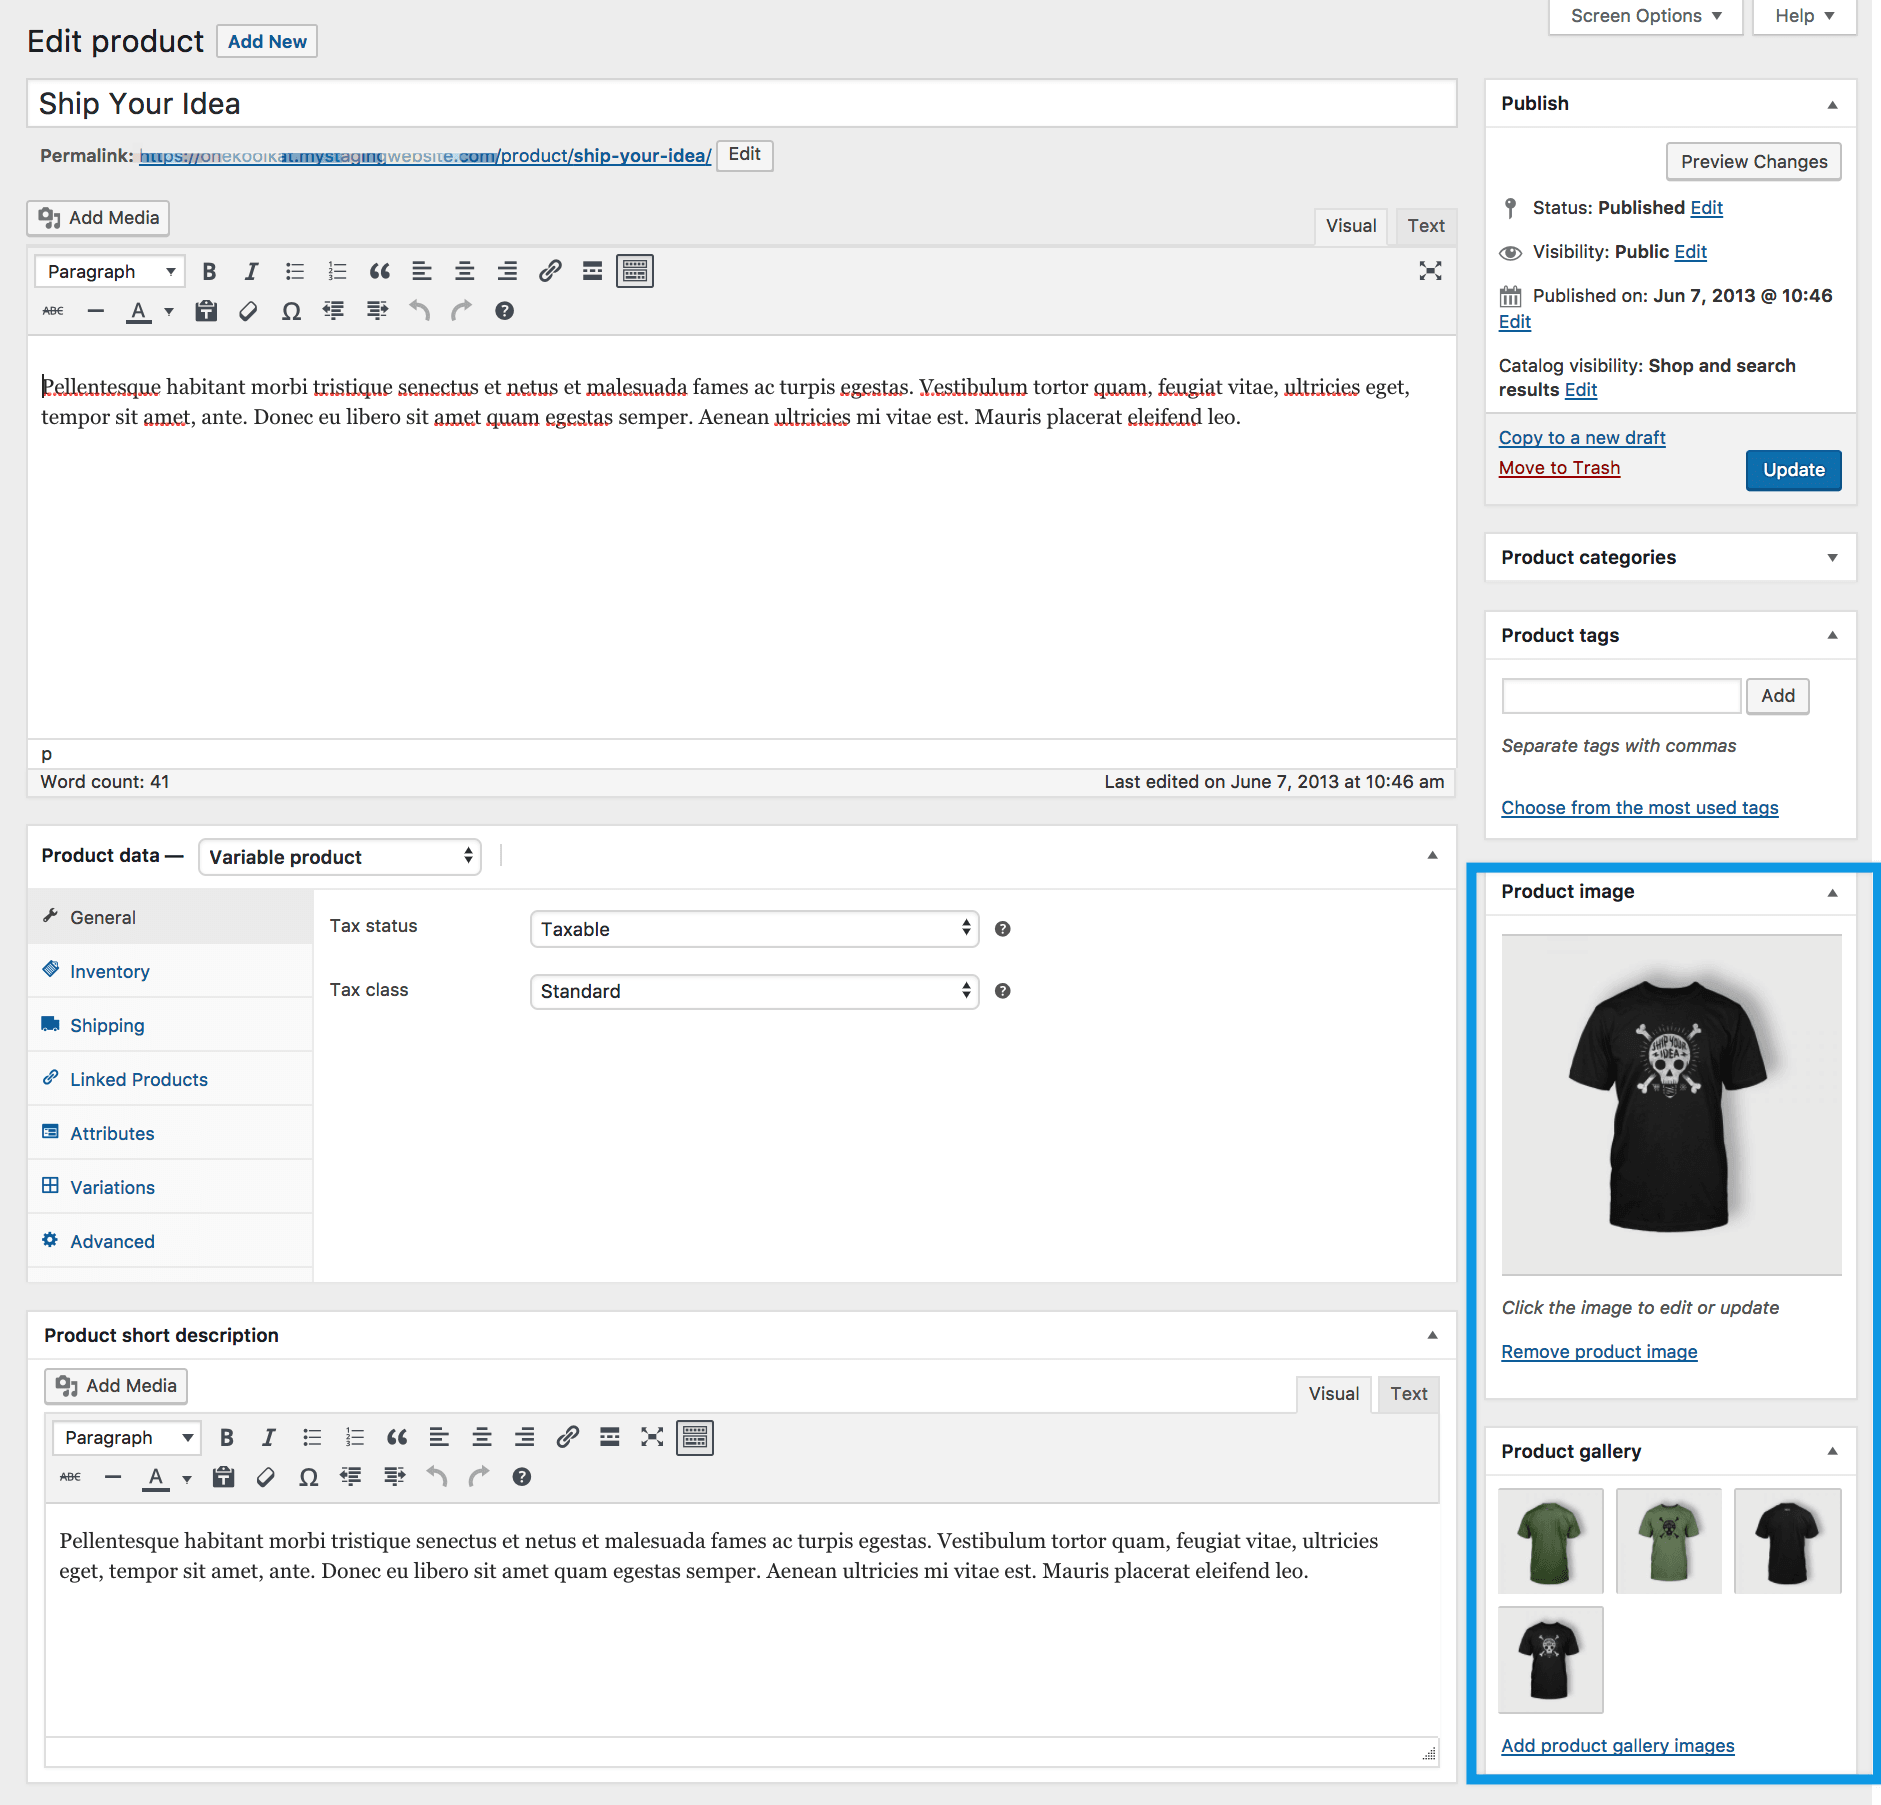
Step 3: Click on Add product gallery images

Then, you need to click on the button Add product gallery images.
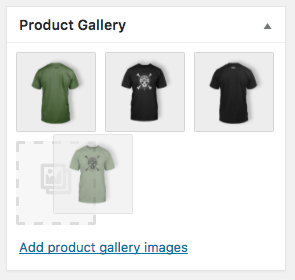
Step 4: Add images to the Product Gallery
You can choose any images in your Media Library or Upload new ones for your WooCommerce product gallery.
Step 5: (Optional) Reorder/ Remove images from the product gallery
You can reorder your images in the product gallery by simply dragging, dropping, and moving them around.
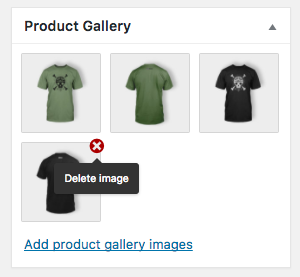
In case you want to remove an image from the product gallery, you just need to hover over the image and then click on the red x like the image shows.
And that’s how you can create a product gallery in WooCommerce.
How to Customize a Product Gallery in WooCommerce?
After creating a product gallery in WooCommerce, you should consider customizing it to help increase sales for your store. This part will show you how to customize a product gallery using the plugin WooThumbs for WooCommerce .
Step 1: Install and activate the plugin
- First and foremost, you can get a free trial of the WooThumbs for WooCommerce plugin from the Iconic store: https://iconicwp.com/products/woothumbs/. After that, you could download the plugin as a zip file.
- Go to Plugins > Add New > Upload Plugin.
- Select and upload the zip file that you just downloaded.
- Click the Activate button. You’ll need to input your license key when it’s been activated.
Step 2: Customize the gallery layout
- Go to WooCommerce > WooThumbs from your WordPress dashboard.
- Select the Display tab at the top of the page.
- Select the Display tab at the top of the page. You can alter the following settings from this menu:
- Gallery Width
By default, this is set to 48%, as that is the most common width of the image section in WooCommerce themes. However, you may want to increase that to as much as 100% better to match your specific theme needs or personal preferences.
- Position
Move the image gallery to the left, right,…
- Icon Colors
The color of any icons that appear on top of the picture, such as the previous/following icons.
- Show Icons on Hover?
Once enabled, icons will only appear when the mouse hovers over the picture.
- Show Icon Tooltips?
When you hover your mouse over an icon, a tooltip will appear.
- After that, select the Carousel tab. WooThumbs for WooCommerce adds a slider or carousel to your WooCommerce product gallery by default. The transition style, speed, and length could all be customized using the settings on this tab.

-
The Media tab allows you to customize the settings for your embedded video. Autoplay, looping, and controls are all included.
-
The gallery slider element’s settings are controlled by the Navigation tab. You can customize the look of your thumbnails by enabling and changing the settings for them.
-
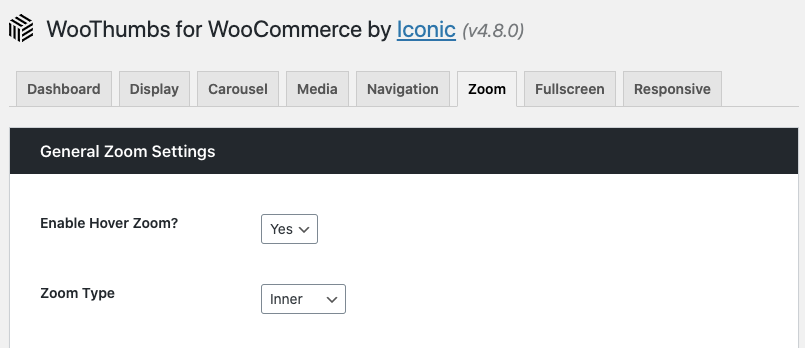
The following two tabs, Zoom and Fullscreen, enable you to choose how your product photos zoom and whether customers may see them in fullscreen mode.
-
Finally, the Responsive tab offers you more flexibility over how your product gallery appears and works on mobile devices.
-
When you’re finished, click Save Changes at the bottom of your screen.
Step 3: (Optional) Add additional variation images
The basic WooCommerce product gallery only allows you to submit one image for each of your product variants. And when using the plugin WooThumbs for WooCommerce, you can add as many variant pictures as you want.
To add additional variation images to your WooCommerce store, follow these steps:
- Go to Products > All Products.
- Edit the variable product to which you wish to add extra variation images.
- Navigate down the page to the Product Data section.
- Go to the Variations tab and click it.
- On the variation you wish to add additional images to, click the expand arrow.

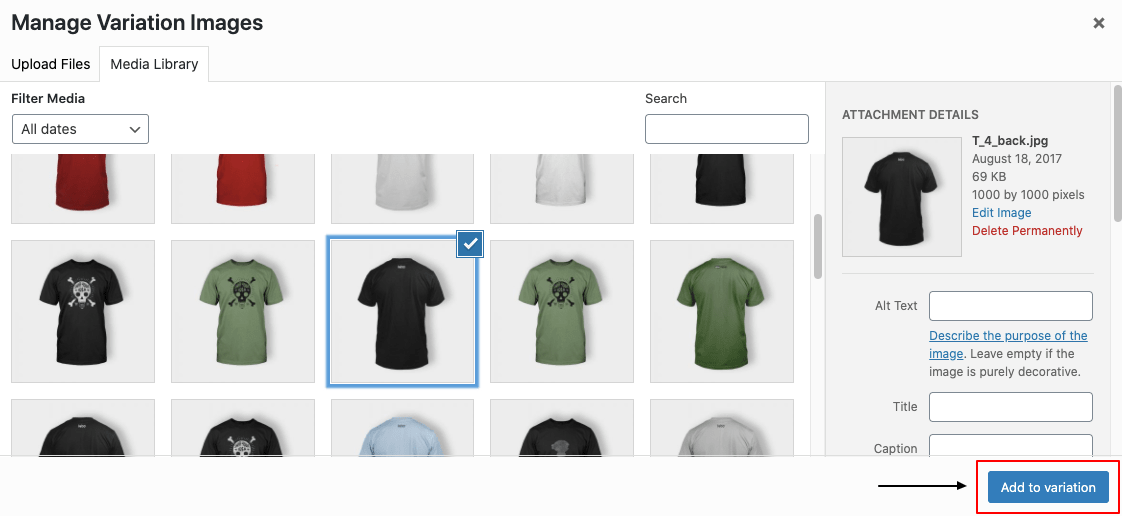
- Select the Add Additional Images option beneath your existing image and the media gallery will appear.
- Choose the variation images you wish to use and then click the Add to variation button.
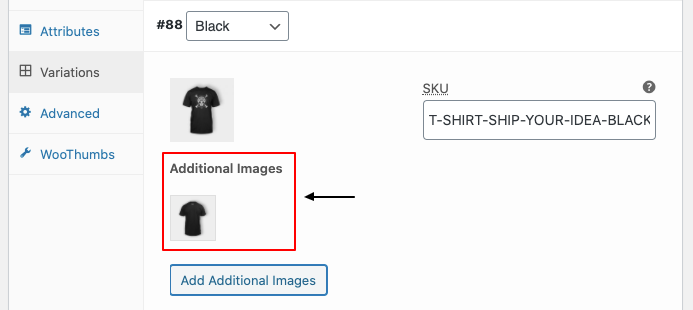
- Click the Variations tab to see the variation images.
- When you’ve finished customizing all of your variations, go to the Product Data section of the page and click Save Changes. Then, go back to the Publish section and click on the button Update.
Step 4: (Optional) Add an embedded video
The option to add an embedded video in your WooCommerce product gallery is another feature of WooThumbs for WooCommerce. This is particularly beneficial for showcasing items and boosting sales.
Within WooThumbs, you have three options for video sourcing: embed-based media, embedded HTML, and self-hosted videos.
Simply follow these steps to embed videos from embed sites like YouTube and Vimeo:
- Copy the video’s URL to use in your product gallery (either from Vimeo or YouTube).
- Navigate to Products > All Products.
- Choose the product to which you wish to add the video.
- On the product page, go down to the Product gallery module.
- Choose the Add product gallery images link. You can either submit a thumbnail image of the video you wish to show here, or utilize an image from your media gallery. In your WooCommerce product gallery, this will serve as a preview image. When a customer taps the preview picture, the full video will be displayed.
- Upload your picture.
- Paste the URL from YouTube or Vimeo into the URL field of your uploaded image.
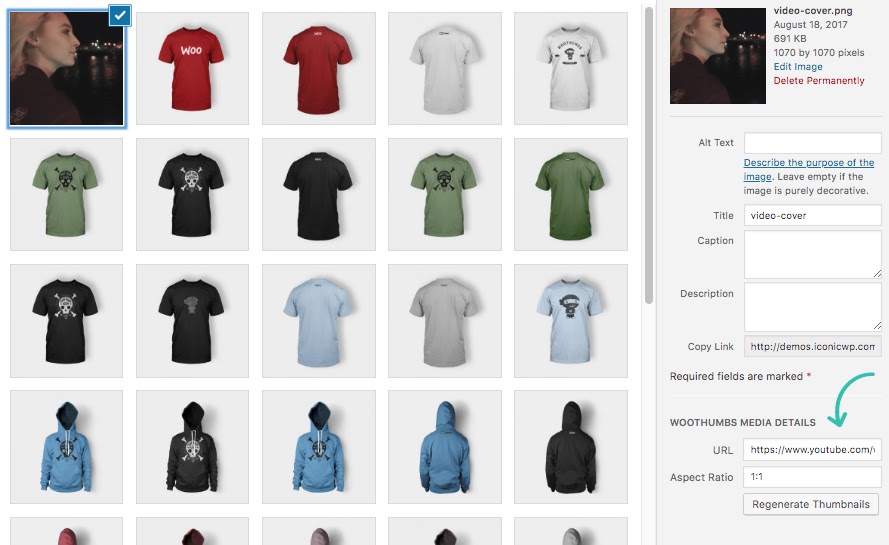
- Next, choose your aspect ratio. Because most gallery photos are square, 1:1 works most of the time nicely.
- Because WordPress stores media automatically, there is no save option here, you need to exit the media library and return to your product page.
- Lastly, click on Save or Update.
The video you just uploaded will be displayed in the WooCommerce product gallery when you view the page of the product you’ve been updating.
And that’s all steps you should take to customize your product galleries in WooCommerce.
4 Recommended Product Gallery Plugins for WooCommerce
This part will give you a list of the four highly recommended plugins, apart from WooThumbs for WooCommerce, that could help you customize product galleries in WooCommerce.
1. Product Gallery Slider for Woocommerce - Twist
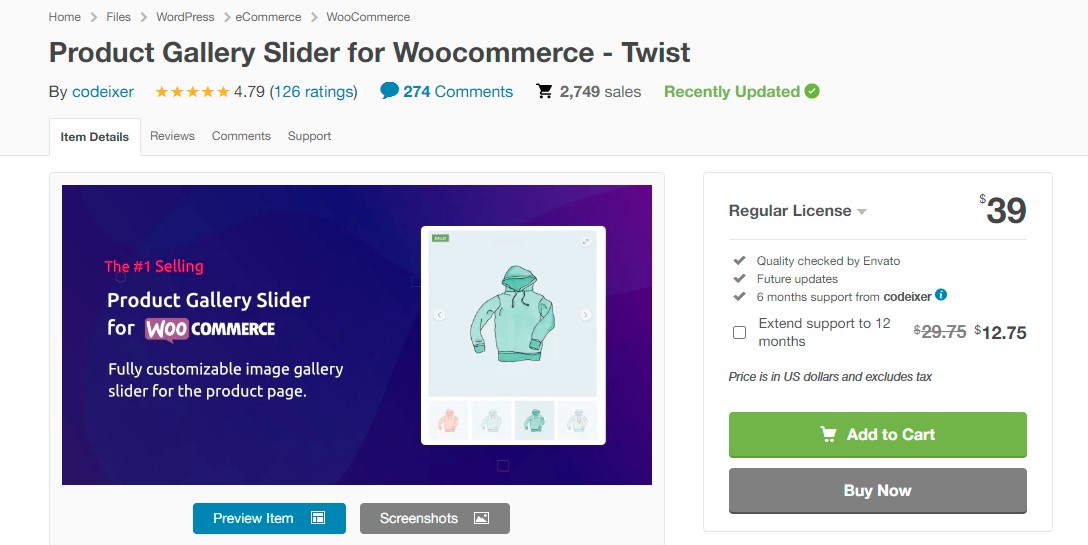
Product Gallery Slider for WooCommerce – Twist adds a completely customized image gallery slider to the WooCommerce single product page, allowing you to draw consumers’ attention to your items and encourage them to buy from you.
Key Features
- Slider AutoPlay Options
- Image slider for Single Product feature Image area
- Lightbox Customization
- RTL Mode
- Youtube,Vimeo & self-host Video support for - Product Image & Gallery
- Gallery Layout (Vertical and Horizonal Silder)
- On/Off LightBox Setting for Thumbnails images
- Product Image Carousel
Pricing
Regular license costs $39.
2. TP Woocommerce Product Gallery
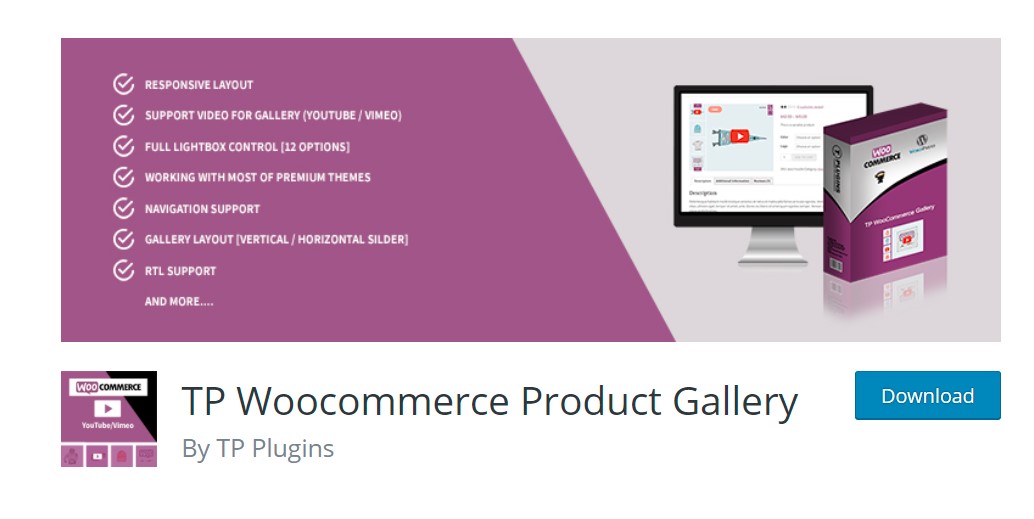
The TP WooCommerce product gallery plugin is a brilliant way to show off your items on your website. It’s simple to set up and can quickly transform your product photos into a visually stunning e-commerce gallery.
Key Features
- Slider AutoPlay Options.
- Gallery Layout (Horizontal Slider)
- Thumbnails To Show.
- On/Off LightBox Setting for Thumbnails images.
- Image on over zoom.
- Customize arrows/icons color and background.
- 3 types of transition between images in Lightbox.
- Adaptive Height (Enables adaptive height for single slide horizontal carousels)
Pricing
Free and Pro versions are available.
3. WooSwipe WooCommerce Gallery
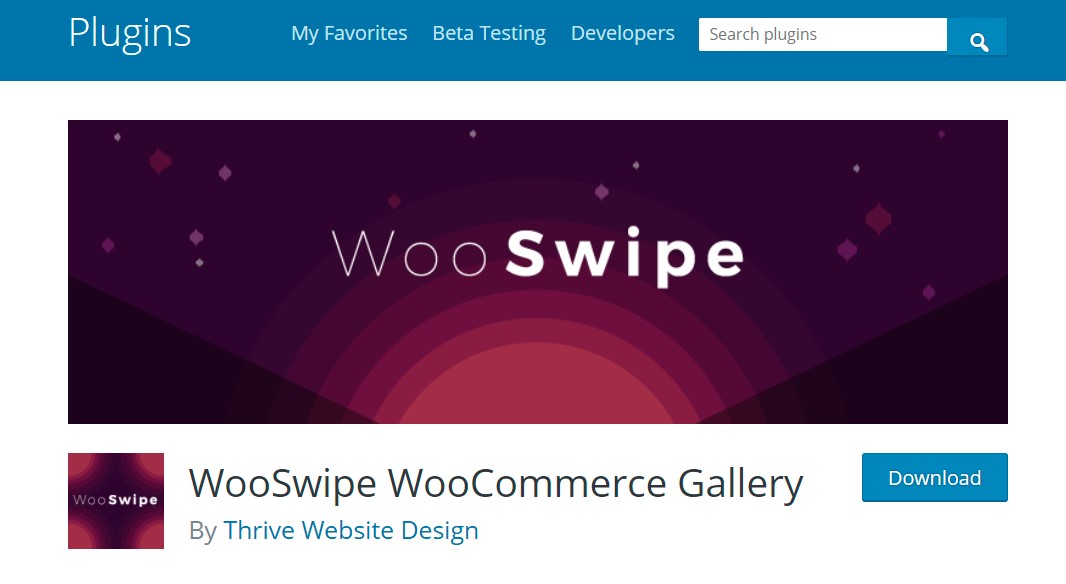
WooSwipe WooCommerce Gallery is a WooCommerce product gallery plugin that allows you to display your best products on your online store.
Key Features
- Responsive
- Mobile Friendly
- Keyboard control
- Full image size
- 2 colour options
- Work out of the box with WooCommerce gallery settings.
Pricing: Free
4. Advanced WooCommerce Product Gallery Slider
Advanced WooCommerce Product Gallery Slider is a WooCommerce single photo gallery plugin that transforms your WooCommerce product page gallery into a fully responsive carousel slider in a matter of seconds.
Key Features
- Gallery Layout (Horizontal/Vertical Silder)
- Lightweight
- Slider AutoPlay Options
- Customize Slider Arrow (Color Options)
- Attractive Lightbox effect
- Touch and Swipe enabled
Pricing
Free and Pro versions are available.
Final Words
That concludes our post today. You’ve just learnt how to create and customize product galleries in WooCommerce.
You can completely upgrade the visual of your products by applying these product gallery enhancements, which will ultimately help you increase conversions in your WooCommerce store.
We hope you found our guide to be useful and informative. Thank you for taking the time to read this article and we’ll see you in the next one.


