
How to Connect CustomCat to WooCommerce

As you have an online business, especially a WooCommerce store, there is nothing quite like accessing millions of products that you could apply to your artwork. In doing so, it is highly suggested that you should connect CustomCat to your WooCommerce store. By doing that, you can implement the customization of products or items you select within your CustomCat app and export them to your WooCommerce site directly for customers to purchase.
This is to say, do not hesitate to execute this kind of connection. Do not worry if you do not know how to do it. Follow us right now, and you will walk through how to connect CustomCat to WooCommerce. Let’s be together to make your online business boom.
Why should we connect CustomCat to WooCommerce?
There is no denying that tons of benefits are yielded thanks to the connection between CustomCat and WooCommerce. So, do not hesitate to implement this task and enjoy such greatest benefits.
-
Provide competitive pricing: With the use of CustomCat, your store could receive the lowest workable process for every product. Hence, you can provide customers with competitive pricing as well.
-
Make profits covering the marketing costs: Despite offering customers competitive pricing, you can still make enough profit for covering the marketing costs.
-
Deliver products to customers quickly: The team from CustomCat will work very hard to get your items delivered to your customers as soon as possible.
How to connect CustomCat to WooCommerce
So, how to connect CustomCat to WooCommerce. It is much easier now by reading through our following instructions. And our step-by-step guide would help you implement this connection successfully.
Step 1: Pre-connection
First and foremost, you need to have some careful preparations before you connect these two. Therefore, in this first step, it is necessary to build a site, choose your WordPress hosting, select a theme, as well as install your WooCommerce.
- Choose WordPress hosting
Choosing WordPress hosting means that you are about to pick up a hosting provider to host as well as provide your site with services for being viewed online. There are tons of website hosts available now. However, some of the recommending providers are Siteground, Dreamhost, and Bluehost.
So, you could select them to start creating your desired site. After choosing a website hosting plan, you could connect the name of your Domain. In case you do not have any domain name, you can sign up for one through the web host.
As soon as you finish purchasing the hosting, you will get an email that comes with a detailed guide on how you can log into the control panel of your website hosting. This will be where you could perform the integration between your hosting as well as your WordPress site. Remember to fill in the admin username, website name, coupled with the password. Then, you will need to install it.
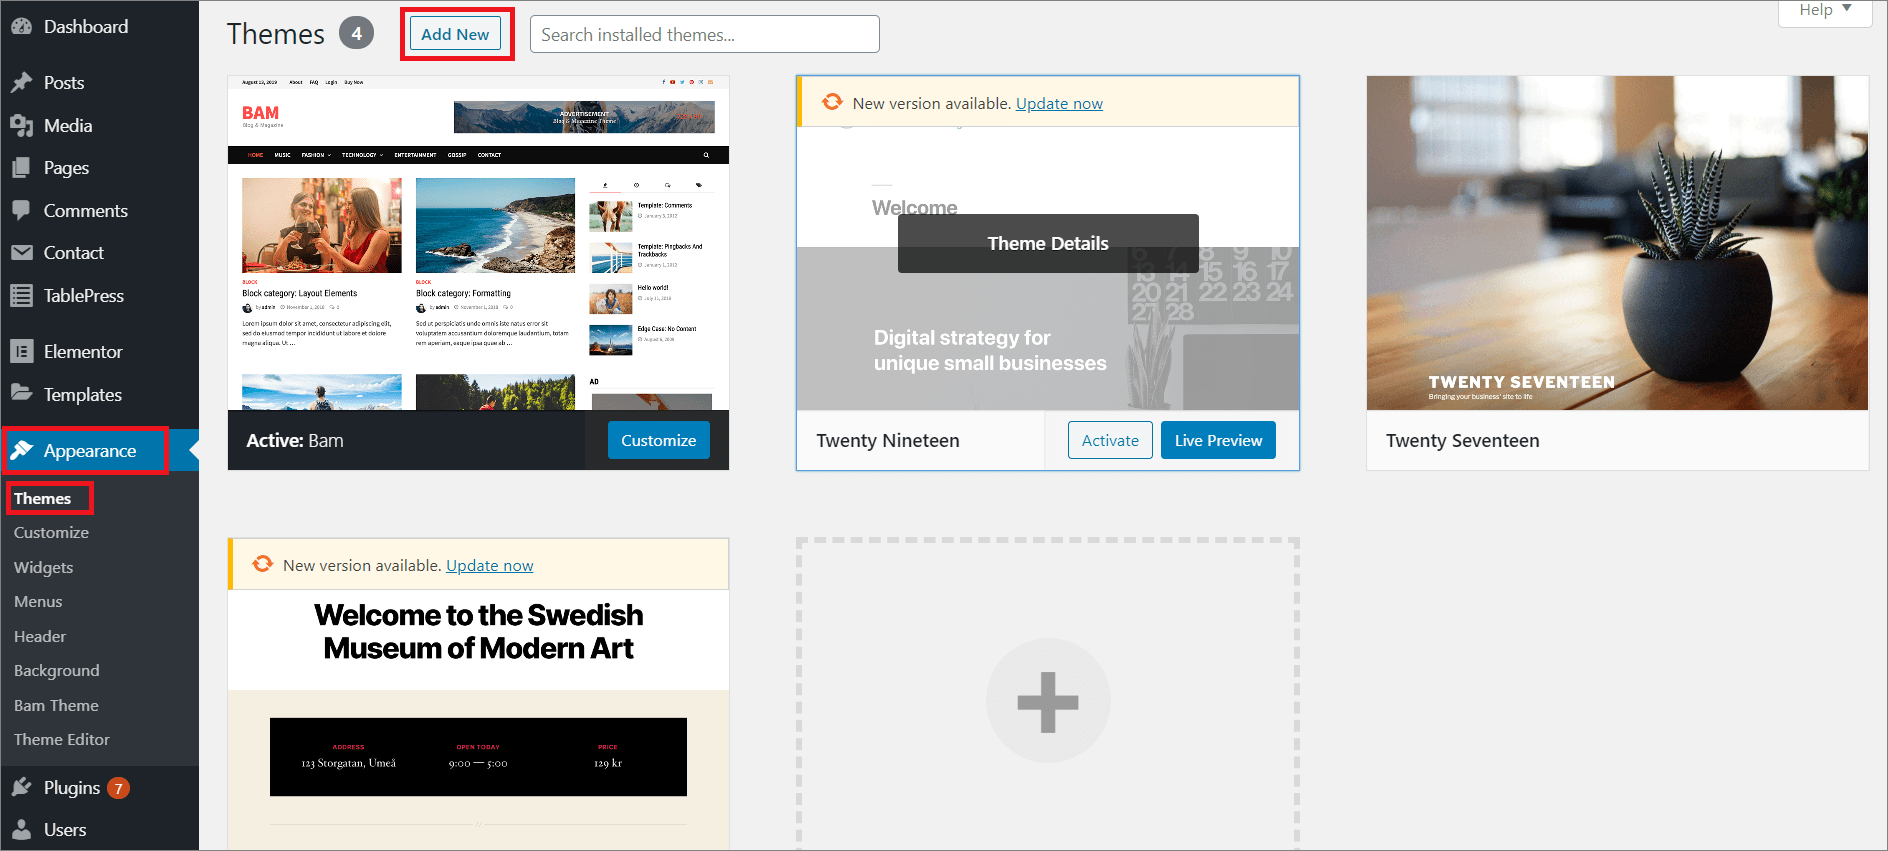
- Select theme
There are myriad free and paid themes available in WordPress for you to choose from. In this part, you need to head to the section “Appearance”, click on “Themes” and hit on the section “Add New”. If you are a beginner, you should choose “Storefront” to set as the theme because it is exclusively designed for the eCommerce business.
- Install WooCommerce
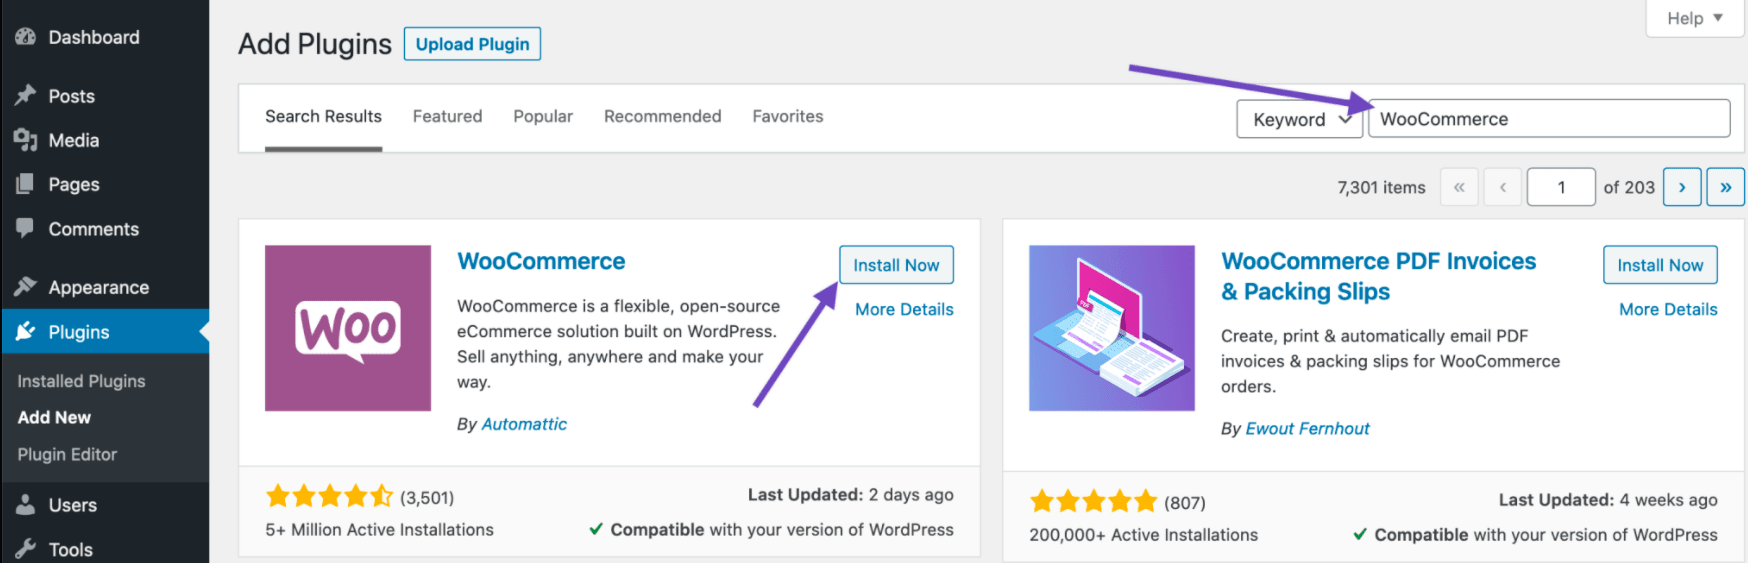
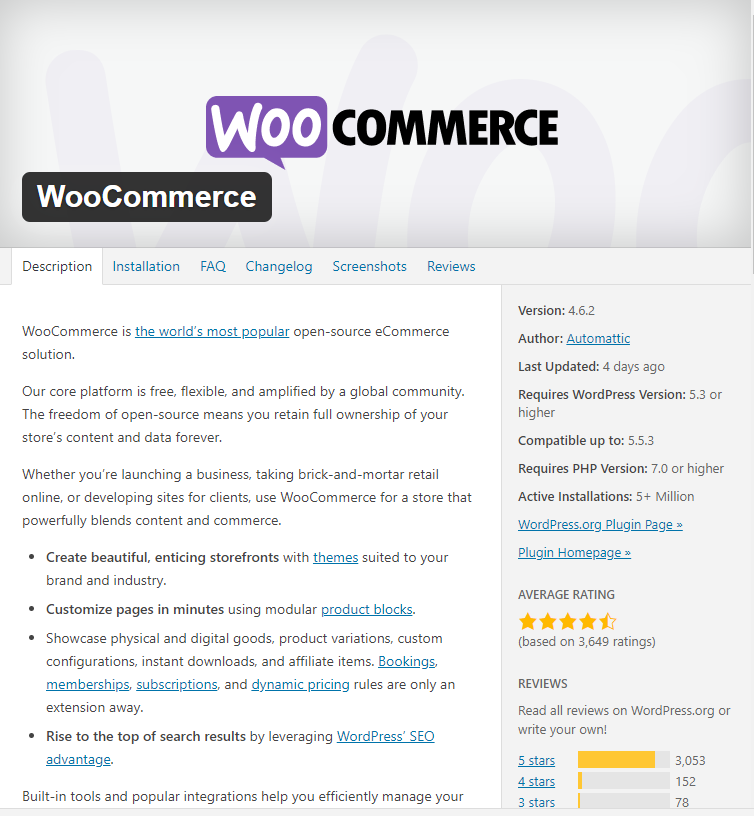
If you already have a site and are keen on installing WooCommerce, the easiest way is to use WordPress Admin. It is very useful in handling everything for your store.
To get WooCommerce installed, you are required to head to the section “Plugins” and click “Add New”. It is time to seek “WooCommerce” with the use of your search bar. When you see the plugin appearing on the top result, click on “Install Now”. After the plugin finished the installation, your next step is to hit on the button “Activate Now” to get yourself ready for the wizard of WooCommerce.
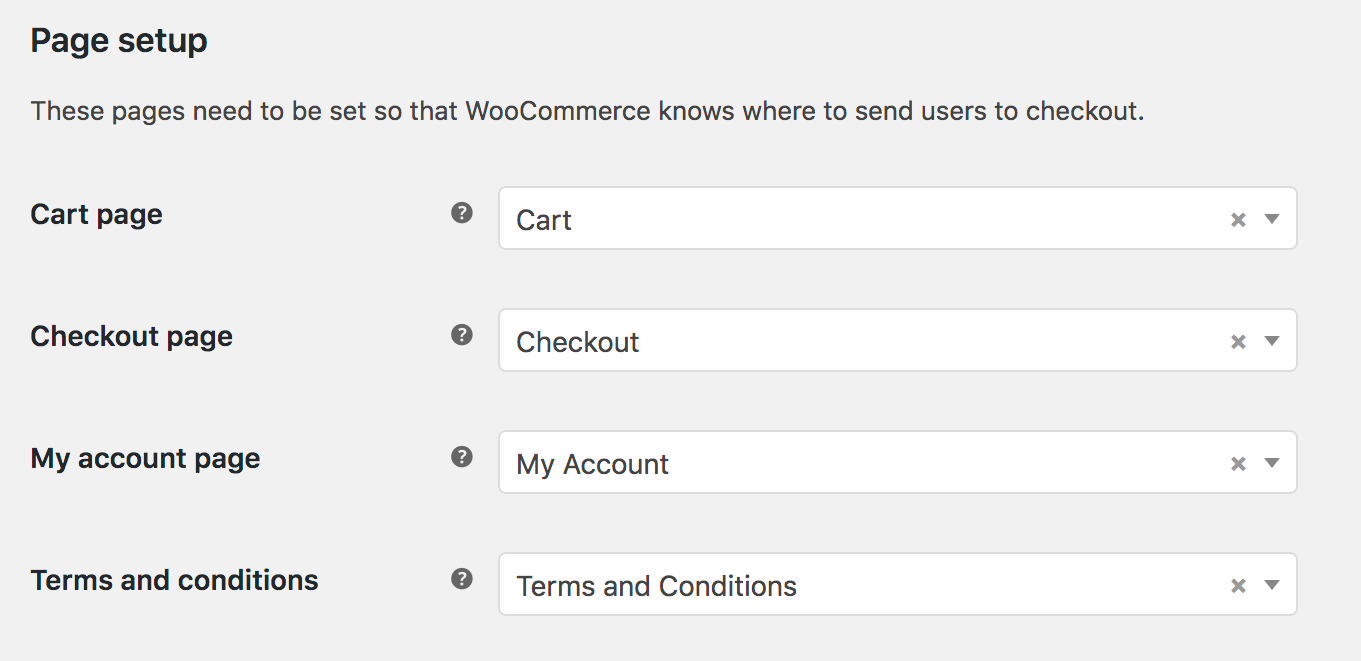
When you are here, you need to proceed to the next things for setting up your new pages. Moreover, you could also be able to change several pages, including checkout and cart. Here, you are asked to tell WooCommerce that you will use which pages.
To be more specific, to tell what pages you will use for Checkout, Cart, Terms & Conditions, and My Account, you should navigate to your “WooCommerce” to choose “Settings” and “Advanced”.
Proceed to another necessary thing that involves setting up your store locale. It is undeniable that the locale has become an indispensable part of any store setup. These parameters aim at defining the origin, preferred units, and currency of your business.

Next, tax and shipping setup is another aspect you need to work with. CustomCat will deliver products and items to customers. Hence, you should adhere to applicable laws related to Sales Tax in your country/state.
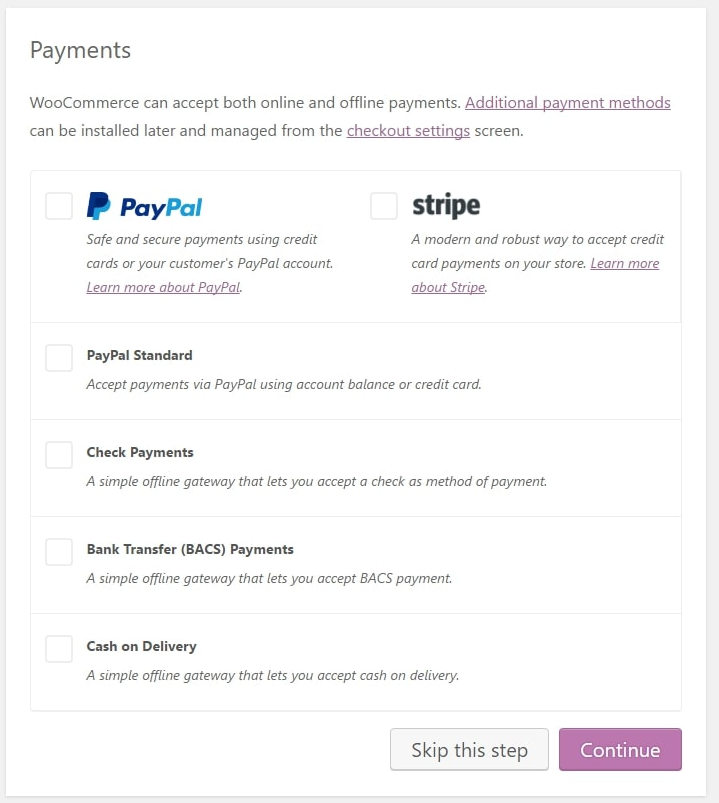
You should enable online payment because it is of great significance for any eCommerce business in terms of payment methods. When it comes to WooCommerce, Stripe and PayPal are the two most popular methods. So, you could be able to integrate your website with both of these two options. To do that, you need to choose the corresponding checkboxes. However, you could also choose other payment options that work well for your store.
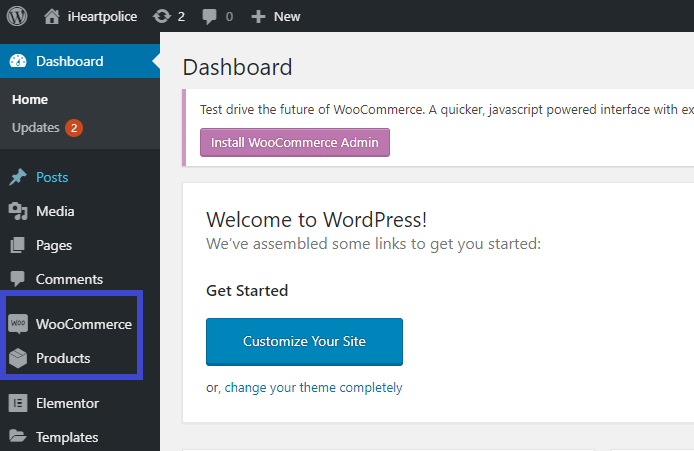
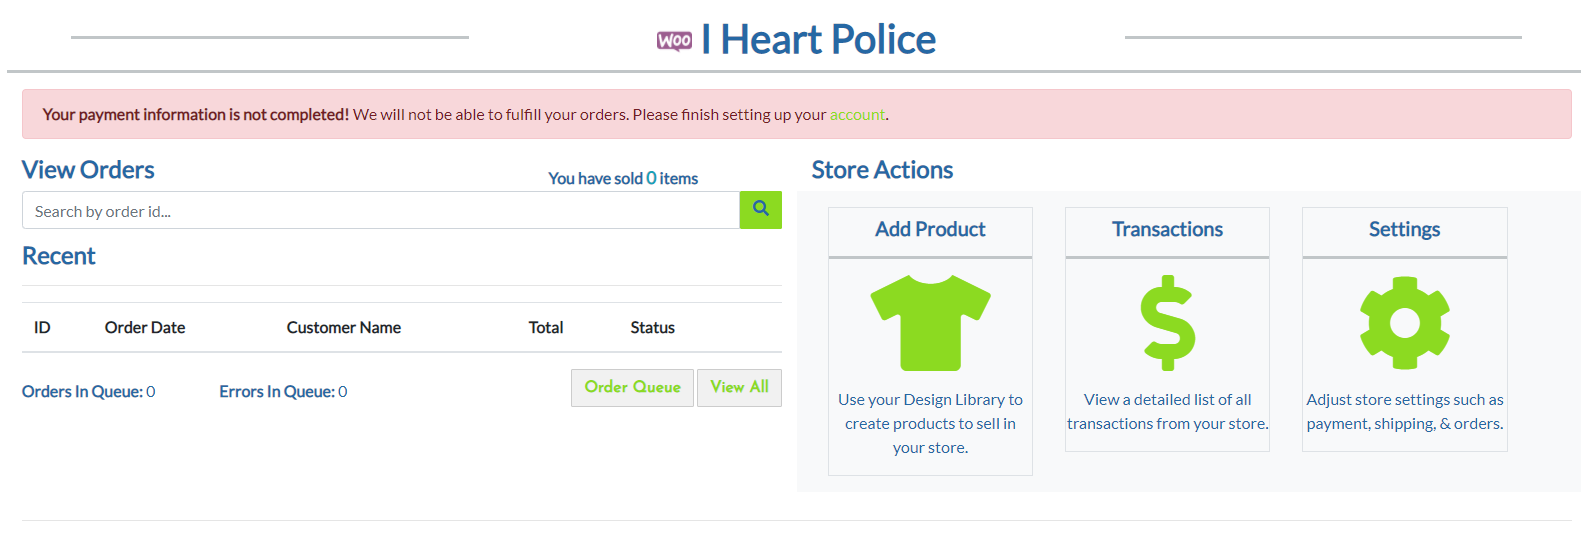
Now, your WooCommerce store is ready to add products and items. See the screen below, you could notice two tabs in the dashboard, including “Products” and “WooCommerce”.
Step 2: Create a free account for CustomCat
After having a WooCommerce store, you also need to have a CustomCat account to implement the connection between CustomCat and WooCommerce. What you have to do now is to go to customcat.com. Navigate below a bit to hit on the button “Get Started”.

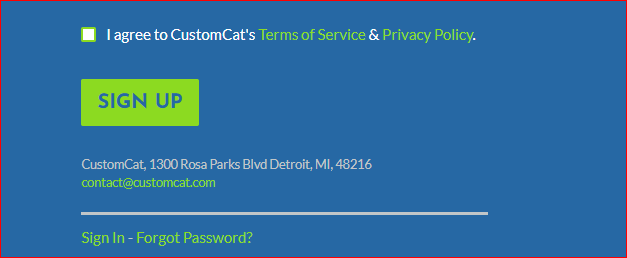
After that, you will be redirected to a page where you can register for a free CustomCat account. In this section, do not hesitate to fill in details about your name, email, as well as password.
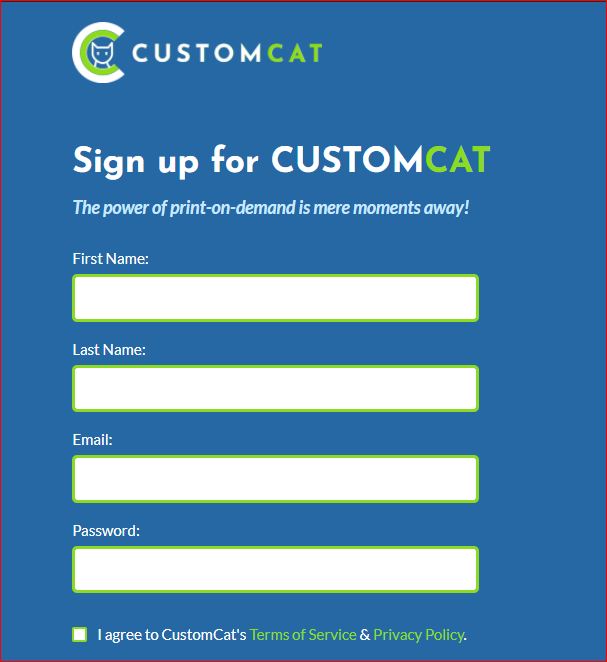
Then, tick the box as illustrated in the below screen to comply with the terms of privacy and services of CustomCat. And, hit on the button “Sign up” for account registration.
Step 3: Connect CustomCat to WooCommerce
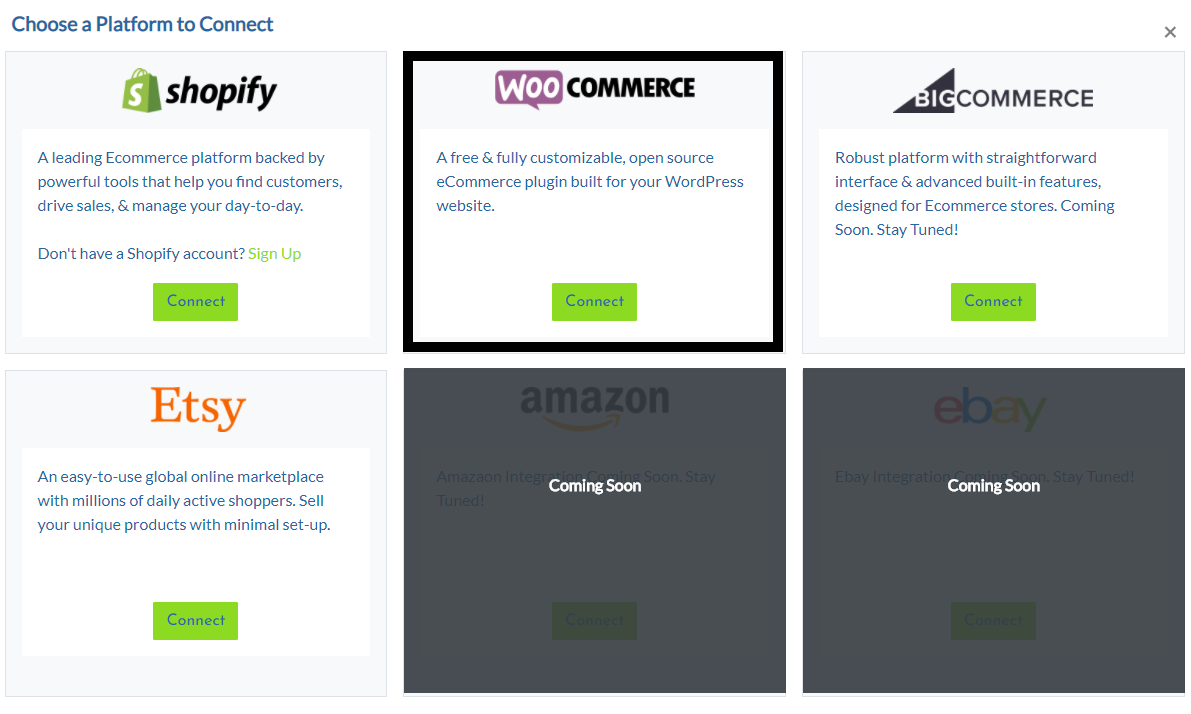
When you have a WooCommerce store and a CustomCat account, it is time to connect CustomCat to your WooCommerce. The next step is to head to the address CustomCat.com to choose “Integrations” before selecting “WooCommerce” and “Login and connect to your WooCommerce store”.
In order for this integration to be successful, there are several steps that you should do as below.
- Upgrade WooCommerce
It is a must to update your WooCommerce to version 3.5.x or a higher version. The reason is that CustomCat will connect to your WooCommerce with the use of the feature “WP REST API v3”.
- Customize the permalink settings
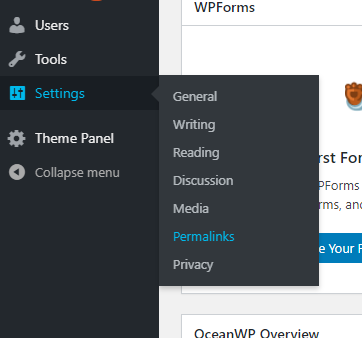
Customizing the permalink settings is also essential as the “WP REST API v3” of WooCommerce only works if the permalinks in WordPress are properly enabled. So, if you wish to use this API, the requirement is that you need to ensure this permalink setting is not set to its default value. The server configuration determines this permalink feature. In case the URL rewriting does not exist, the permalinks then won’t work. Your task now is to open the section “Settings” and choose “Permalinks”.
Navigate under the section “Common Setting”, you can select any link of the link structure except for “Plain” or “Default” to help your WooCommerce work.
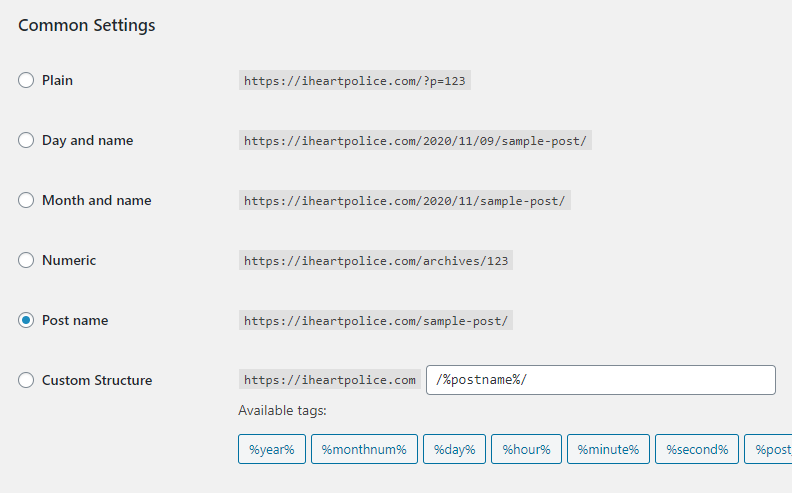
When you are here, hit on the button “Save Changes” to save what you have made recent changes. There is one more thing to bear in mind is that you need to use WordPress 4.4+ to use your REST API’s latest version. Moreover, you can access your API over HTTPS or HTTP. However, HTTPS seems to be more preferable where possible.
- Connect WooCommerce store to the CustomCat account
Here you will learn how to connect the WooCommerce store to the CustomCat account. Now, choose “Approve”.

If successful, you will be directed to the store page of CustomCat. This is where you could be able to complete the setup of the account settings.
After filling out as well as saving your settings and payment options, your account appears as “active”. Now, you have successfully connected CustomCat to your WooCommerce store.
Conclusion
When you are a partner with the app CustomCat, you are able to be certain that you are getting the low prices. Hence, it is possible to maximize the margins. By connect to CustomCat, your WooCommerce store could become more powerful. Every time you create a sale, the order details will be transmitted to CustomCat for white-label and fulfillment shipping. Hence, customers have more trust and satisfaction from your service.
Hopefully, you could find our piece of article interesting and helpful for your business. Share the words to those who are concerned. What is more, keep following us for further great tips and tricks.


