
How To Add Redbubble Store To WooCommerce

In addition to assisting thousands of artists in reaching new audiences and selling their work more effectively, Redbubble also provides a free online marketplace. In addition, the platform might be beneficial to any small firm looking to generate branded items on demand without making a significant initial investment. There are a variety of goods available on Redbubble, including the traditional t-shirts, hoodies, and prints, as well as more esoteric things such as pillows, duvet covers, leggings, and much more.
The most challenging problem for Redbubble, like any online company, is attracting clients to examine their products. If you have a website with many visitors, you may utilize it to draw attention to your Redbubble shop. Unfortunately, there isn’t transparent connectivity between WordPress and the Redbubble shop at this time. That is why today’s tutorial will show you how to add the Redbubble store to WooCommerce to boost your sales.
Benefits of using Redbubble store on your WooCommerce
Because Redbubble does not accept other eCommerce systems like WooCommerce or Shopify, it sets itself apart from other print-on-demand services. Redbubble, on the other hand, is an independent platform. That means you can’t use Redbubble to sell your personalized things via your WooCommerce shop; instead, you’ll need to upload your logo and design work to the Redbubble website and make sales there. This has its advantages and disadvantages, of course. If you already have a WooCommerce shop, you may be annoyed at having to set up a new platform. It’s also a good alternative for artists who want to get their work out into the world as quickly as possible.
Still, Redbubble’s unique technology prevents you from branding your business. Redbubble’s shop will appear just like everyone else’s. It is possible to get this service from competitors like Printful for Shopify. Redbubble, on the other hand, is a powerhouse because of its simplicity. Create an account, submit your artwork, and begin advertising your work. ‘It’s that simple.’ You may find out more about this in the next section.) The platform allows artists to determine their profit margins for their items. If you want to charge more than the introductory price of your product, Redbubble will only charge you for the difference. In other words, if an item costs $10 to create, and you sell it for $20, you earn $10 in profit.
How to add Redbubble store to your WooCommerce
We may use one of two methods to integrate Redbubble with a WooCommerce website. They are created by:
- Using Redbubble’s Script in a custom HTML block in the WordPress editor is described here(This is not recommended).
- Using the default integration of Woocommerce(Recommended).
Both need a basic understanding of WordPress editing abilities, such as using Elementor to design a page. Even If you have no prior experience with WordPress site design, follow the instructions in the guide. We will go into great depth on how to set up the shop.
Method 1: Programming
There is a way that involves using the embeddable code provided by Redbubble. Check the box next to “Show off your work on your own website” on this site and copy the script that is provided there.

Create a new page on your website and insert the “Custom HTML” block, which you can find under the “Custom HTML” block section.
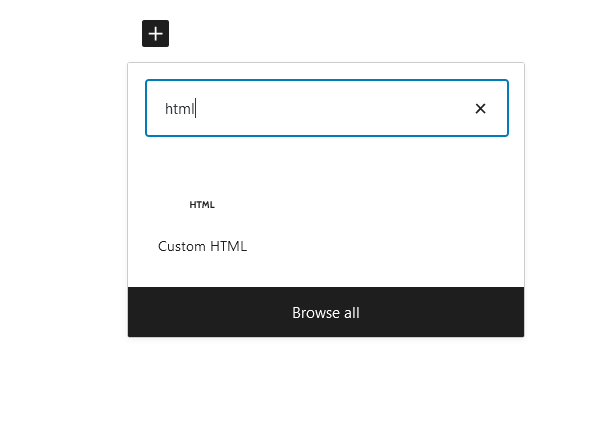
This is how the page will appear when the script has been added.
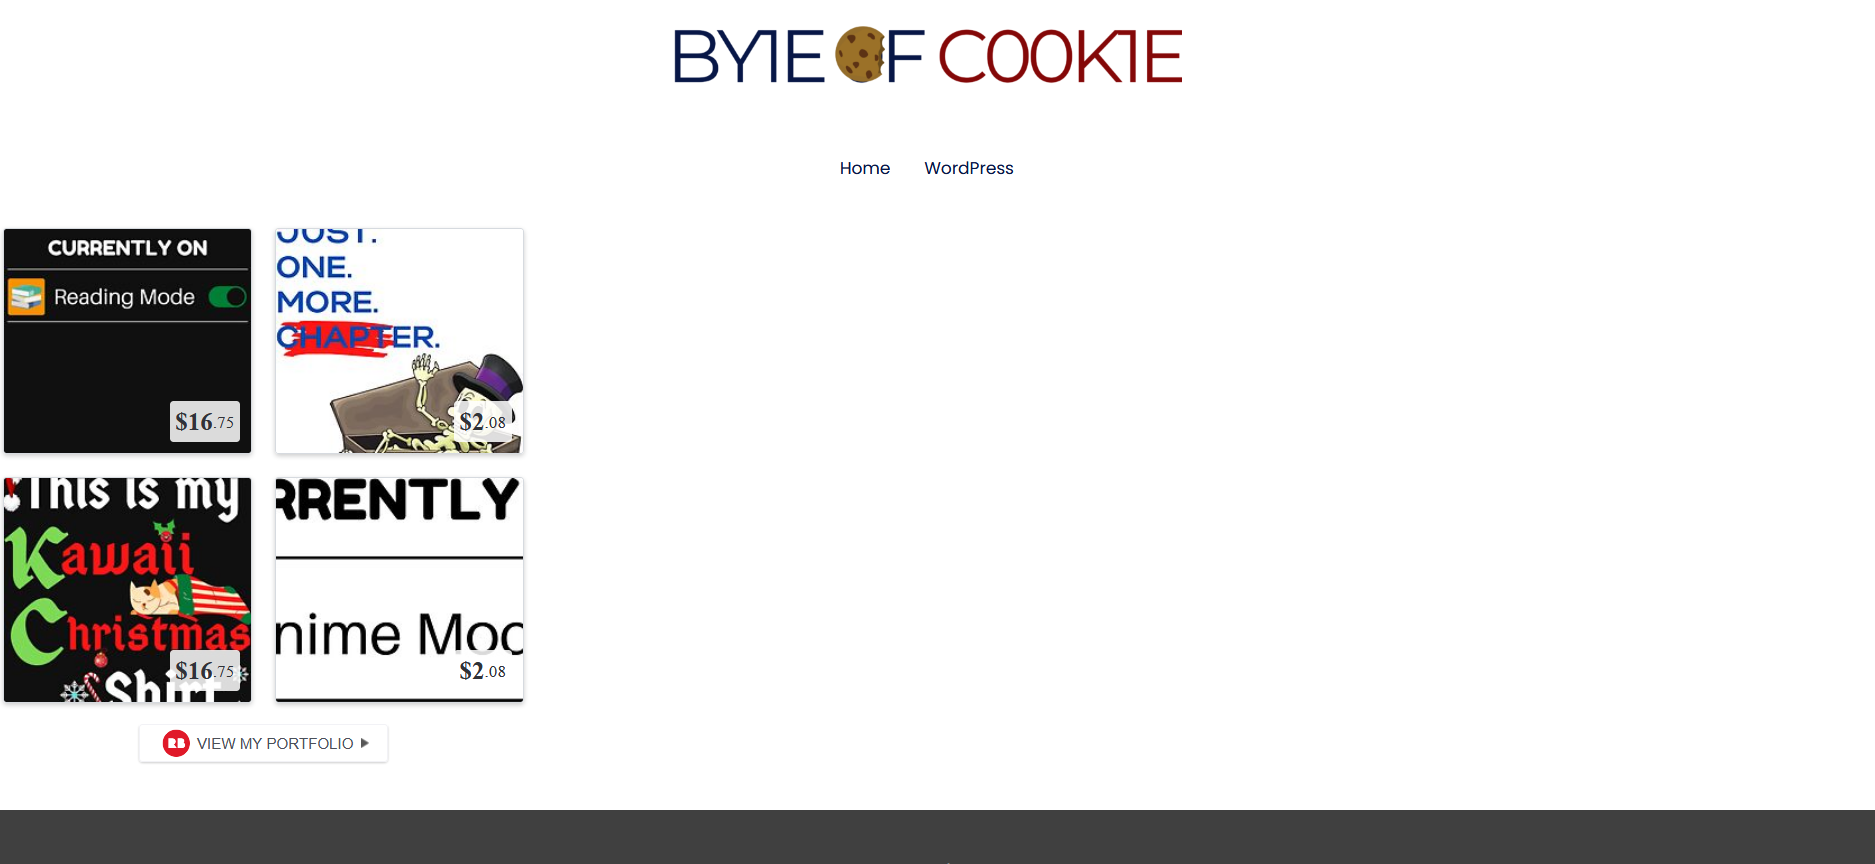
Using HTML and CSS, you may make the layout more appealing. We may cover it in the future. However, we strongly recommend the second technique, even though it requires more time and work. In the end, we want the potential users to click on the product, which is unlikely to happen using the second option. Additionally, you may find SEO effective by using the second technique.
Method 2: Using the default integration
You must first install three plugins on your computer before setting up the shop on the website. All three of them will be accessible in a standard version with just the most basic functionality, which I believe is sufficient for setting up a rudimentary shop.
- Elementor: a WordPress Website Builder plugin that is commonly utilized on a large number of websites nowadays.
- Woocommerce: a WordPress e-commerce plugin that is free and open-source. It is intended for small to medium-sized online shops that use the WordPress platform.
- Woolentor: a set of WooCommerce extensions for the Elementor page builder.
These plugins will appear on the left-hand sidebar of your dashboard when you have installed them. Once this is accomplished, we will proceed to the following stage.
Step 1: Export products from Redbubble
It is now necessary to import the goods from your Redbubble shop into the “Products” section of WordPress. Head to your Redbubble shop and complete the instructions outlined below. The images are included in the attachments below:
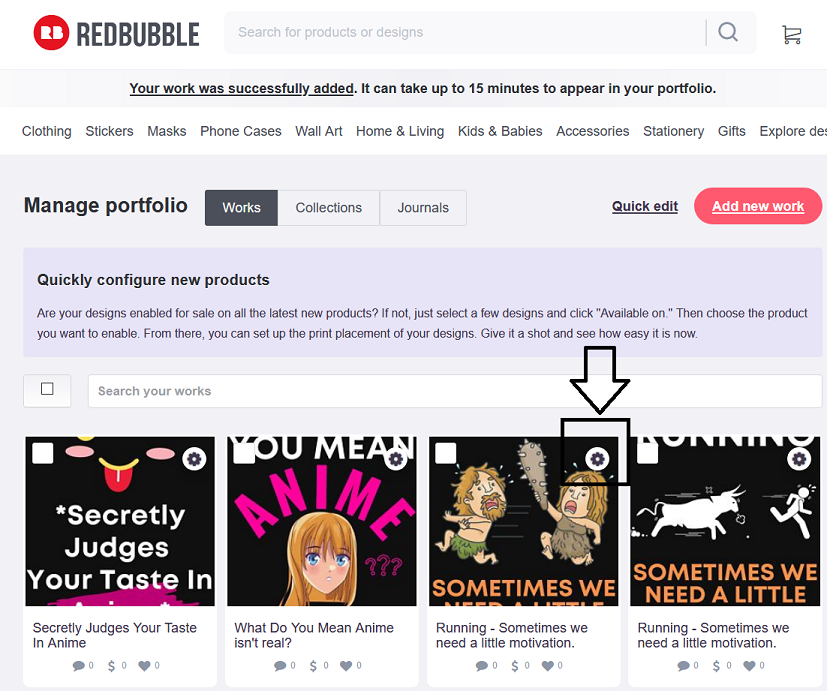
- Navigate to “Manage Portfolio,” which displays all of your previous work.
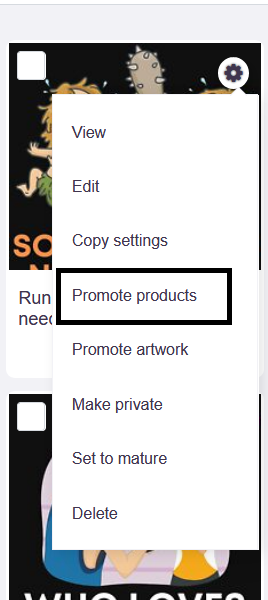
- Find a product and click on the “Wheel” Icon to get more information.
- Afterward, choose the “Promote Products” option, which will take you to a product page.
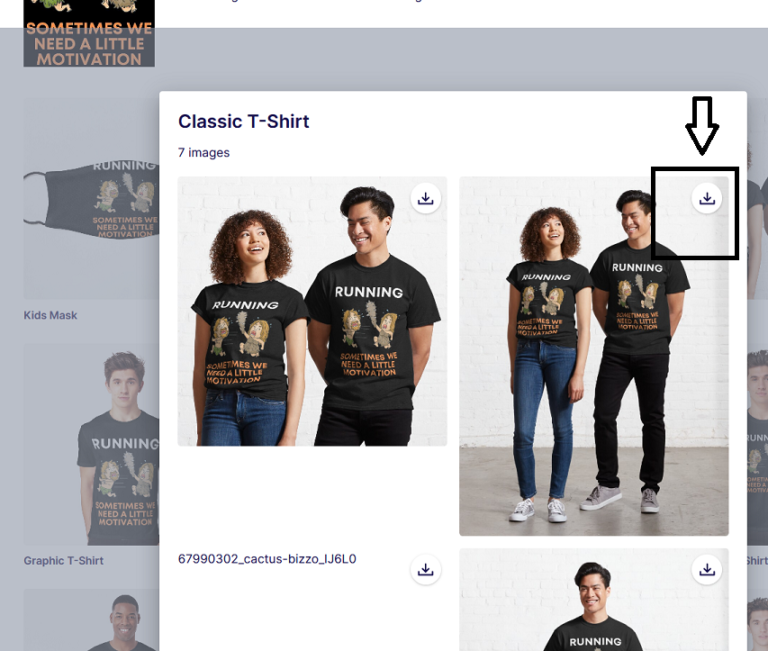
- Then choose the product you’d want to advertise (T-shirt, mug, stickers, etc.) and click on the “Three Dot Icon” to get started.
- Then click on “Download Pictures,” which will bring up a window with multiple mockup images for you to choose from and download. Download the picture that will be shown on your website.
The following are two points to consider before moving on to the next phase:
- When showing many photos for a single product, you have the option of downloading multiple mockups if necessary.
- Also, before you ultimately set up your shop, upload two to three goods to your site to get things started. When you upload many items simultaneously, you will run into the difficulty of having to modify each product individually when you encounter a problem.
Step 2: Import products to WooCommerce
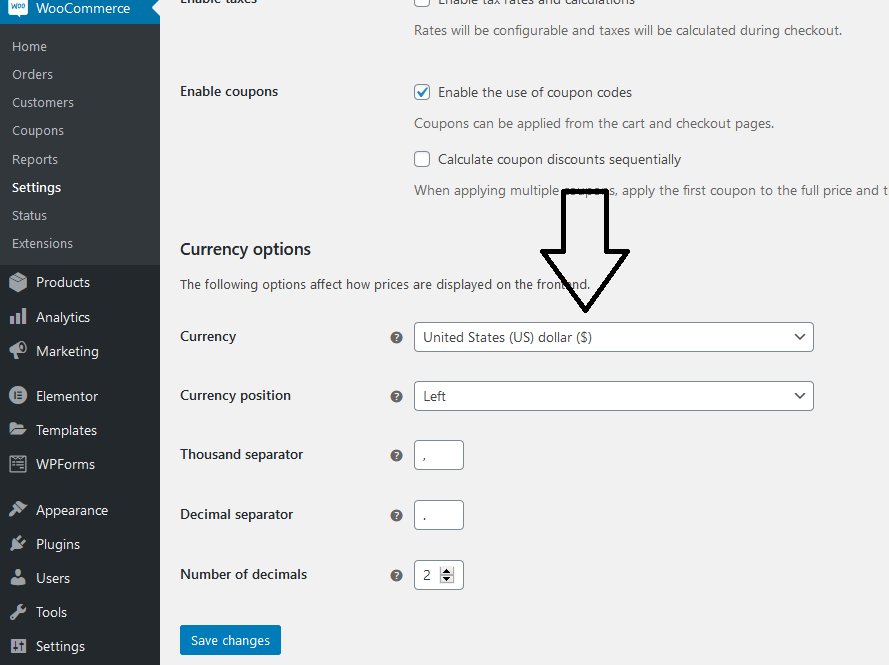
We already have mockup photos of our items downloaded into our computer system. The next step will be to submit them on our website as soon as possible. Before uploading, you must adjust the currency settings to “Dollar.” Select “United States Of America Dollars” as the Currency in Woocommerce > Settings > General > Currency options > Currency from the drop-down menu.
Let’s move on to the picture upload process:
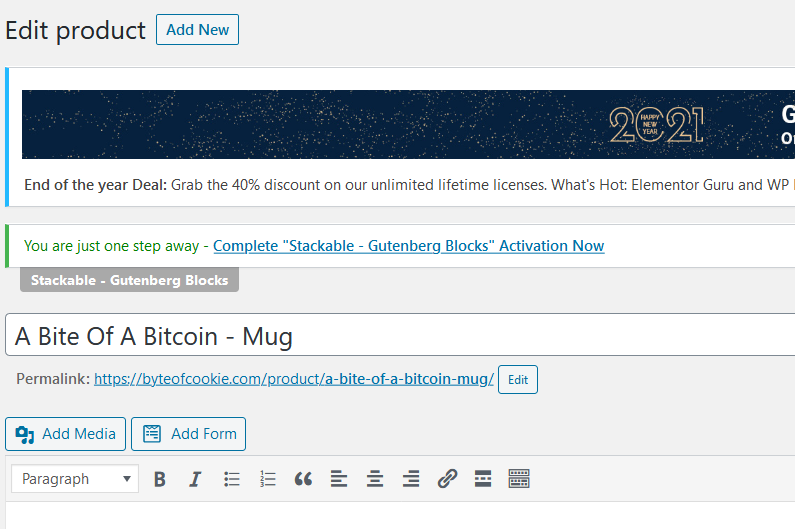
- Add items to your cart under “Products.” Click “Add New” and type the “Product Name” into the text box.
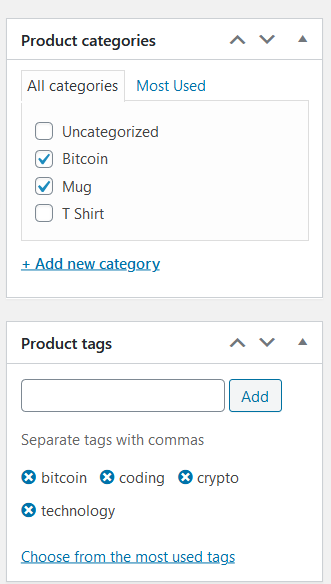
- To make it easier to establish filters on the shop page, add relevant “Category” and attempt to add two or three good categories.
- In a similar vein, provide relevant “Tags” that will aid in the search for items.
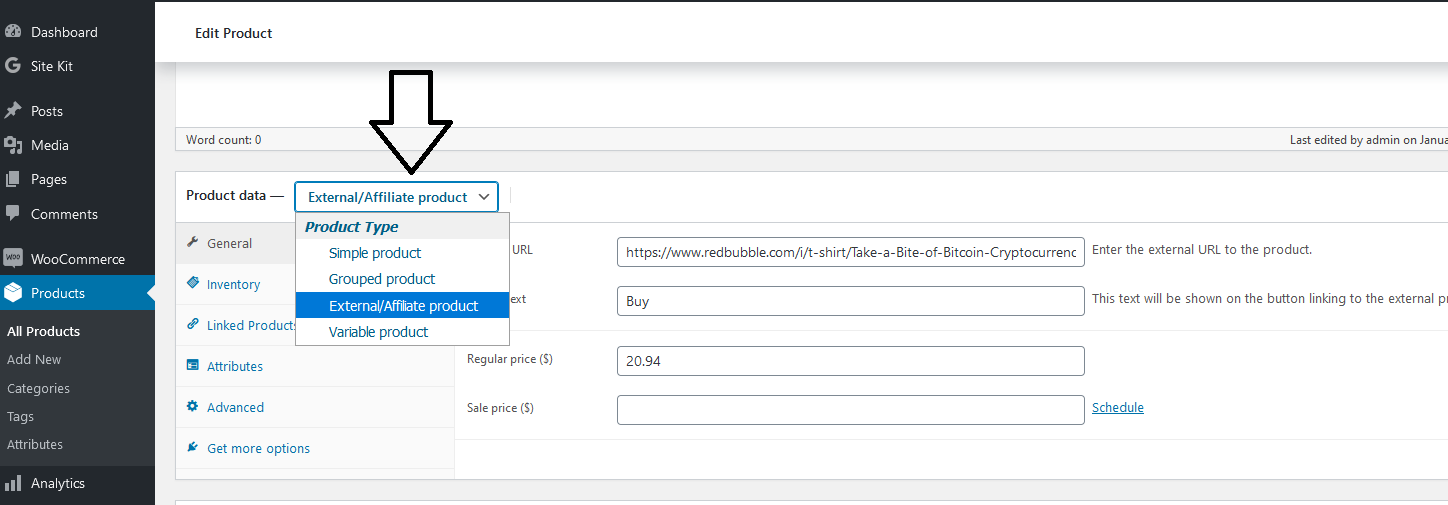
- Change the value of “Product Data” to “External/Affiliate Product” under “Product Data.” This allows you to include a Redbubble link, an external product, in your post.
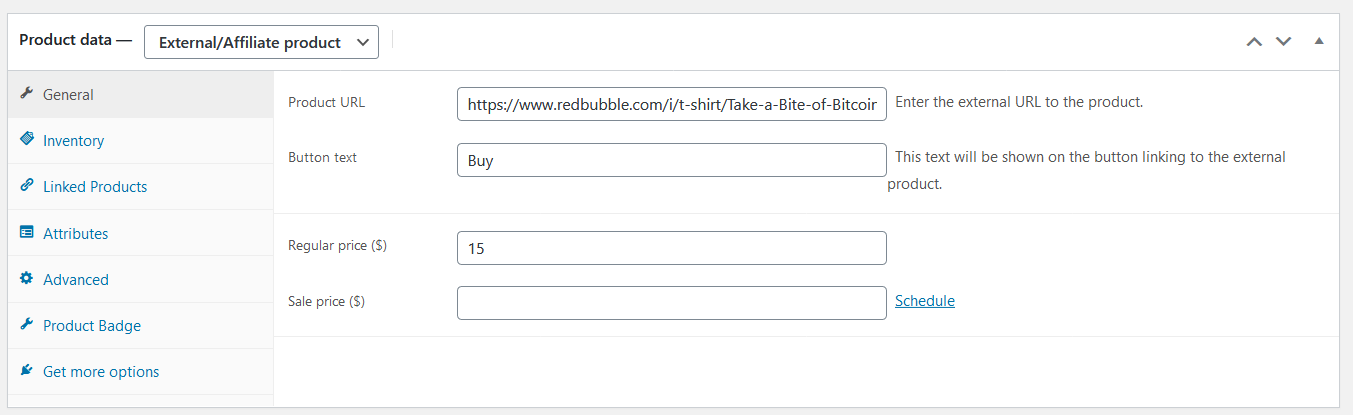
- Use the URL of the product to be added in the “Product URL” area, the text “Buy” in the “Button Content” field (you may also enter your text), and the Regular Price in the “Regular Price” field (Not compulsory).
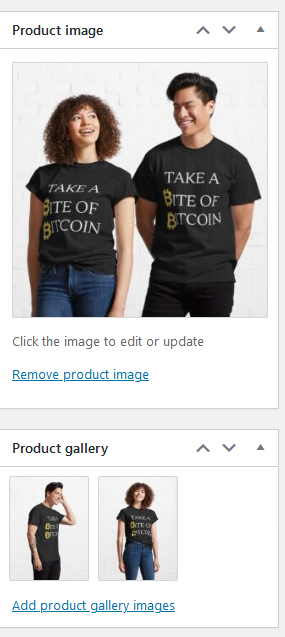
- Upload a “Product Image,” which will serve as the main thumbnail that people will see when visiting your website.
- If you have many photographs of the same product, you may upload them all to the “Product Gallery” section.
- After that, click on the “Update” button. And the product has now been saved.
Add two additional things to make setting up the shop a little more straightforward in the future.
Step 3: Set up a new store page
It is necessary to build a new page at this point. There will already be a page titled “Shop” on the website. Remove it from consideration and create a new page:
- Pages > Create a new page that will appear.
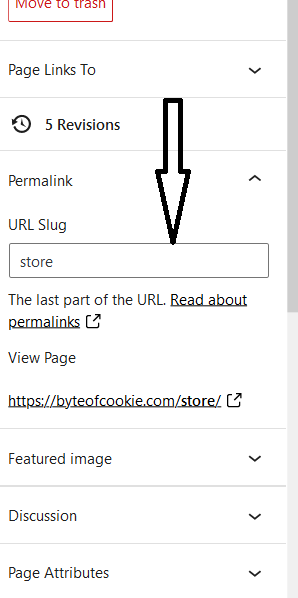
- Change the URL Slug under Permalink to “Store” and save the changes (Or your preferred name).
- At the top of the page, choose “Edit with Elementor.”

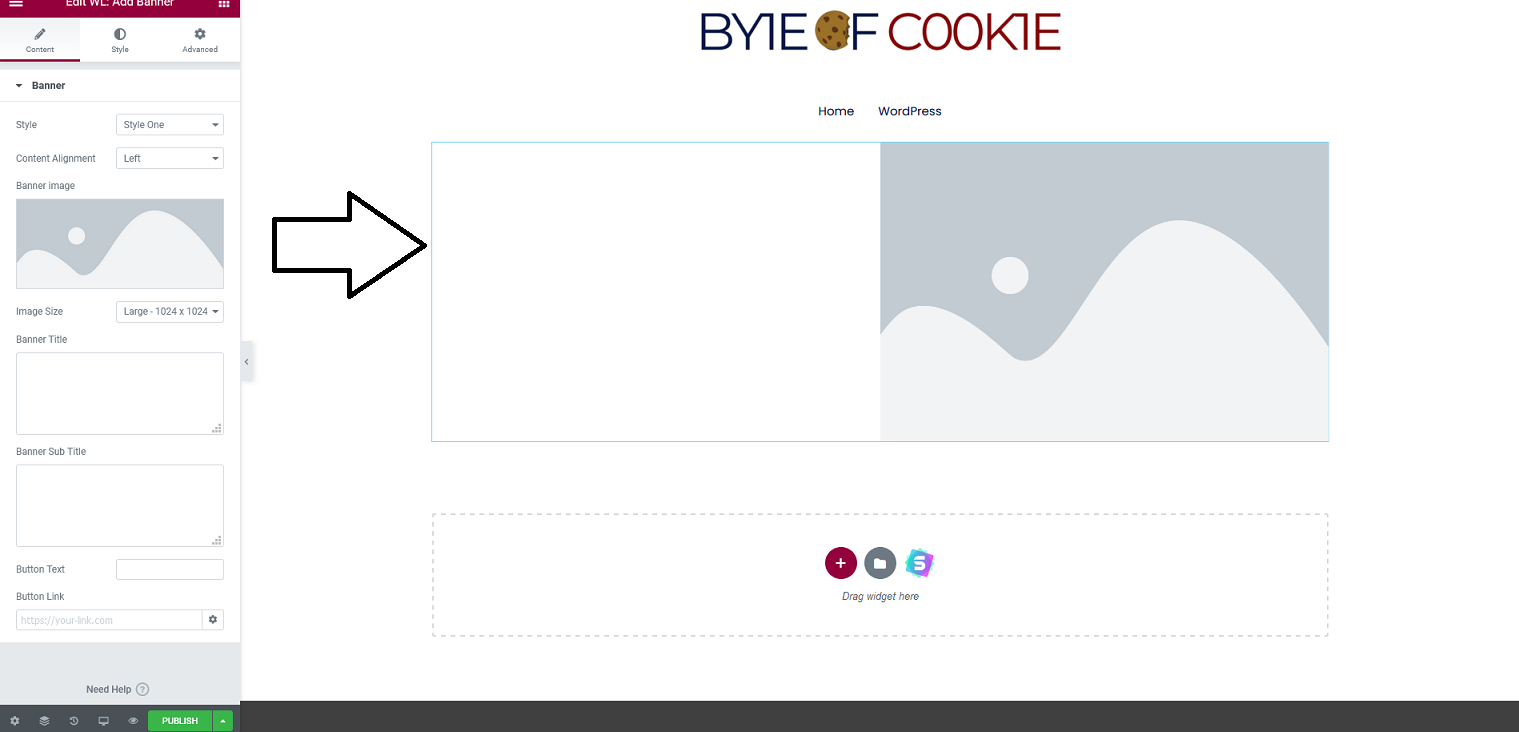
- Go to “Woolentor Add-ons” and choose “WL: Add Banner” from the drop-down menu. Drag the banners onto the page.
- Now choose “Universal Product Layout” from the drop-down menu and drag it to the page.
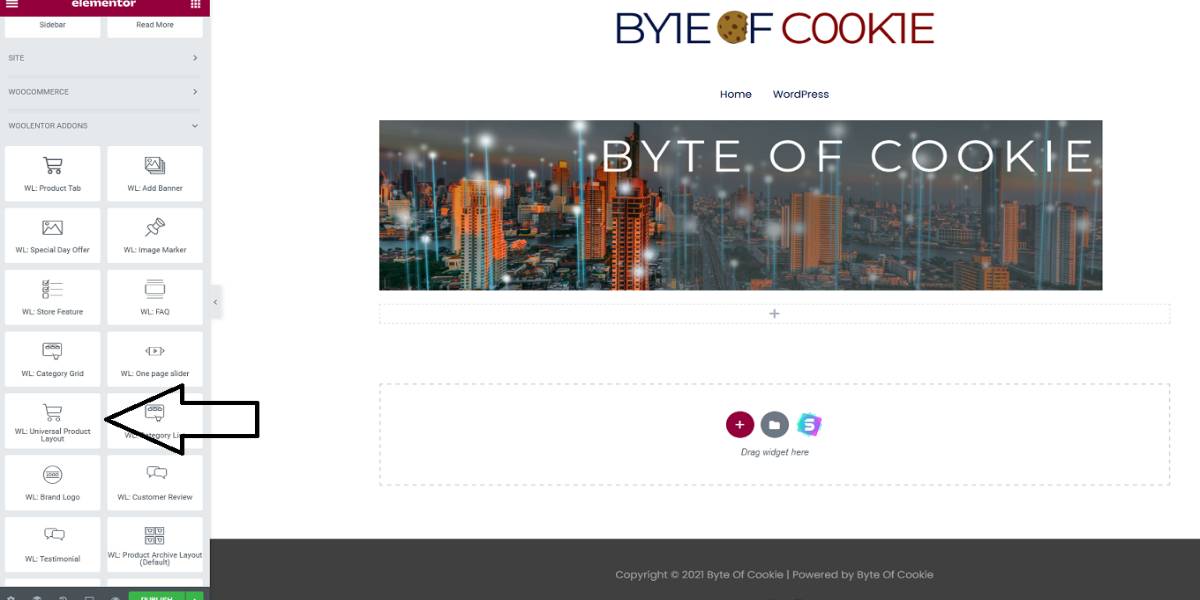
- You should now have access to all of the goods you submitted.
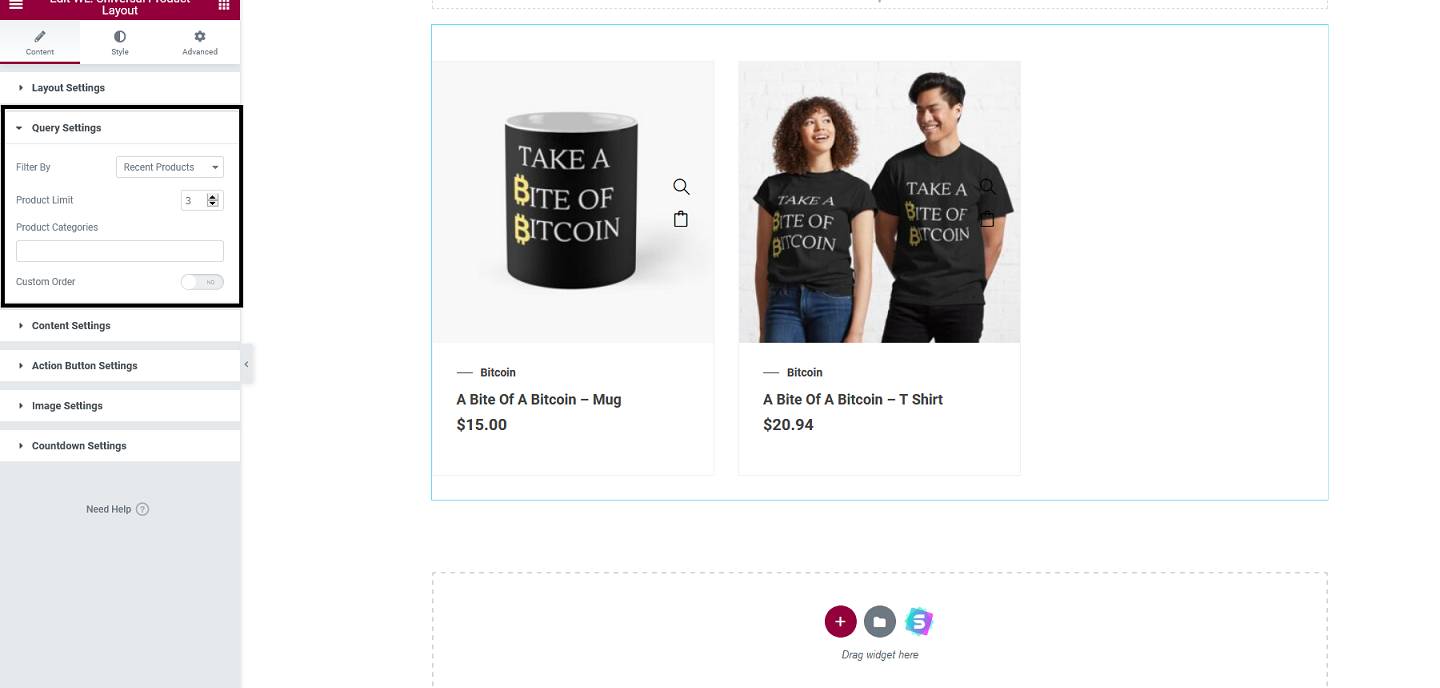
- Make changes to the parameters to meet your requirements. To construct filters based on Categories and other criteria, try changing the “Query Settings” section.
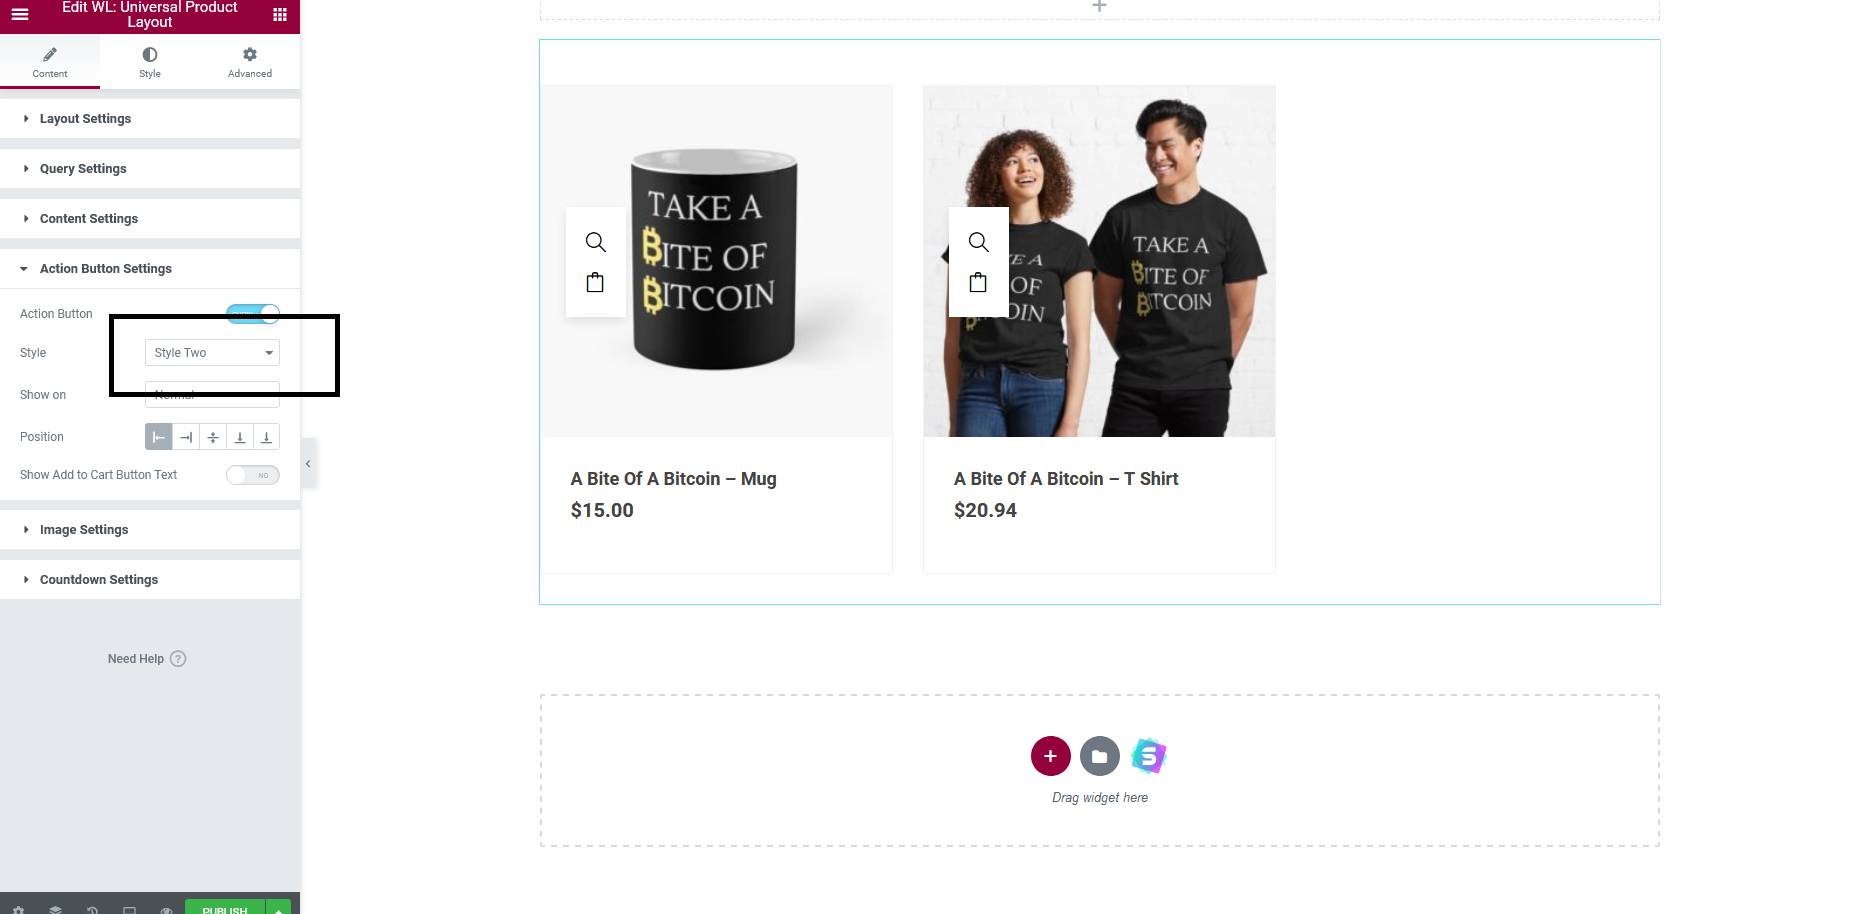
- In the “Action Button Settings,” choose “Style Two” and then adjust the “Position” to suit your demands.
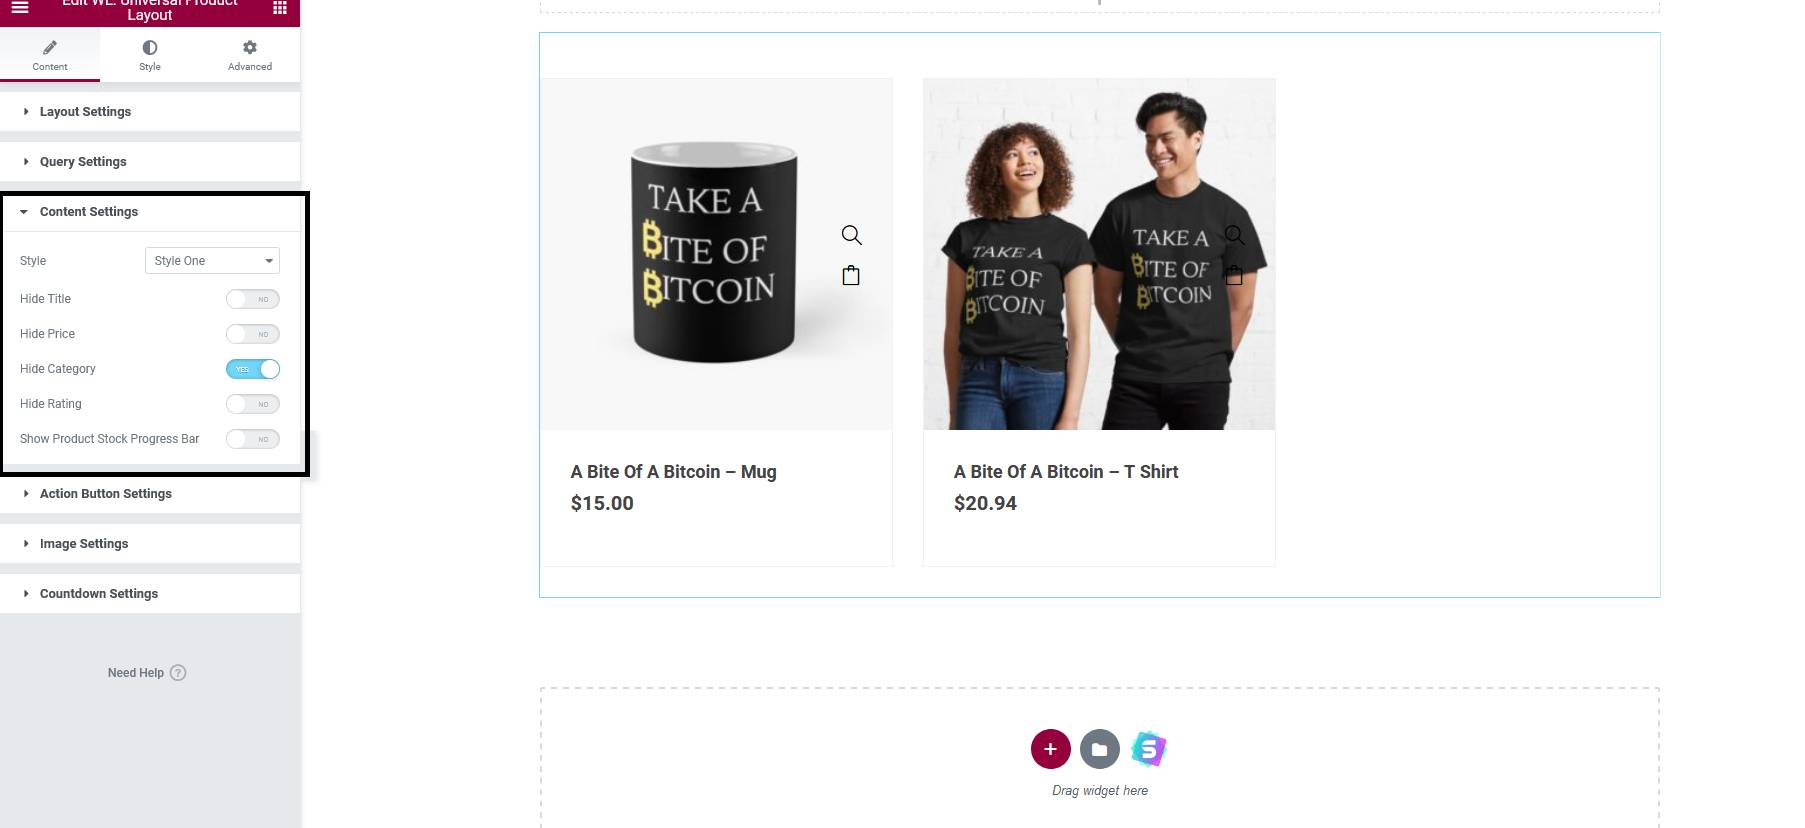
- Make changes to the “Content Settings” according to your requirements.
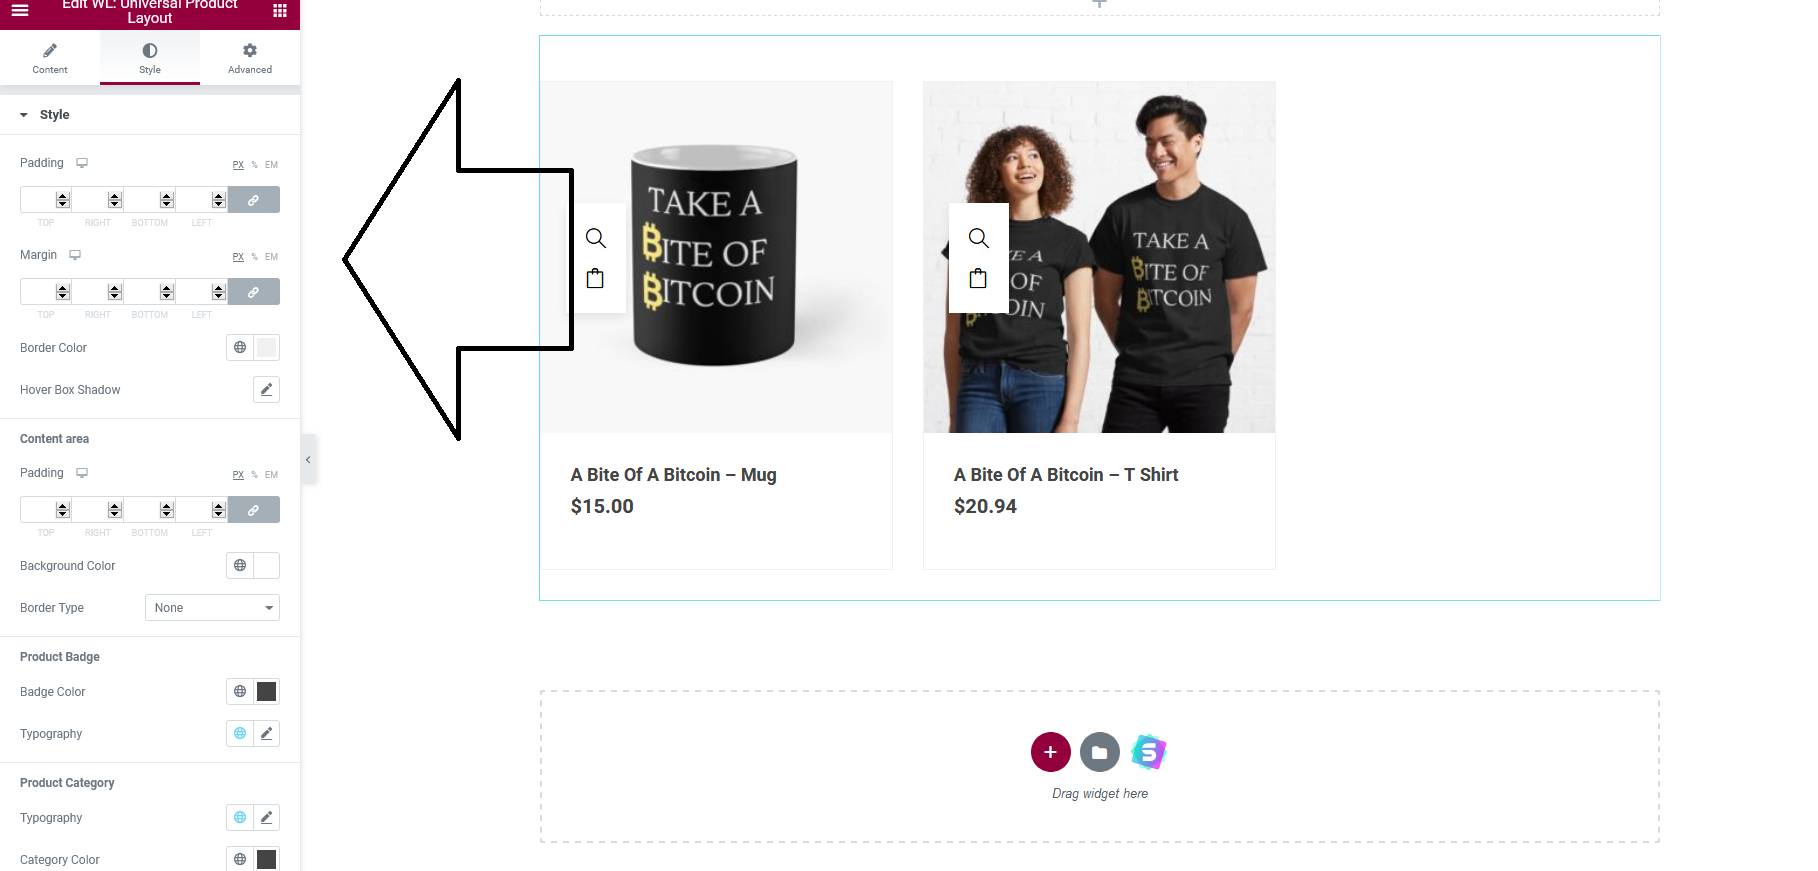
- The Style section allows you to change the color, alignment, hover effect, and other title properties, buy button, and other elements.
- When you’re finished, click “Publish.”
We’ve created a simple retail layout. If you need help developing a shop page, several tutorials are available, which you may adapt to meet your specific requirements.
Step 4: Customize your new store
We are still experiencing difficulties after having completed all of our previous efforts. Instead of redirecting to Redbubble’s product page when you click on the title or the picture, the link will take you to a product page on your website.
The consumer will be sent to your product on the Redbubble website in two clicks. This phrase is redundant since Redbubble is the storefront, and we are not supplying the items ourselves. The most crucial guideline of selling things is to avoid presenting the same thing to the customer many times. As a result, you must redirect to Redbubble when a single click is made on the product.

This may be accomplished using a plugin called Page Links To which will convert a product link to a Redbubble link once it is installed. After you have installed this plugin, you may modify a product. You will see an option to divert to a different page on this page. Provide a link to Redbubble here. Now, when a consumer clicks on a product in the shop page you built, the buyer will be sent to the Redbubble store without leaving your website, saving you time.
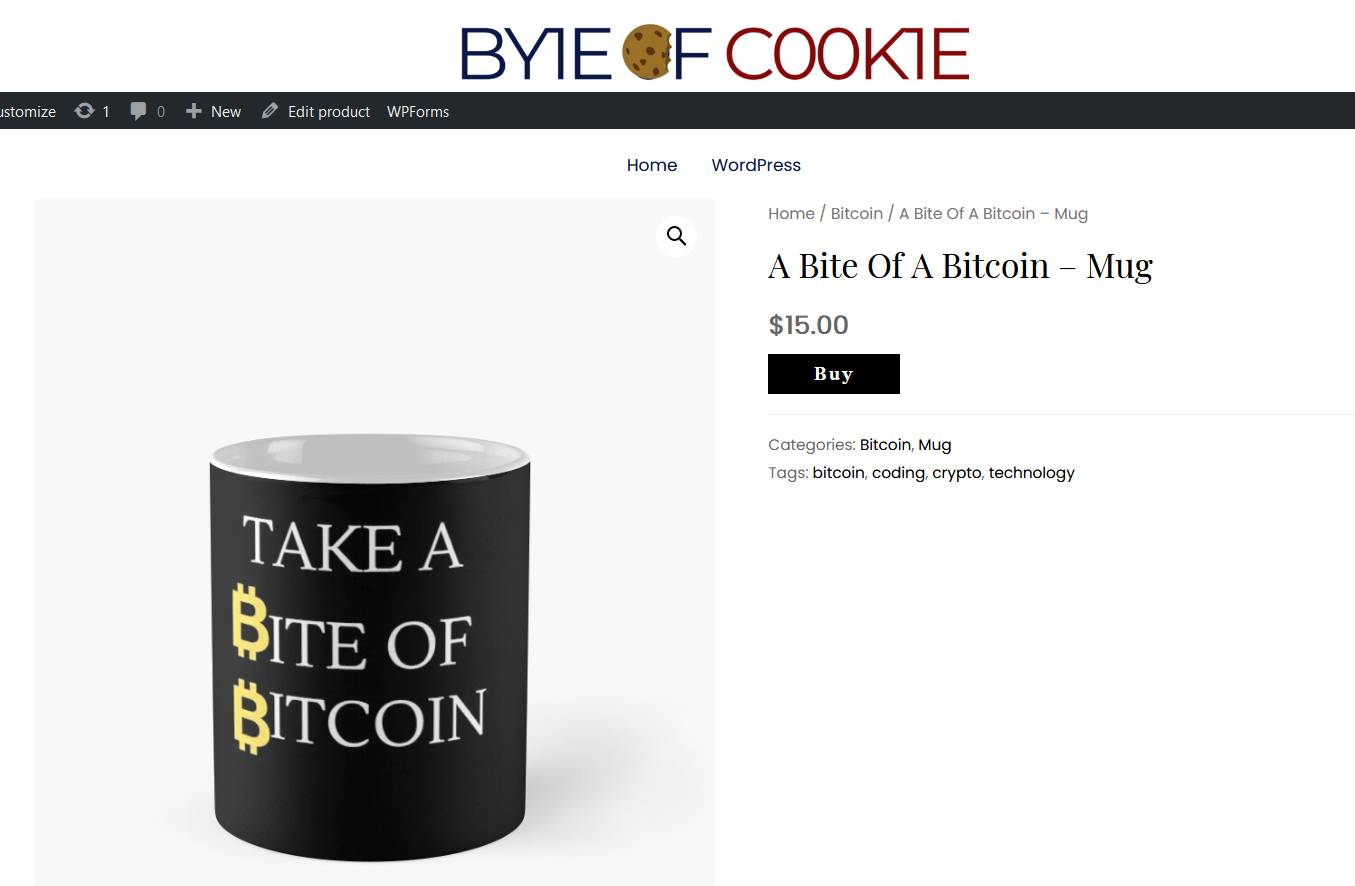
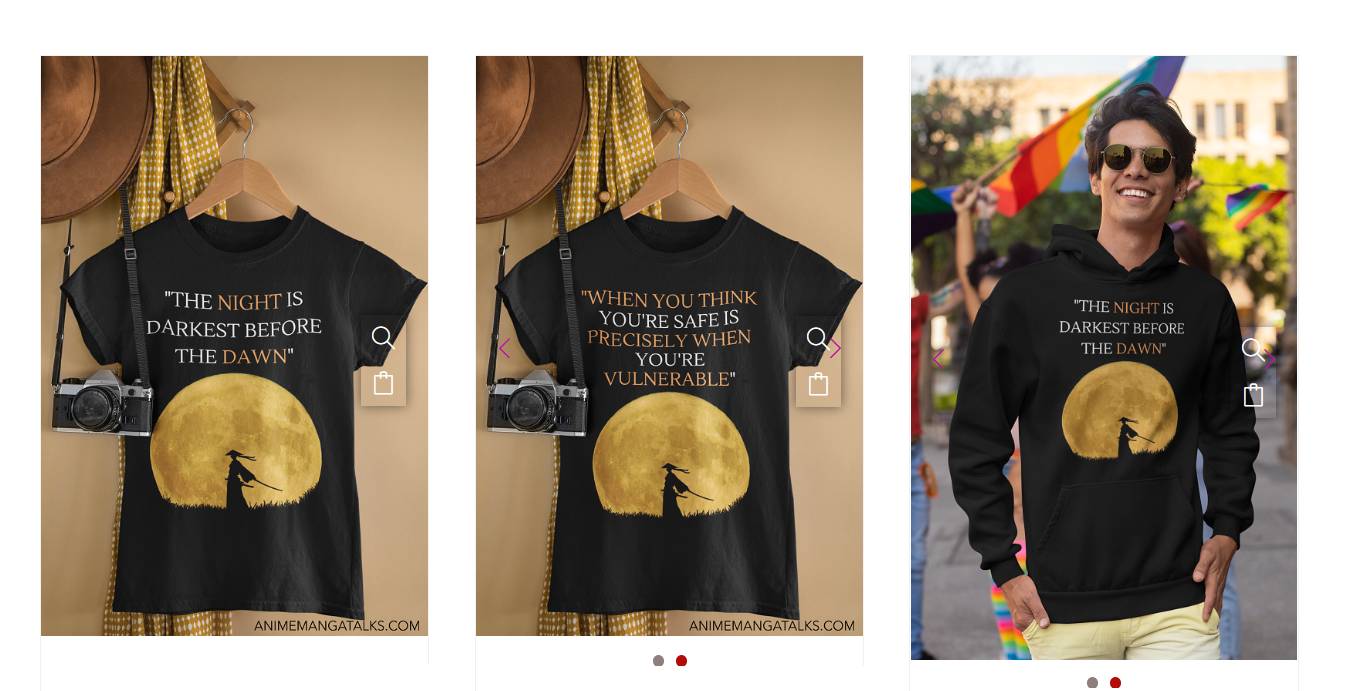
Step 5: Optimize the quality of your images
The photographs from Redbubble that you download are neither aesthetically appealing nor of good quality. It could be a good idea to use better mockup pictures, such as the ones I used in my shop, displayed below. The photographs are of good quality, and the mockups are also aesthetically appealing, which will elicit an emotional response from the user, resulting in a greater click-through rate. Placeit.com is a website where you may submit your designs and have them shown in appropriate mockups that are accessible there.
Conclusion
The Redbubble marketplace is a terrific method to reach new audiences affordably, regardless of whether you are selling men’s sweatshirts, children’s t-shirts, or tote bags. The team at Redbubble takes care of everything, from printing and shipping to providing continuous customer support, so you can spend more time producing excellent art and designs.
We hope this tutorial will help you understand how to add the Redbubble store to WooCommerce. Using platforms like Redbubble is a terrific option for artists who don’t have the time or ability to set up and operate their online shop. If you want to build a long-term brand, you should own your shop. You will have greater creative flexibility and control over your company and the money you generate if you choose this route.


