
How to Add product image zoom on hover on Shopify

When you run a Shopify store, you may have to encounter with multiple challenging tasks. One of the tasks we are talking about is to find out how to Add product image zoom on hover on Shopify. It will be a piece of cake if you read our article with a step-by-step guide for you to follow easily.
Before going into details, we will reveal to you how product images affect customers so that you can have a better understanding of the importance of product image. Then, we will show you three main methods to add product image zoom on hover on Shopify. Now, let’s get started!
Related posts:
How do product images affect customers?
Essential Element of Your Branding
The images you use throughout your eCommerce system can light up the identity of your brand. The elements that are color palette, saturation, focal length, shadows, composition, location, and context can help define your brand.
Your images can have the power to deepen your content and communicate easily with your target audience. The images of the same colors and main characters throughout all manners of physical and virtual experience. Take the KFC logo as an example, its distinctive feature-the colonel has a red color so that the emblem appears more lively. Also, the Colonel’s face seems more friendly over time.
To stand out from the crowd when managing an online store, you should not underestimate the importance of pictures since a picture is worth a thousand words, and it can impact the mood of any shoppers. Images can attract the attention of viewers, influencing their first impressions on your site, so they should be relevant and distinctive.
You have to make sure that you can create the creative images that can improve engagement and tempt consumers to place an order on your site. It is because if a customer has a favorable perception towards your site, they will be more likely to purchase your products. The images that you select should deliver a message and demonstrate your value theorem in a visual voice that communicates with your audience.
Improve All Buyer Interactions
Your product images can be a fantastic asset for your product page, your store, and your on- and offline marketing channels. With impressive images, you can acquire more customers throughout the decision-making journey.
More specifically, the images can attract social media users’ attention, beautify an email with casual in-context images, physical flyers, banners, and highly-convertible product pages. You should create unique and high-quality images social media channels. Once a shopper visits your collection page, they will see the whole product line with trust-building images that can lead to higher conversion and retention rates.
Bear in mind that when it comes to offline marketing like promotional events and pop-up shops, you should bring the most impressive flyers and banners to grab attention and tell a story.
How to add product image zoom on hover on Shopify
Using Jquery
jQuery Zoom by Jack Moore is a must-try and must-have plugin for you to zoom your product images in the free Shopify theme, Debut. This simple-to-implement zoom plugin has virtually no styling, hence you can customize it as much as you want. Not only that, this popular plugin has a very clear changelog. What’s more, jQuery Zoom plugin is compatible with jQuery 1.7+ in Chrome, Firefox, Safari, Opera, and Internet Explorer 7+. If you have already set up a node for theming, you can install this plugin via npm by running:
npm install jquery-zoom
Another option is to download the jQuery Zoom plugin.
Install jQuery if you have not enabled it before
Most themes have already included a version of jQuery, and to work it out, it is important to have a minimum version of 1.7+. In other words, for most Shopify themes, you may not have to add jQuery, except when you are building the theme from the beginning. If you are developing an app using jQuery, you should have a good understanding of how to use jQuery responsibly in order not to interfere with the themes that have already had it.
To check whether you have already added jQuery, you can look for the script or head to the Console tab in your inspector and run jQuery.fn.jquery. By doing this, you will see that it will return the version of jQuery that the website is running.
Or, you can also check the theme.liquid, or already added in a vendor.js file in the scripts/ directory. Keep in mind that you must not load more than one version of jQueryon a website at a time because it will lead to the loading time of pages and other JavaScript issues on your client’s site.
To add jQuery to your theme, you can insert the following code right in your HTML’s beginning:
<script src="https://ajax.googleapis.com/ajax/libs/jquery/2.2.4/jquery.min.js" defer=”defer”></script>
Add the zoom.min.js plugin file to your theme
Once you have downloaded the plugin folder, you can add the minified jQuery Zoom plugin (jquery.zoom.min.js) to your Assets folder. Next, from your theme.liquid file, right after where jQuery is being loaded, you can use the Liquid code below to link the plugin file to your theme. Please note that you should add a check to add it only on your product pages rather than on all pages:
 {% if template contains 'product' %}
  <script type="text/javascript" src="{{ 'jquery.zoom.min.js' | asset_url }}" defer=”defer”>
{% endif %}
Or, if you have already had a theme, you can also add the minified code to the end of a vendor.js file.
Adjust product.liquid to target the zoomed image
The zoom plugin adds HTML inside the element it is assigned to, which must accept HTML. Since the tag can not include other HTML elements, it requires a container or wrapper element. The simplest ways to do this is to add a wrapper around your main product image with JavaScript. In your product.liquid template or section, add the classes image-zoom and data-zoom to the main image for your product section. Remember that the featured_image for your product may be named differently, based on the theme that you are currently using.
<div class=”image-container”>
  <img class=”image-zoom” src=”{{ featured_image | img_url: '480x480' }}” alt="{{ image.alt | escape }} data-zoom="{{ featured_image | img_url: '1024x1024', scale: 2 }}>
  <div class="image-details"></div>
</div>
To create the URL of your large-image (that will be your zoomed image) as a data-attribute, you can also use Liquid. With it, you can pass the URL to the .zoom() method as a URL property and designate the image’s larger version, rather than one large one and scale it down.
Initialize the zoom plugin dynamically
Various themes have numerous CSS that can be applied to elements, and the added image-zoom class on the main product image created the following code. It will add a wrapper with jQuery that the zoom plugin will then add extra HTML, causing the zoom effect. It will help evade any problems triggered by CSS layouts or other styles that may impact a manually created container.
<script>
  $(document).ready(function(){
    $('.image-zoom')
    .wrap('<span style="display:inline-block"></span>')
    .css('display', 'block')
    .parent()
    .zoom({
      url: $(this).find('img').attr('data-zoom')
    });
  });
</script>
To enable this plugin, there are other options for you to select considering what other JS events you have created for your product images. You should generate a custom function like product image zoom(), and use the .trigger(‘zoom.destroy’); before triggering .zoom();. If you are currently using JavaScript to manage variant images and loading a different feature-image depending on which variant is clicked, then it will be the best way to implement the plugin. To have a clearer view of this, you can see the implementation of this zoom plugin in the Debut theme.
Customize your settings and add necessary styles
The jQuery Zoom plugin comes with a variety of other properties you can pass to the .zoom() method. You can notice them in the documentation for the plugin and include on, duration, target, touch, etc.
To specify that the image will zoom on mouseover, you can also add styling to your zoomed images. If you are currently using one of the other on values like grab, click, or toggle; then you may need to modify the default cursor for image-zooming with some CSS. For instance, if you want to add something like the plugin demo’s styling, then you can add the following styles and the icon.png into your Assets folder:
.zoom {
  display:inline-block;
  position: relative;
}

/* magnifying glass icon */
.zoom:after {
  content:'';
  display:block;
  width:33px;
  height:33px;
  position:absolute;
  top:0;
  right:0;
  background:url({{ 'icon.png' | asset_url }});
}
To specify a grab-zoom option, you can also add styling that may adjust the cursor:
.zoom-image:hover {
  cursor: move; /* fallback if grab cursor is unsupported */
  cursor: grab;
  cursor: -moz-grab;
  cursor: -webkit-grab;
}

.zoom-image:active {
  cursor: grabbing;
  cursor: -moz-grabbing;
  cursor: -webkit-grabbing;
}
Bear in mind that some of these CSS values only work in WebKit enabled browsers. Therefore, if you want them to be consistent in non-WebKit enabled browsers, you can have the option to provide an image for a custom cursor. If you want your users to be able to turn the zooming on and off easily, then you can check out theme options to do that.
Using Vanilla Javascript
With this vanilla Javascript option, we can use imgix’s Drift library which is SUPER simple and has no security problems.
This well-maintained and easy-to-implement library supports the latest version of Chrome, current and previous releases of Firefox, Internet Explorer, and Safari on a rolling basis and the newest minor update of the current and previous major release for the default iOS and Android browser.
If you have already set up a node for theming, then you can install this plugin via npm, by running:
npm install drift-zoom
Add the Drift to your theme
Based on your setup, you can manually add the Drift dist to your theme. If added through your theme.liquid file, it will show on all pages. To add it only on product pages rather than on all pages, you should add a check.
{% if the template contains 'product' %}
  <script type="text/javascript" src="{{ 'Drift.min.js' | asset_url }}" defer="defer"></script>
{% endif %}
Or, similar to the jQuery instructions in the preceding section, if you already have a theme that uses one, then you can also choose to include the minified code into the end of a vendor.js file. If you are currently using ES6, you can do the code below to add drift to your project:
import Drift from 'drift-zoom';
Adjust product.liquid to target the zoomed image
Drift zooming adds HTML to an element with CSS positioning so that it can work. If there is no element specified to include the zoomed image, then it will default to cover on top and connect with the closest positioned parent.
But first thing first, you should add a wrapper around your main product image in your product.liquid template, and inside that also add an empty div with a class of image-details. If you are currently using sections, then you can include the data-zoom attribute to the product section featured image instead. Remember that the featured_image for your product may be named differently, based on the theme that you are currently using.
<div class=”image-container”>
  <img class=”image-zoom” src=”{{ featured_image | img_url: '480x480' }}” alt="{{ image.alt | escape }} data-zoom="{{ featured_image | img_url: '1024x1024', scale: 2 }}>
  <div class="image-details"></div>
</div>
To create the URL of your large-image (that will be your zoomed image) as a data-attribute, you can also use Liquid. With it, you can pass the URL to the .zoom() method as a URL property and designate the image’s larger version, rather than one large one and scale it down.
Initialize Drift and set options
Then, you can do the basic setup, very simple as below:
new Drift(document.querySelector('.image-zoom'), {
  paneContainer: document.querySelector('.image-details')
});
From here, to initialize Drift on the image, you can target the class of image-zoom. After that, you will set the paneContainer to the .image-details div, to set the output of the zoomed content that will be specified to that container.
What’s more, you can consider establishing other options for Drift such as offsets, zoom amount, enabling touch, etc. You can find them on GitHub page for Drift.
Customize your settings and styles
In this method, the final step will require you to set up any extra styling you want to add to your image zooming with Drift. Rather than let your zoom area overlay the whole page, you can include styling so that it can be set off to the side, or cover other content on the page.
We have included some simple styles for two columns with CSS grid that have been used in the demo (preceding section):
.image-container {
  display: -ms-grid;
  display: grid;
  grid-gap: 30px;
  -ms-grid-columns: 200px 30px auto;
  grid-template-columns: 480px auto;
}

.image-details {
  position: relative;
}
Alternative plugins and Shopify Apps
In addition to the two methods mentioned above, you can consider using other ways to zoom your product images as below:
Magic Zoom Plus app
Magic Zoom Plus- one of the top-rated Shopify image zoom apps in the Shopify App Store enables users to hover to zoom an image and tap on to augment an image.
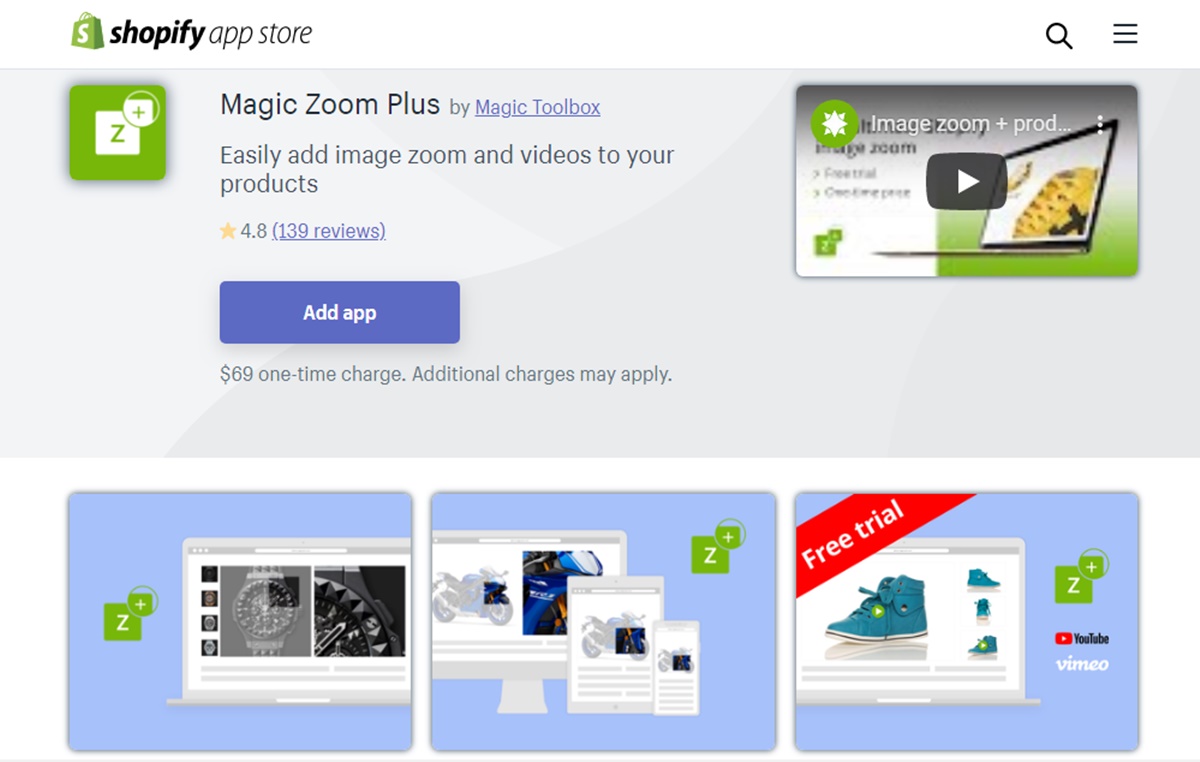
It also performs perfectly with mobile devices. You can experiment with a free 30-day trial, and after that, you pay for a one-time charge of $69.00.
Product Image Zoom By Gowebbaby app
Another option is to use the Product Image Zoom By Gowebbaby app on the Shopify App Store.
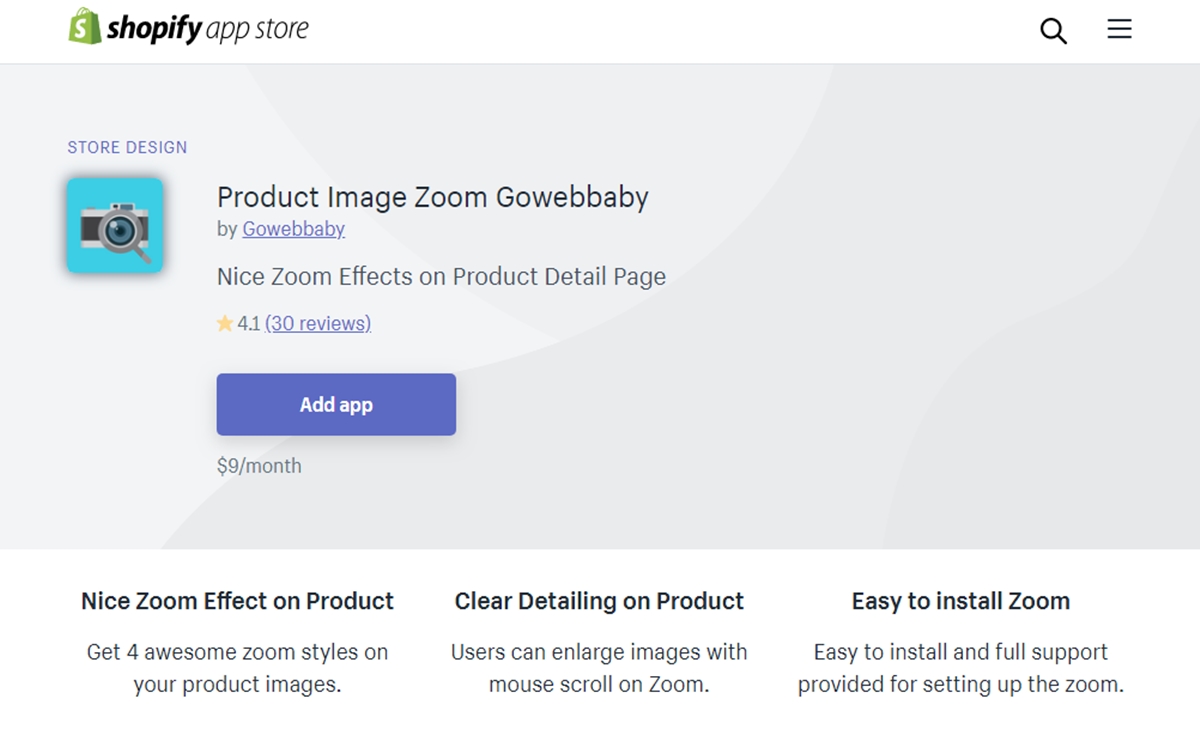
It uses a box or lens around your zooming section, contributing to a sense of a magnifying glass inspecting an item. After a three-day free trial, you will have to pay for a 3$ monthly cost.
Furthermore, to add product image zoom on hover on Shopify, you can have many more options. Refer to 10 Best Image Zoom Apps for Shopify in our article: Shopify Image Zoom Apps
Conclusion
To sum up, we have revealed to you step-by-step guide of adding product image zoom on hover on Shopify. We hope that by reading this post, you can do it smoothly and manage your online business more effectively.
If you have any questions, comments, or concerns, do not hesitate to leave a comment below or directly contact us. We are always ready to help you out in case you need anything. Furthermore, if you find our article useful, then you can share it with your social network’s community. We would appreciate it if you could do that.


