
How to generate a pre-order product page template in Shopify
Drive 20-40% of your revenue with Avada
Pre-order is nowadays growing in its popularity for all of its advantages. If you are reading this article, we assume that you are concerned with this topic so please keep reading our instructional writing on How to generate a pre-order product page template to know more deeply about the method.
How to generate a pre-order product page template
Pros and cons of pre-orders
In case you do not know, pre-orders give your customers permission to reserve a product from your store before it is ifficially back in stock. There are more and more retailers and suppliers seeing the advantages of running pre-order programs since they can give them an overview about the general demand level and get a guaranteed number of sales.
Additionally, if pre-orders are not run in a professional way, they might potentially damage the reputation of your store. Here are some good and not-good features that we would like to point out for you:
Pros
-
Pre-orders can be a guarantee for your certain amount of sales and revenue within an predicted time period.
-
Through running pre-order programs, you can have a detailed survey on demand in your target market and estimate the suitable quantify to fulfill the demand.
-
You can use pre-order as a marketing initiative. it is a great technique to market and promote the pre-leased products so it can grow in popularity and create hype.
-
Your suppliers do not have to be worried about unsold stock.
Cons
-
General speaking, pre-orders may not work well for sellers on online market such as eBay or Amazon. You migh have to maintain stock, and these platforms do have a very strict policy for quick shipping. If you get negative feedback or ratings due to delays caused unexpectedly, you may have to face the risk of losing your account.
-
Similar to many other promotion plans, pre-orders cannot the a complete strategy to run a business. The sales and quantity even they are guaranteed somehow that is not enough to maintain revenue.
-
The control over the turnaround time of the product may be in the hands of your manufacturer. Your business could be the one that might end up losing clients and credibility if there are any delays or cancellations from your suppliers. That’s why it is very neccessay for you to know the precise date of release and availability in your stock before setting the date in your store.
Generate a pre-order product page template
You have to create a new product template to edit the Add to cart button text for your pre-order items.
-
Step 1: From your Shopify Admin panel, click Online Store > Themes. or Find the theme you need to edit, then choose Actions > Edit codes.
-
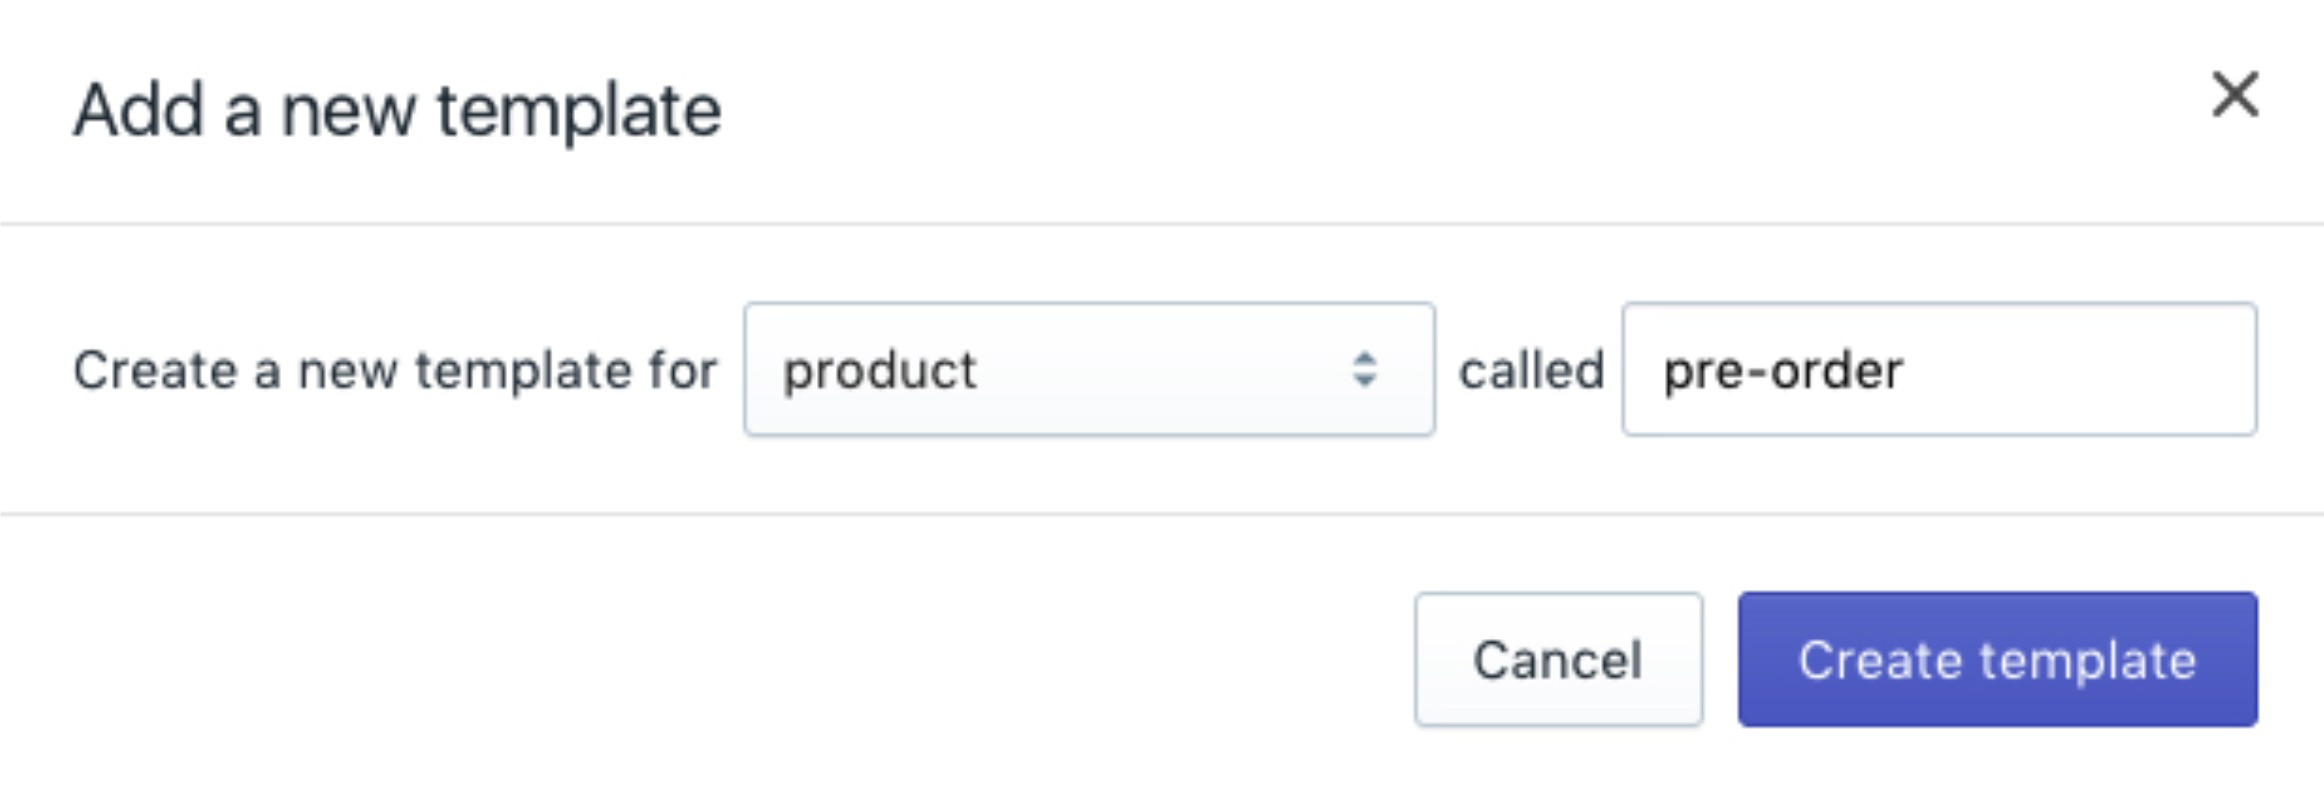
Step 2: Click Add a new template in the Templates directory.
-
Step 3: Choose product from the frop-down menu and name the template
pre-order:
-
Step 4: Select Create template. Your new
product.pre-order.liquidtemplate will be openned in the code editor. -
Step 5: Search the code below:
{% section 'product-template' %}
Then replace it with:
{% section 'product-pre-order-template' %}
-
Step 6: Select Save.
-
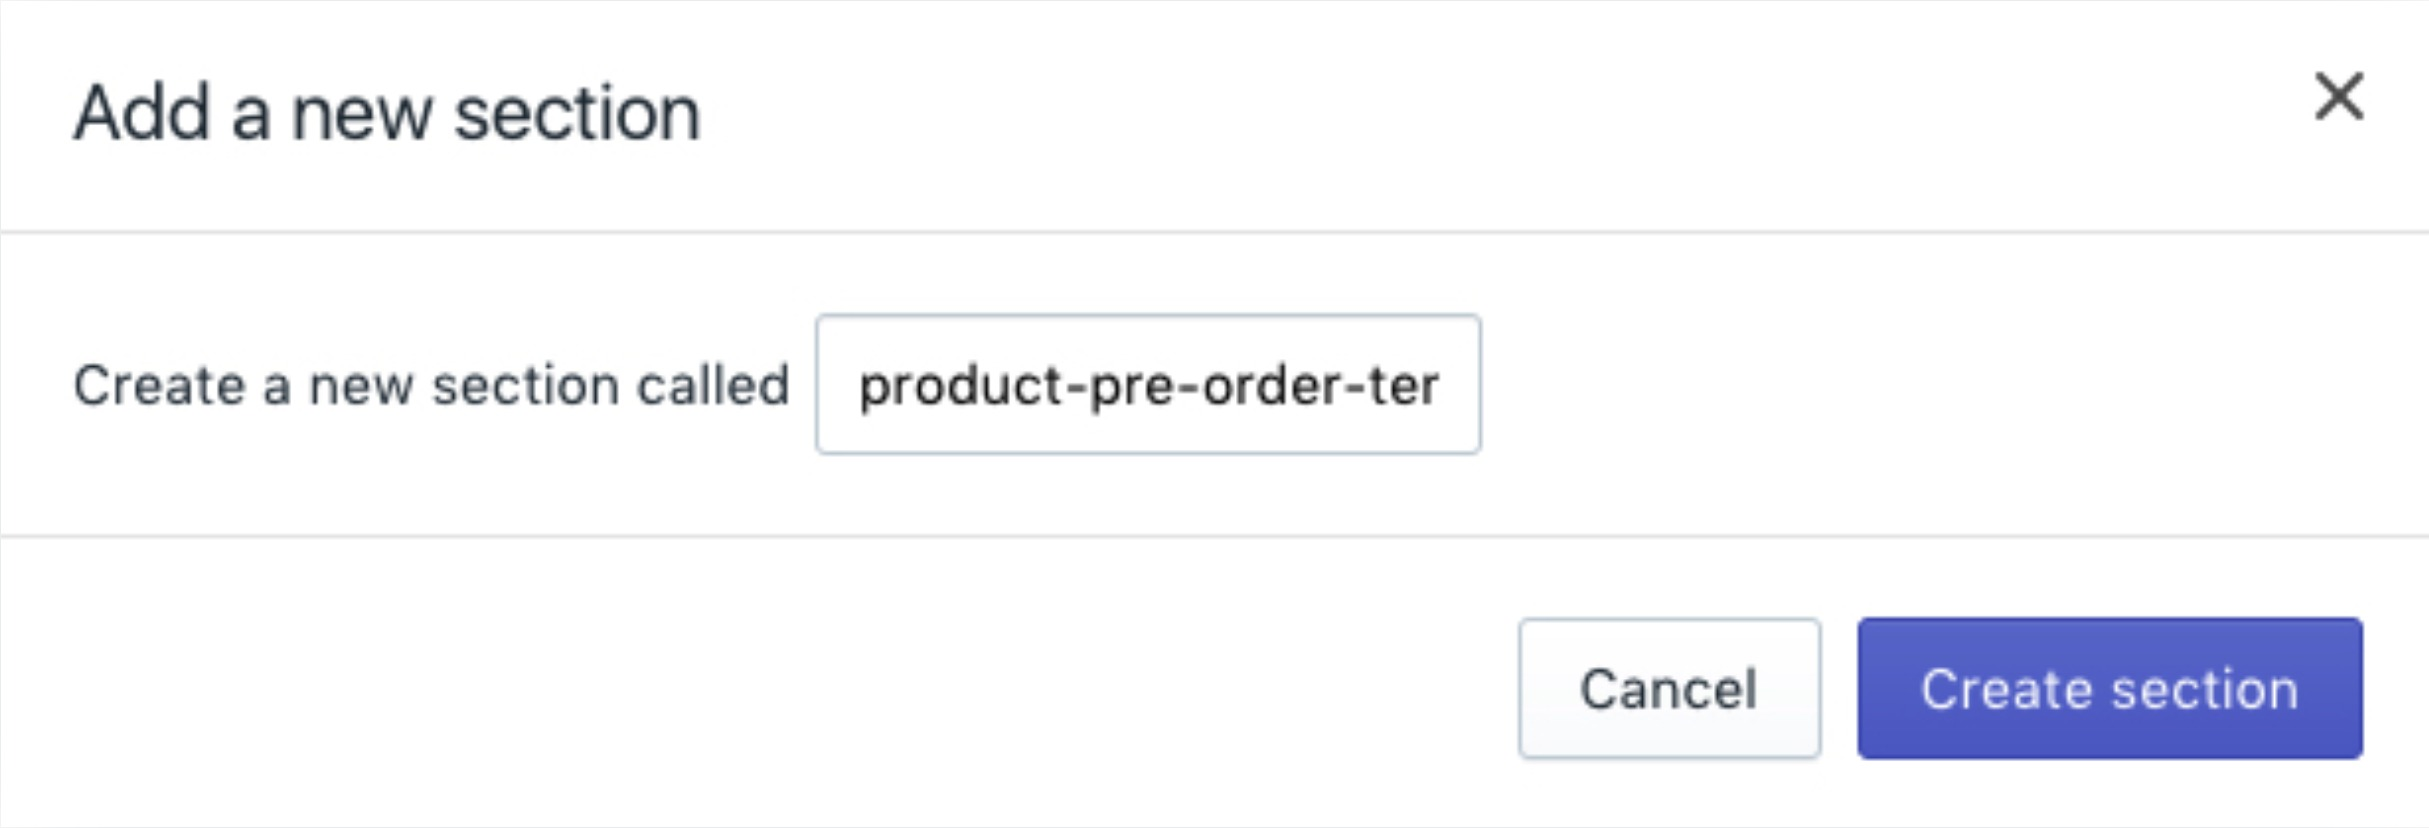
Step 7: Select Add a new section in the Sections directory. Nam your new section
product-pre-order-template:
-
Step 8: Choose Create section. The new
product-pre-order-template.liquidfile will open in the code editor. Remove all of the default codes to make the file empty. -
Step 9: Click
product-template.liquidin the Sections directory. Copy all the content available in this file and then paste it into the newproduct-pre-order-template.liquidfile. -
Step 10: Find and replace the Add to cart button text in your new
product-pre-order-template.liquidfile.
Please search for the code below:
<span id="AddToCartText">{{ 'products.product.add_to_cart' | t }}</span>
And replace it with:
<span id="AddToCartText">{{ 'Pre-order' | json | remove: '"' }}</span>
Look for a <script> tag in the same file that contains this line of code:
addToCart: {{ 'products.product.add_to_cart' | t | json }},
Replace it with:
addToCart: {{ 'Pre-order' | json }},
Each theme is completely different from the others so the code used for the Add to cart button text may vary. In case you replace instances of products.product.add_to_cart with Pre-order, your Add to cart button text should be changed to read Pre-order instead.
- Step 11: Click Save.
Generate a pre-order product page template on iPhone/Android (Click here)
-
Step 1: From the Shopify App, click Store.
-
Step 2: Tap Online store in the Sales channels section.
-
Step 3: Choose Manage themes.
or you can:
-
Step 1: Search for the theme you need to edit, then tap Actions > Edit code.
-
Step 2: Click Add a new template in the Templates directory.
-
Step 3: Choose product from the frop-down menu and name the template
pre-order:
-
Step 4: Select Create template. Your new
product.pre-order.liquidtemplate will be openned in the code editor. -
Step 5: Search the code below:
{% section 'product-template' %}
Then replace it with:
{% section 'product-pre-order-template' %}
-
Step 6: Select Save.
-
Step 7: Select Add a new section in the Sections directory. Nam your new section
product-pre-order-template:
-
Step 8: Choose Create section. The new
product-pre-order-template.liquidfile will open in the code editor. Remove all of the default codes to make the file empty. -
Step 9: Click
product-template.liquidin the Sections directory. Copy all the content available in this file and then paste it into the newproduct-pre-order-template.liquidfile. -
Step 10: Find and replace the Add to cart button text in your new
product-pre-order-template.liquidfile.
Please search for the code below:
<span id="AddToCartText">{{ 'products.product.add_to_cart' | t }}</span>
And replace it with:
<span id="AddToCartText">{{ 'Pre-order' | json | remove: '"' }}</span>
Look for a <script> tag in the same file that contains this line of code:
addToCart: {{ 'products.product.add_to_cart' | t | json }},
Replace it with:
addToCart: {{ 'Pre-order' | json }},
Each theme is completely different from the others so the code used for the Add to cart button text may vary. In case you replace instances of products.product.add_to_cart with Pre-order, your Add to cart button text should be changed to read Pre-order instead.
- Step 11: Click Save.
Conclusion
To get more information about the related topic, please look at some of our previous posts!


